
Installing a smart thermostat is one of the easiest ways to improve comfort, lower energy bills, and control your home’s temperature from anywhere. Modern smart thermostats can learn your schedule, automate heating and cooling, and integrate with Alexa, Google Home, and Apple HomeKit. Experts estimate smart thermostats can reduce HVAC energy use by roughly 8–12% in many homes.
Most installations take under an hour for standard low-voltage HVAC systems, but compatibility and wiring—especially the C-wire—are the most important things to check first.
1. Check HVAC Compatibility First
Contents
- 1 1. Check HVAC Compatibility First
- 2 2. Look for a C-Wire
- 3 3. Turn Off Power Before Installation
- 4 4. Take a Photo of Existing Wiring
- 5 5. Label Each Wire Carefully
- 6 6. Install the New Backplate
- 7 7. Connect the Wires to Matching Terminals
- 8 8. Restore Power and Connect to Wi-Fi
- 9 9. Choose the Right Thermostat Location
- 10 10. Know When to Hire a Professional
- 11 Final Thoughts
Before buying or installing a smart thermostat, confirm your HVAC system is compatible. Most smart thermostats support standard 24V systems like:
- Central heating and AC
- Heat pumps
- Furnaces
- Boilers
However, high-voltage electric baseboard systems and some older proprietary systems may not work without special models or adapters.
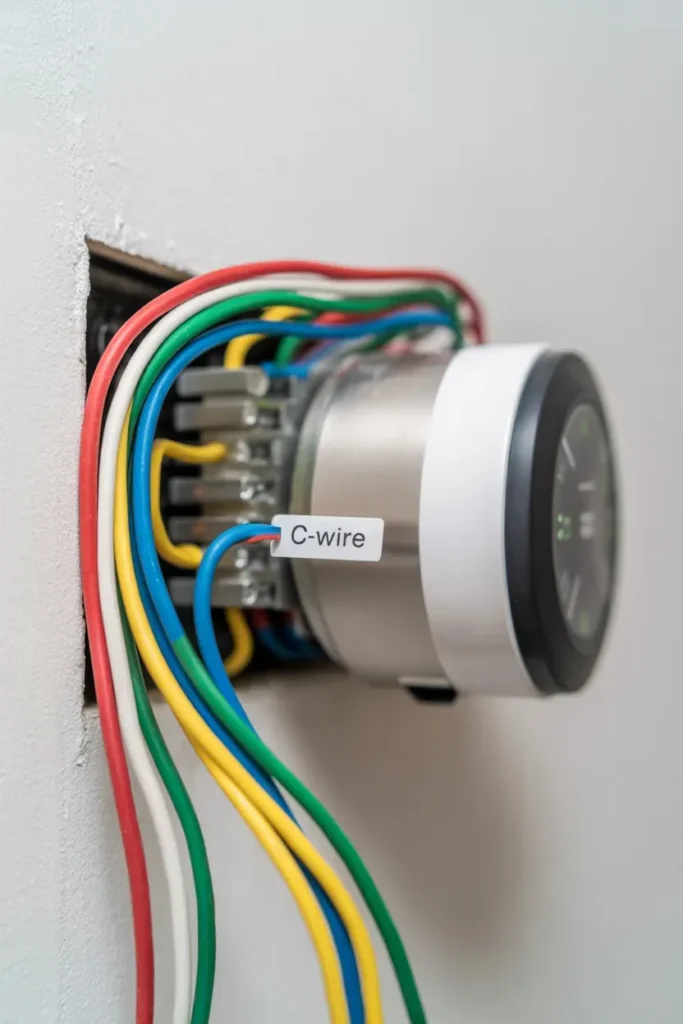
2. Look for a C-Wire
The C-wire (common wire) supplies constant power to the thermostat and is one of the biggest installation factors. Many modern systems already include one, but older homes often do not.
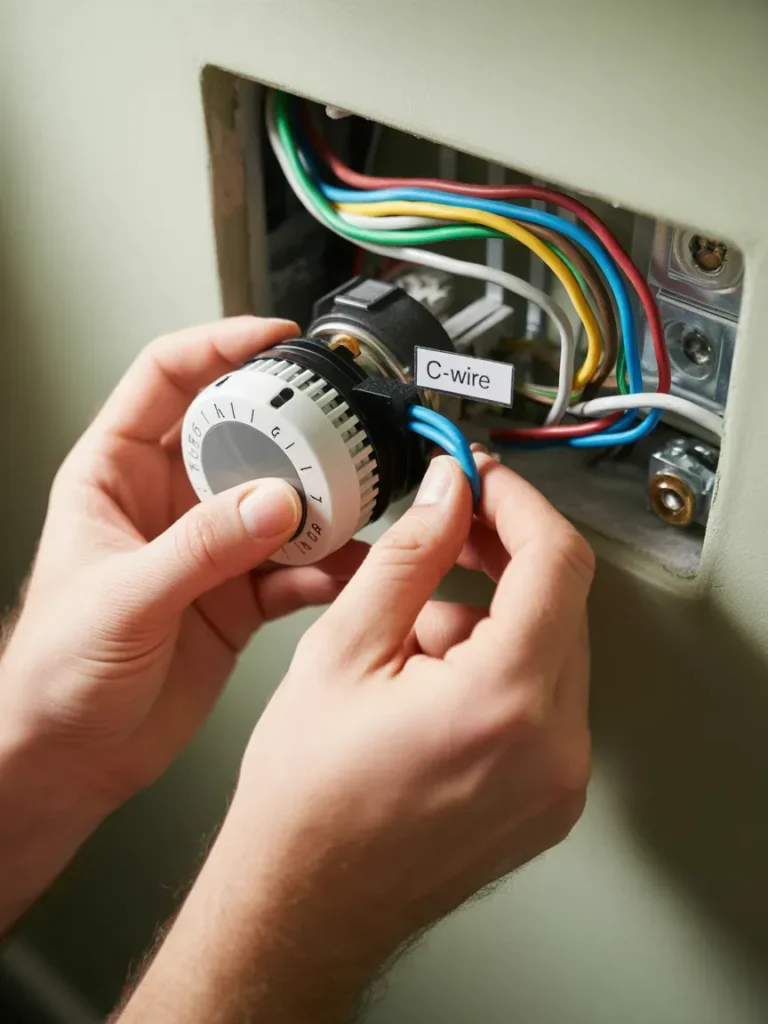
If there’s no C-wire, you may need:
- A power extender kit (PEK)
- A C-wire adapter
- A new wire installed professionally
Many Reddit users mention the missing C-wire as the most common installation challenge.
3. Turn Off Power Before Installation
Always shut off HVAC power at the breaker panel before removing the old thermostat. This prevents electrical damage and protects your HVAC control board.
Never install a thermostat with live power running.
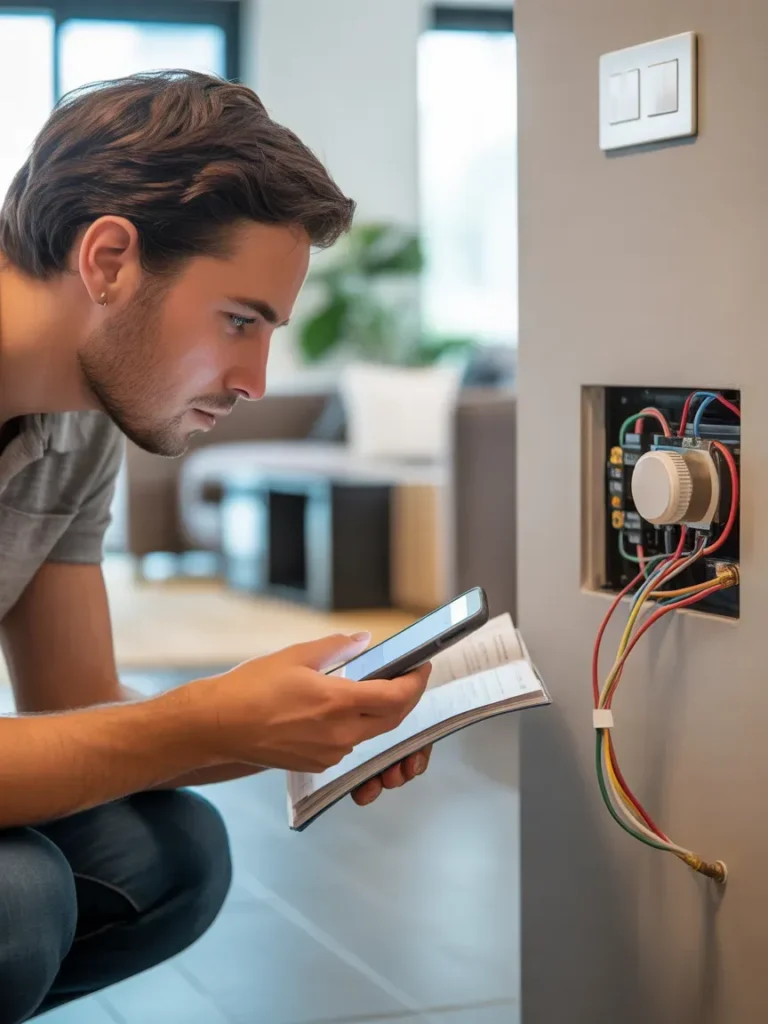
4. Take a Photo of Existing Wiring
Before disconnecting anything, photograph the current wiring setup. Wire colors are not always standardized, so terminal labels matter more than colors.
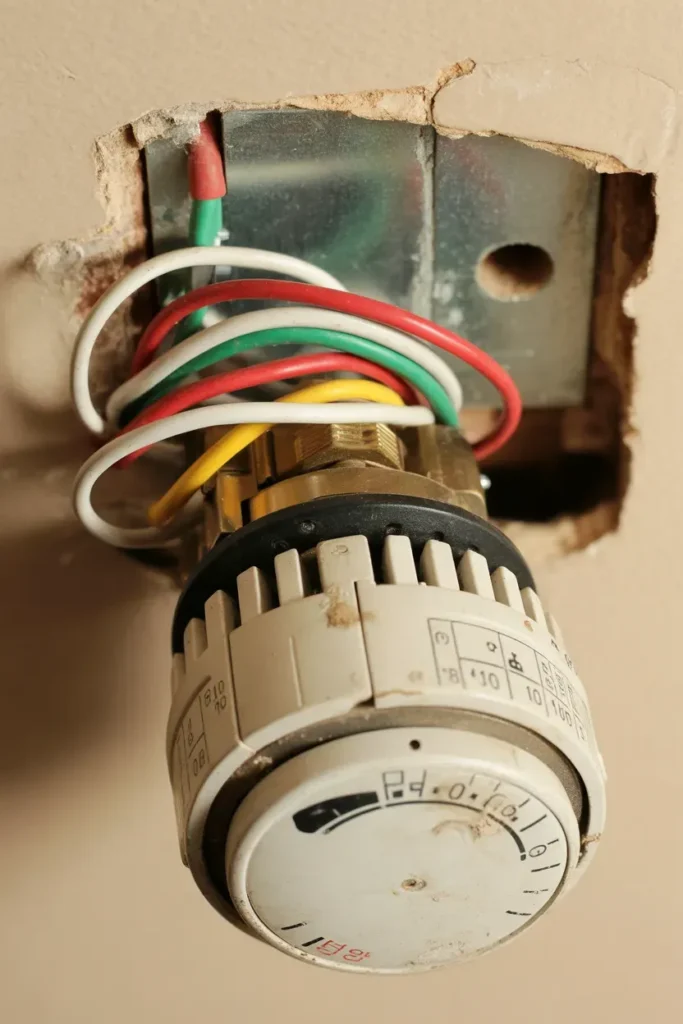
This photo becomes your backup reference during installation.
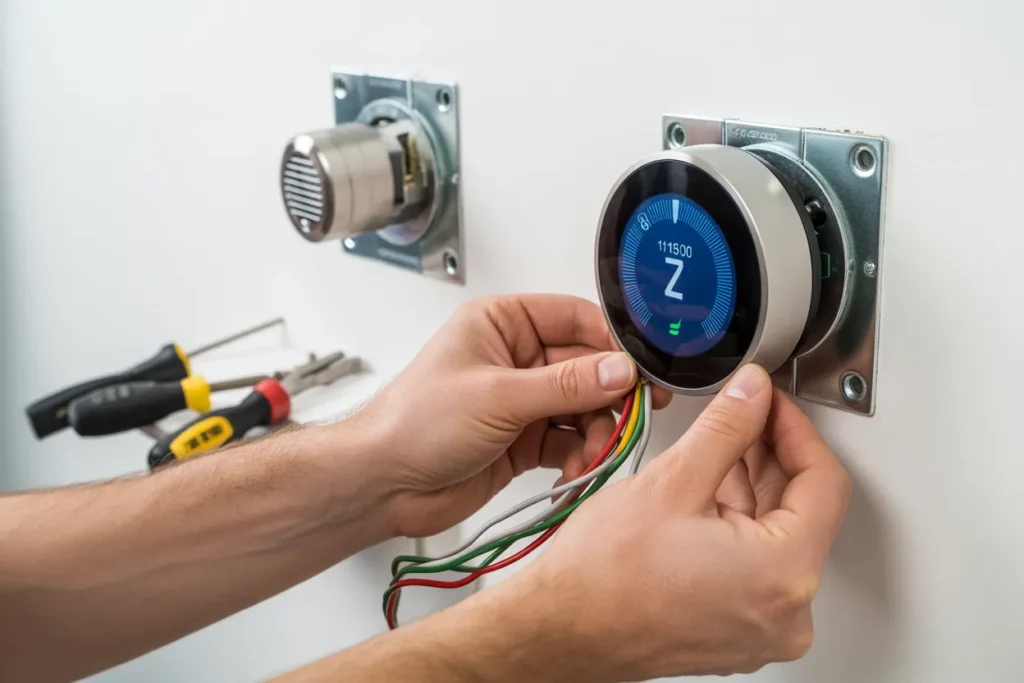
5. Label Each Wire Carefully
Most thermostat kits include small wire labels. Label each wire according to the terminal:
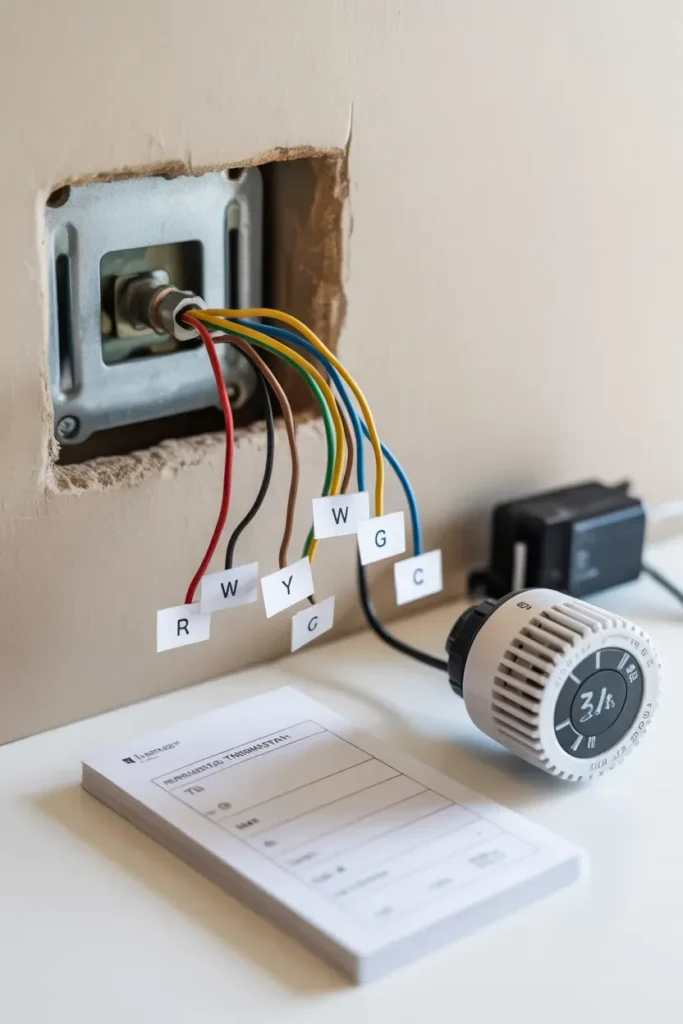
- R
- W
- Y
- G
- C
- O/B
Incorrect labeling can prevent heating or cooling from functioning properly.
6. Install the New Backplate
Remove the old thermostat base and attach the new smart thermostat backplate securely to the wall. Use a level so the thermostat sits straight.
Some installations may require patching or repainting older wall marks.
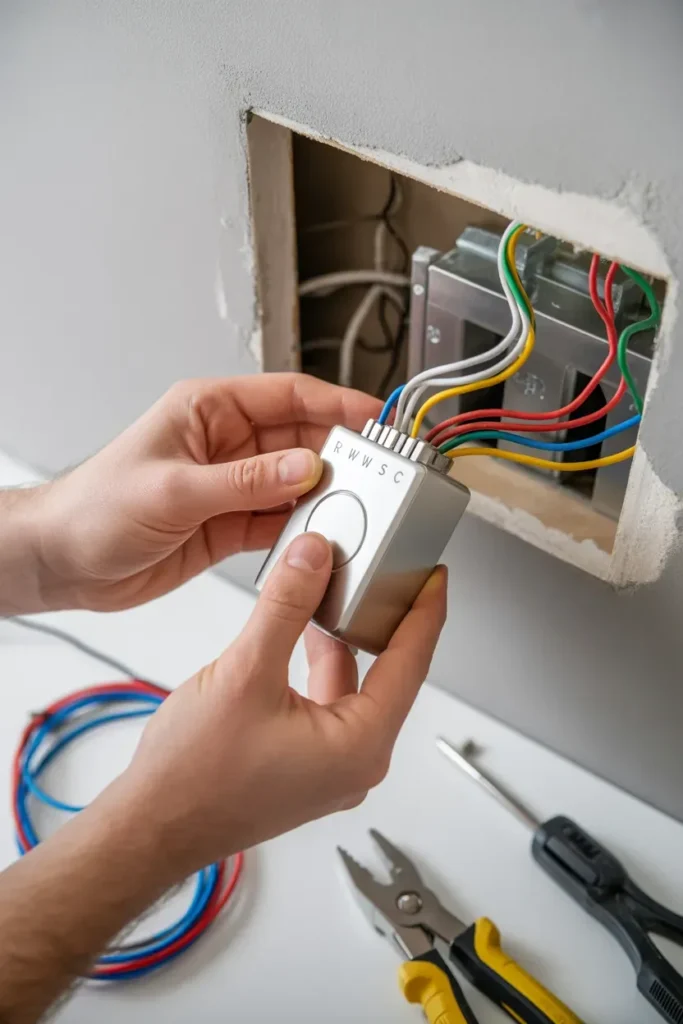
7. Connect the Wires to Matching Terminals
Insert each wire into the correct terminal based on your wiring labels and the manufacturer instructions.
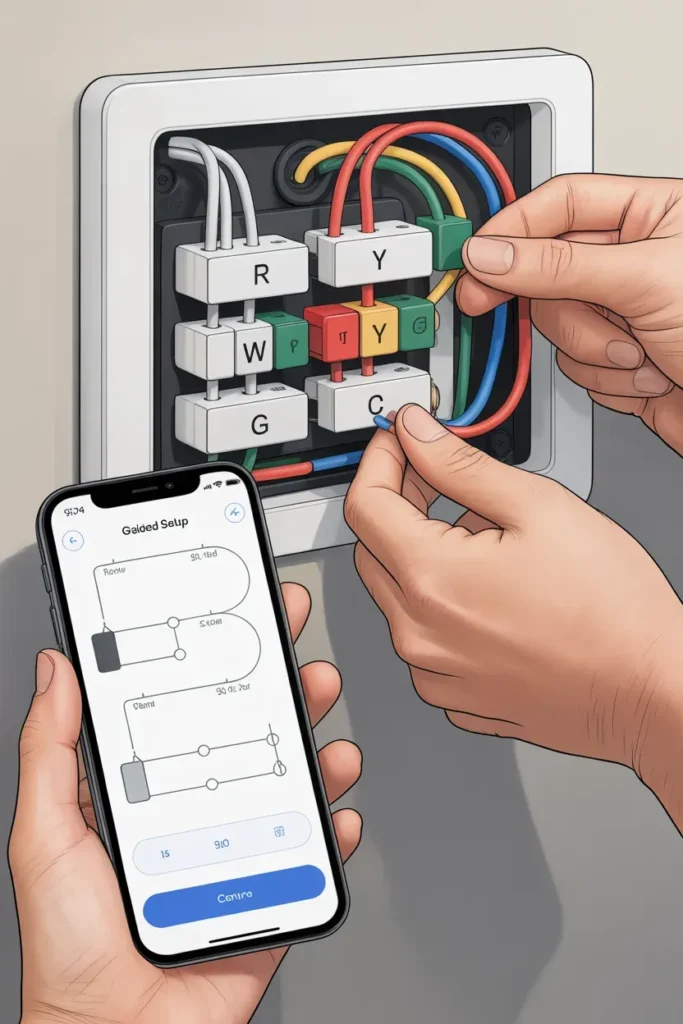
Many smart thermostats now include guided app setup to help identify correct wiring configurations.
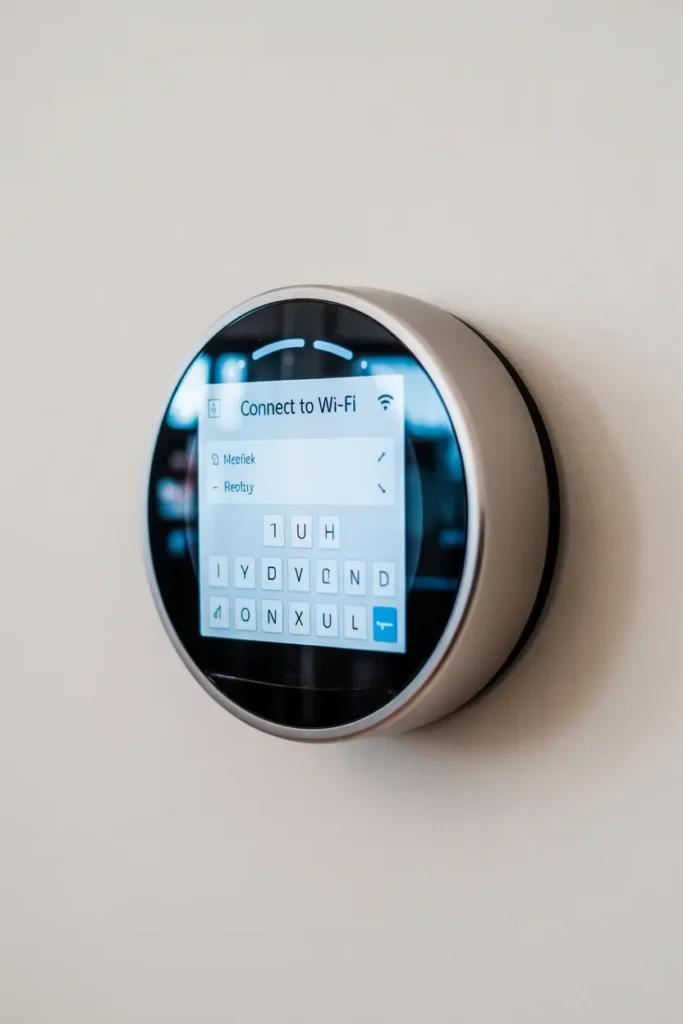
8. Restore Power and Connect to Wi-Fi
Once wiring is complete:
- Restore power at the breaker
- Turn on the thermostat
- Connect it to your Wi-Fi network
- Pair it with the mobile app
Most smart thermostats support remote control and scheduling through apps.
9. Choose the Right Thermostat Location
Thermostat placement affects temperature accuracy. Experts recommend avoiding:
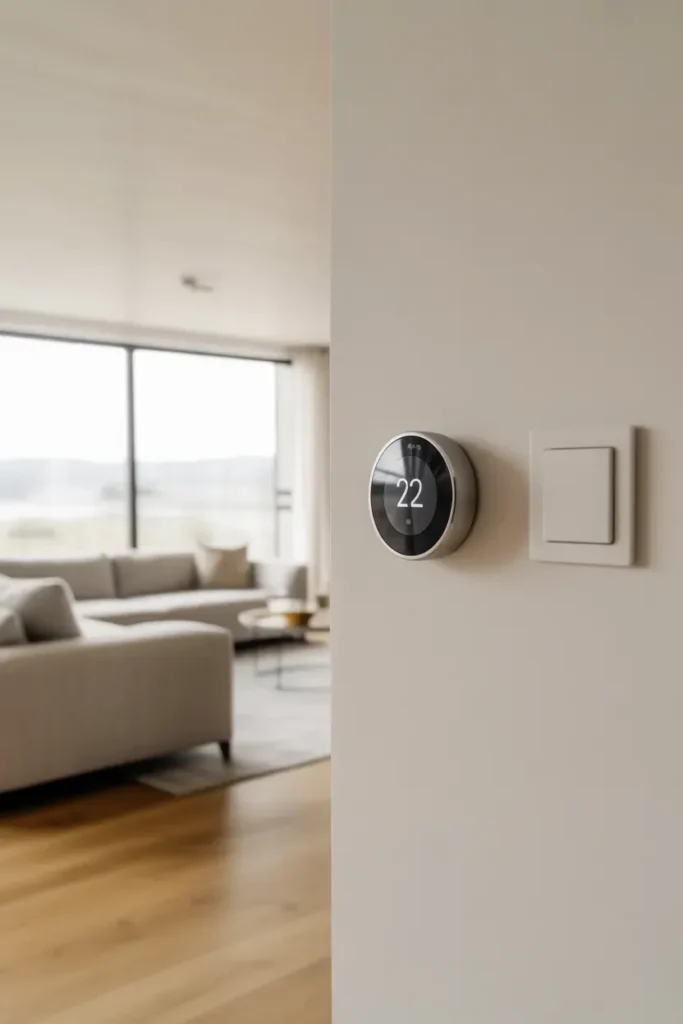
- Direct sunlight
- Drafty hallways
- Windows
- Nearby appliances or vents
Living rooms often provide the most stable readings.
10. Know When to Hire a Professional
DIY installation works well for many standard systems, but professional installation is recommended if you have:
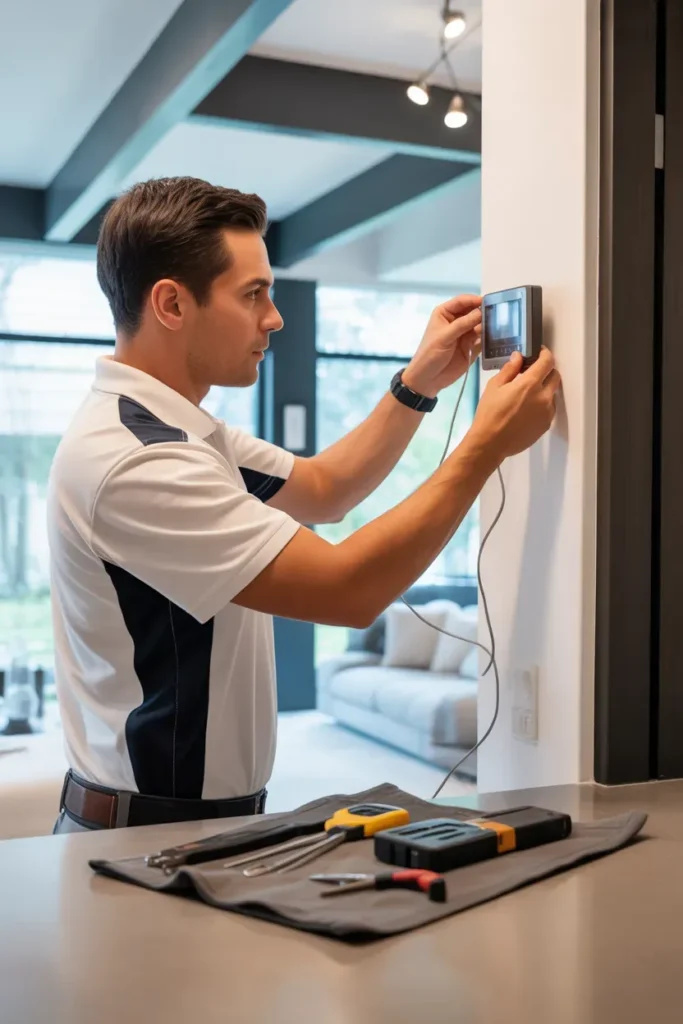
- Multi-zone HVAC
- Heat pumps with auxiliary heat
- Older wiring
- High-voltage systems
- No C-wire and complicated wiring
Professional installation also helps avoid short cycling and HVAC damage.
Final Thoughts
A smart thermostat installation can significantly improve comfort, automation, and energy efficiency in your home. The most important steps are checking HVAC compatibility, confirming the C-wire setup, and carefully labeling wires before installation.
For standard systems, installation is often beginner-friendly. But for complex HVAC setups, professional installation is usually worth the extra cost to ensure everything runs safely and efficiently.