
Introduction
Contents
- 1 Introduction
- 1.1 1. Swap Old Ceiling Lights
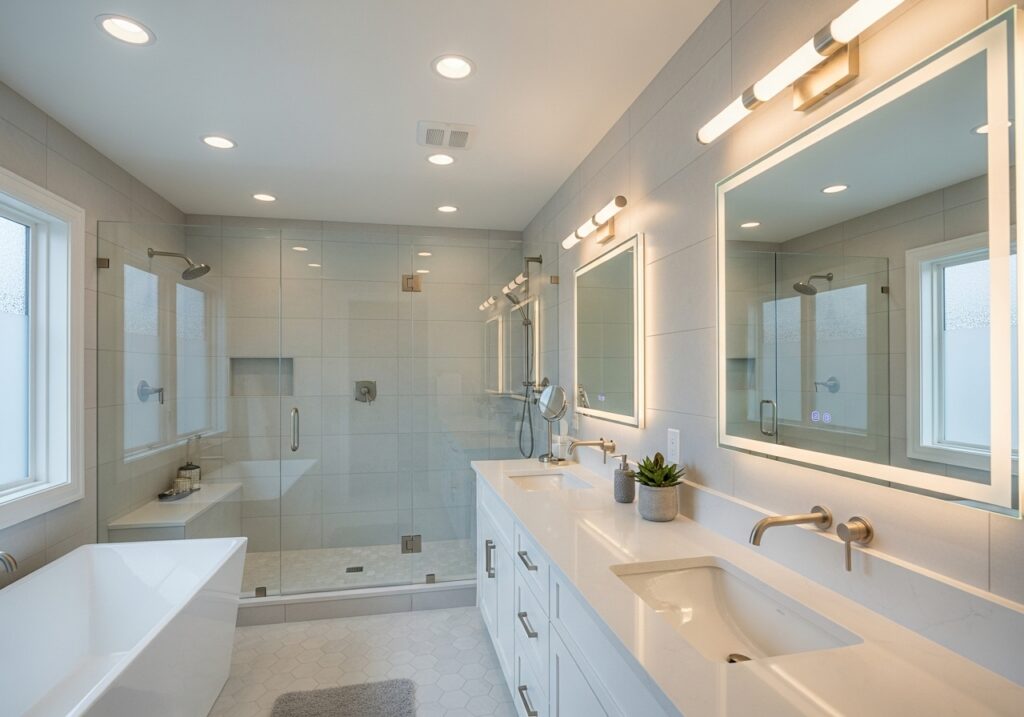
- 1.2 2. Add LED Recessed Lights
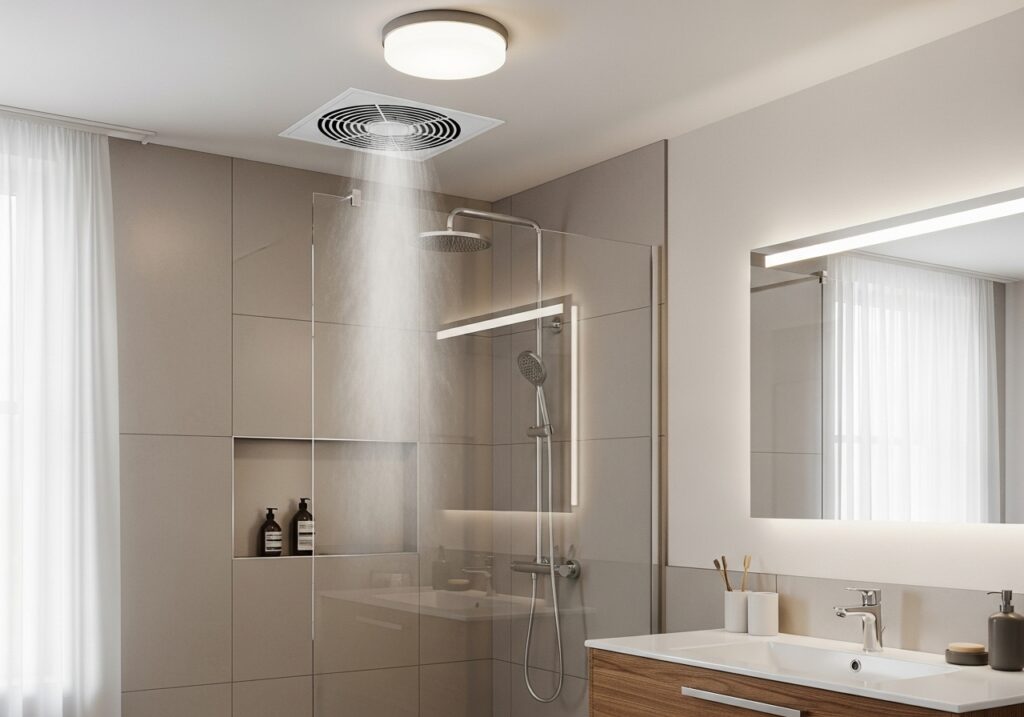
- 1.3 3. Install a Strong Exhaust Fan
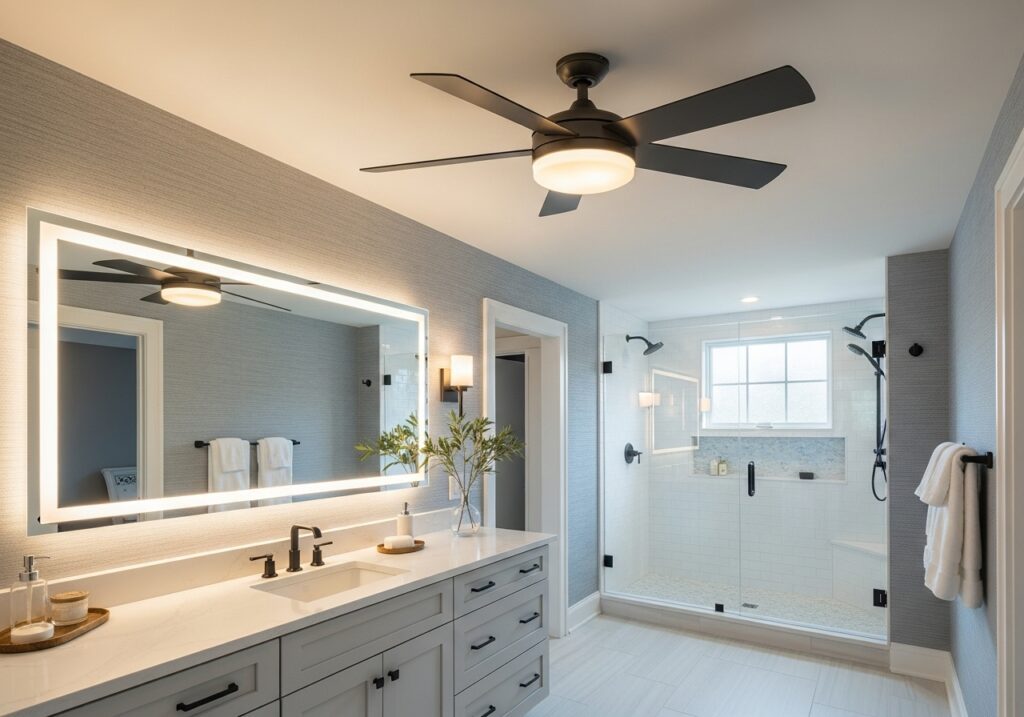
- 1.4 4. Use a Fan With Light Combo
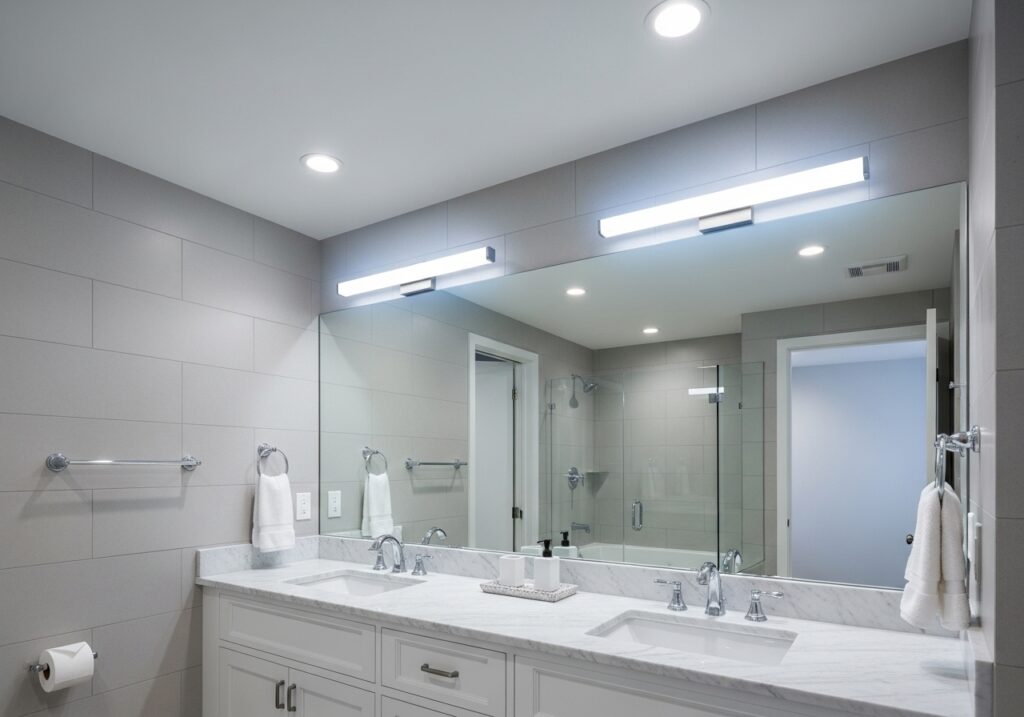
- 1.5 5. Add Task Lighting Near Mirrors
- 1.6 6. Upgrade to Frosted Light Covers
- 1.7 7. Improve Natural Airflow
- 1.8 8. Add a Timer or Humidity Switch
- 1.9 9. Replace Old Bulbs With Bright White LEDs
- 1.10 10. Paint With Moisture-Resistant Paint
- 1.11 11. Use Reflective Wall Colors
- 1.12 12. Raise the Fan Duct Exit
- 1.13 13. Seal Gaps Around Fixtures
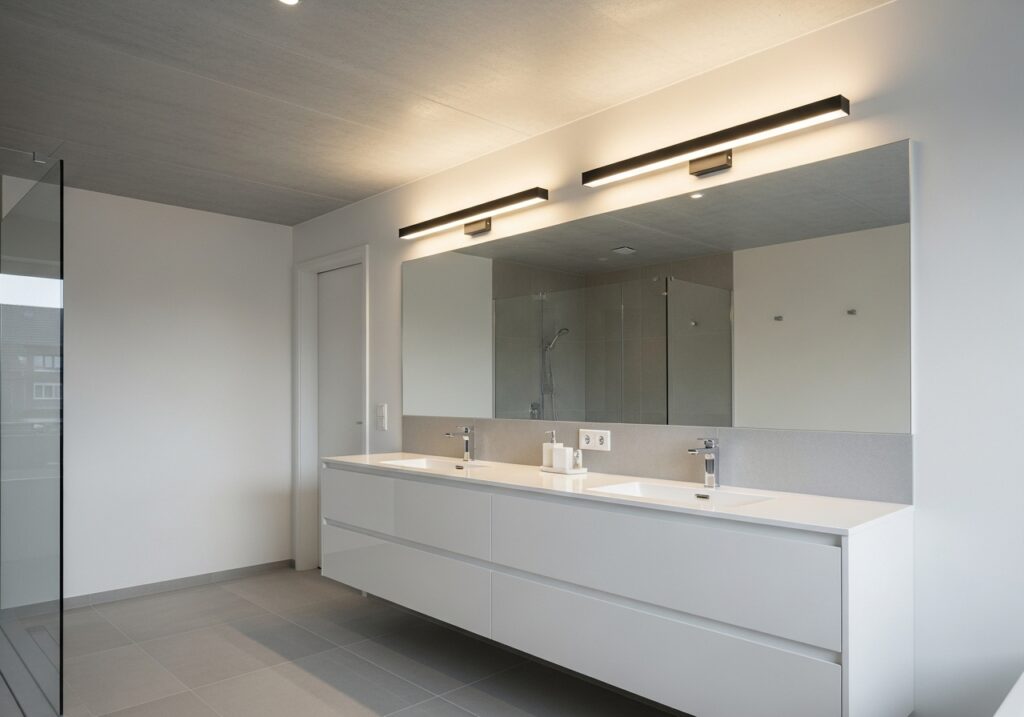
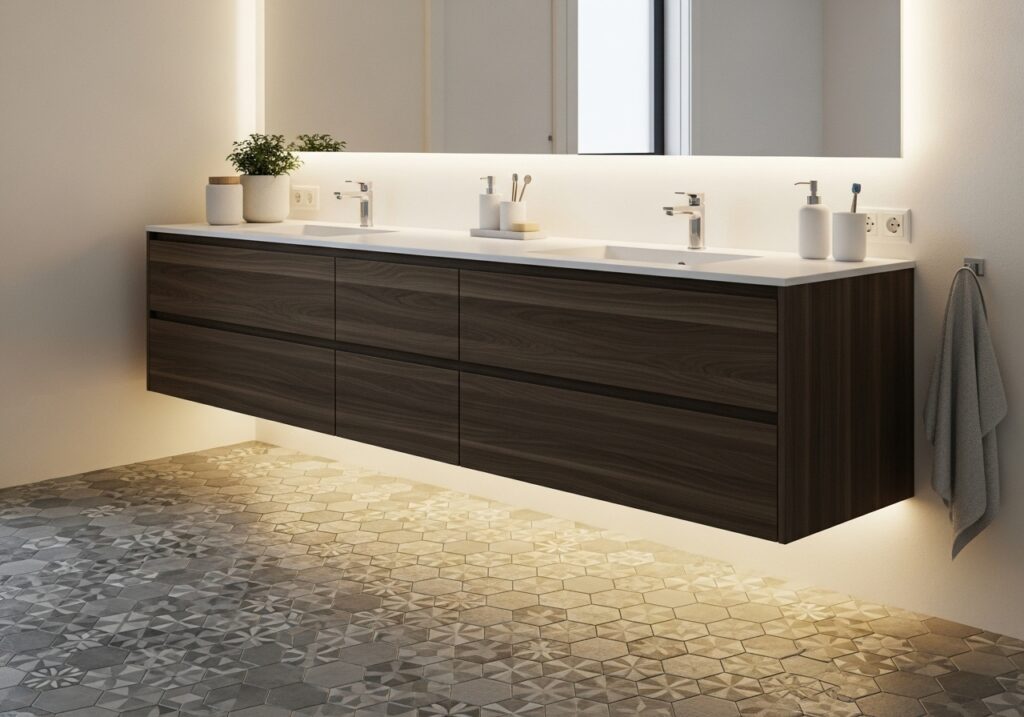
- 1.14 14. Add Under-Cabinet Lighting
- 1.15 15. Plan Lighting and Ventilation Together
- 1.16 Final Thoughts
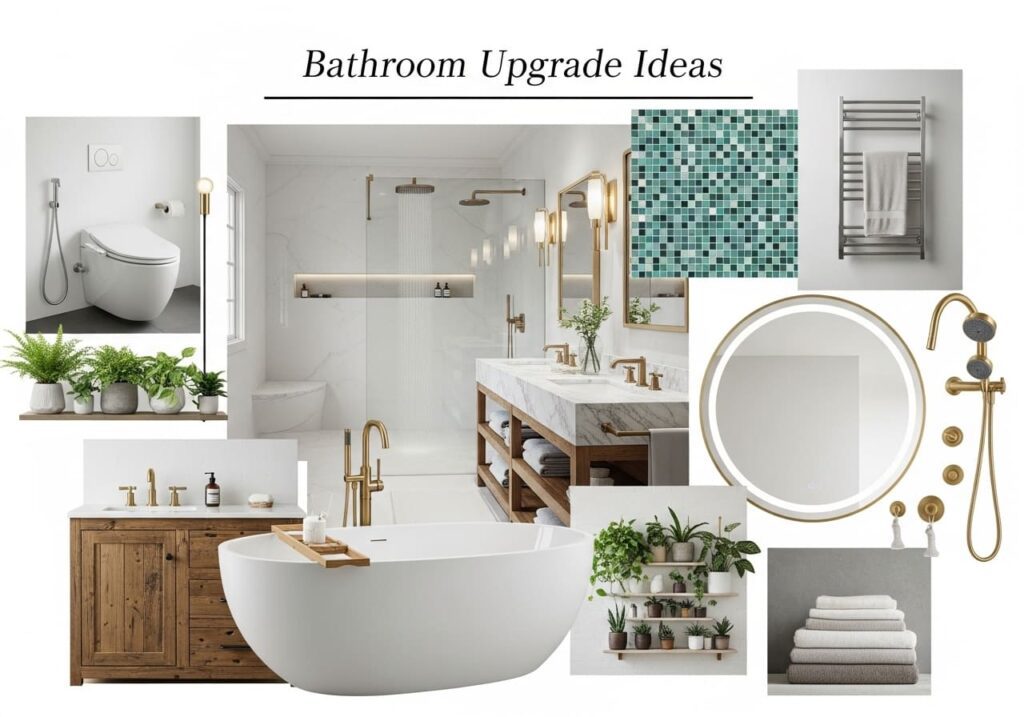
Bad bathroom lighting and weak airflow cause daily stress. Mirrors feel useless. Steam hangs in the air. Mold worries creep in. I see this every week when clients ask what the work involves, who handles it, how long it takes, and what it costs. This guide shows clear bathroom upgrade ideas, including Walk In Shower Ideas, explains the process, outlines realistic costs, and removes the guesswork.
1. Swap Old Ceiling Lights
Outdated fixtures cast dull shadows. Replace them with modern ceiling lights that spread light evenly. This alone changes how the room feels. Think of it like cleaning a dirty window. The space finally looks awake.
2. Add LED Recessed Lights
Yes. LED recessed lights fix dark bathrooms fast. They spread light evenly, use less power, and fit tight ceilings. When placed correctly, they remove harsh shadows near mirrors and showers. This gives clear visibility without raising energy bills or crowding the ceiling.They work well in small bathrooms. I usually place them above walk paths and wet areas. The install is quick. Costs stay predictable.
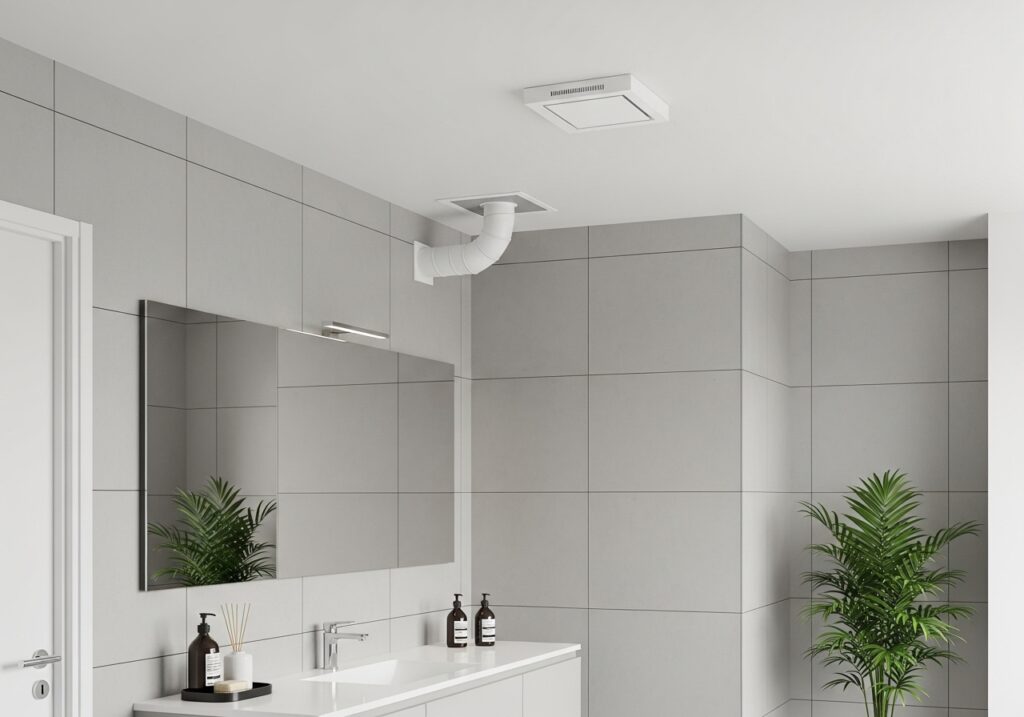
3. Install a Strong Exhaust Fan
A weak fan lets steam linger. A stronger exhaust fan pulls moisture out fast. This protects paint, ceilings, and grout. It’s like cracking a window on a foggy day.Choose a fan rated for your room size. I help measure this during the first visit. Labor and unit costs are easy to plan.
4. Use a Fan With Light Combo
One unit. Two fixes. Fan-light combos save ceiling space and wiring time. They’re practical for small bathrooms.This option often lowers install costs. It also keeps the ceiling clean and simple. Less clutter. Less confusion.
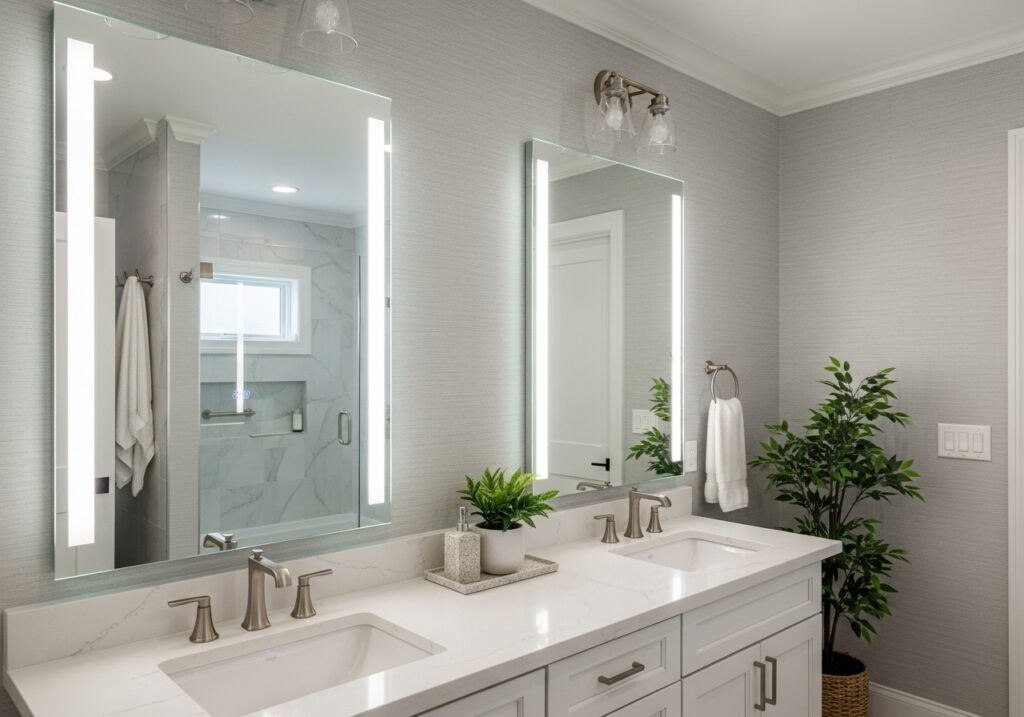
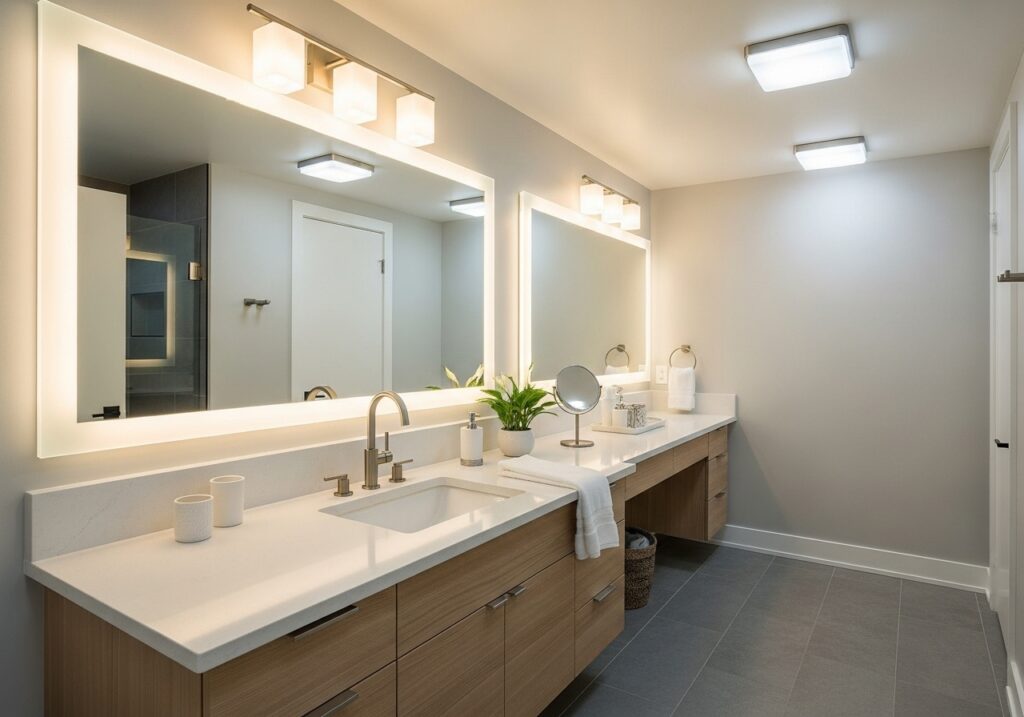
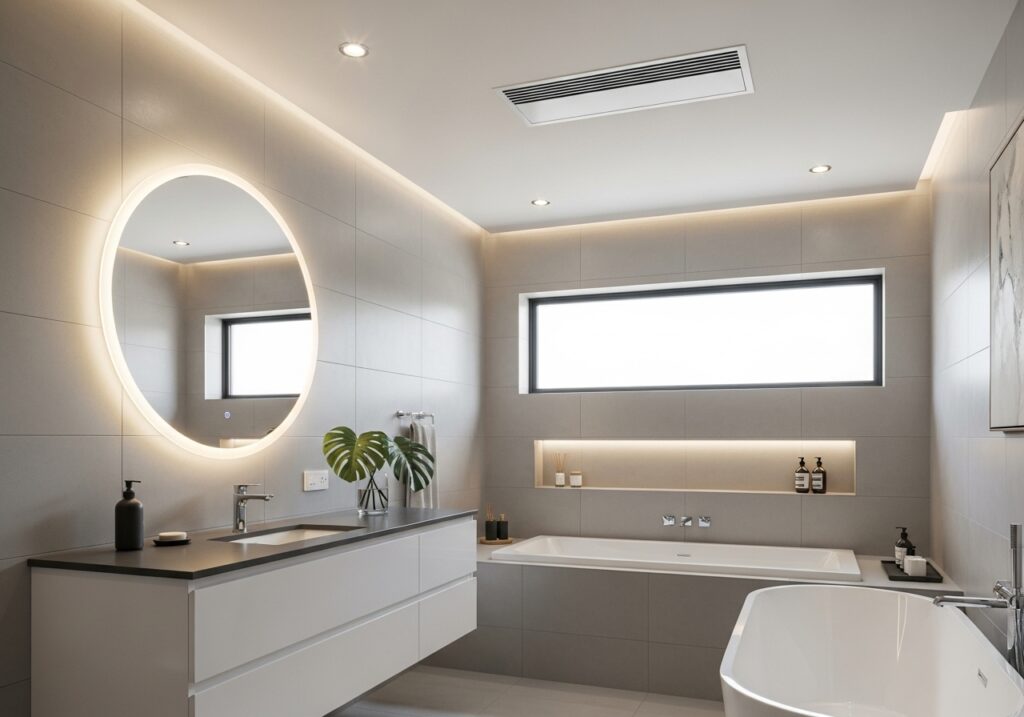
5. Add Task Lighting Near Mirrors
Overhead light isn’t enough for shaving or makeup. Task lights near mirrors solve that. They cut shadows at eye level. Wall-mounted lights work best. I place them at face height. For small spaces, combining this with Space-Saving Small Bathroom Ideas makes the bathroom feel brighter, functional, and thoughtfully designed. Results feel natural, not harsh.
6. Upgrade to Frosted Light Covers
Clear covers cause glare. Frosted covers soften light spread. The room feels calmer.This is a low-cost fix. No wiring changes needed. It’s like switching from noon sun to morning light.
7. Improve Natural Airflow
If the bathroom has a window, use it better. Openable windows help moisture escape. Even small ones matter.I often adjust window hardware or seals. It’s simple work. Costs stay low.

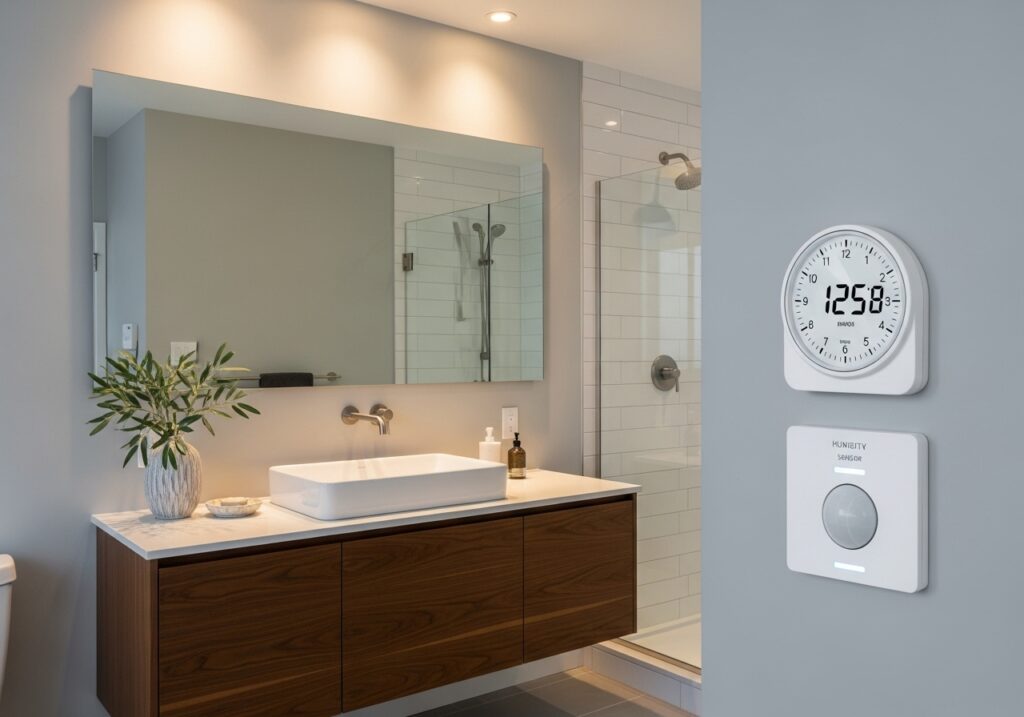
8. Add a Timer or Humidity Switch
Fans left off don’t help. Timers and humidity switches turn fans on when needed.This keeps air moving without reminders. It’s a set-it-and-forget-it solution. Install takes under an hour.
9. Replace Old Bulbs With Bright White LEDs
Yellow bulbs dim bathrooms. Bright white LEDs give clear visibility.They last longer and reduce energy costs. I always show bulb options before install. Pricing stays transparent.
10. Paint With Moisture-Resistant Paint
Poor airflow damages paint fast. Moisture-resistant paint holds up better.This pairs well with fan upgrades. Think raincoat, not sponge. Labor costs depend on wall size.
11. Use Reflective Wall Colors
Dark walls absorb light. Light tones bounce it around.This makes small bathrooms feel open. No extra fixtures needed. Paint choice matters more than people think.
12. Raise the Fan Duct Exit
Fans fail when ducts trap moisture. A proper exit point fixes that.I inspect duct paths during planning. This step prevents repeat issues. Costs depend on roof access.
13. Seal Gaps Around Fixtures
Air leaks trap moisture. Sealing gaps helps airflow work properly.It’s detail work. Small effort. Big payoff.

14. Add Under-Cabinet Lighting
Vanity shadows cause frustration. Under-cabinet lights solve this.They guide night use without blinding light. Install is quick. Energy use stays low.
15. Plan Lighting and Ventilation Together
Lighting and airflow work best as a team. Fixing one without the other causes repeat problems.I plan both during the first visit. I explain steps, timeline, and costs upfront. No surprises.
Final Thoughts
Poor lighting and ventilation don’t fix themselves. The right upgrades stop daily annoyances and long-term damage. I keep the process clear, the work focused, and the costs honest. When the bathroom works right, mornings feel easier.