
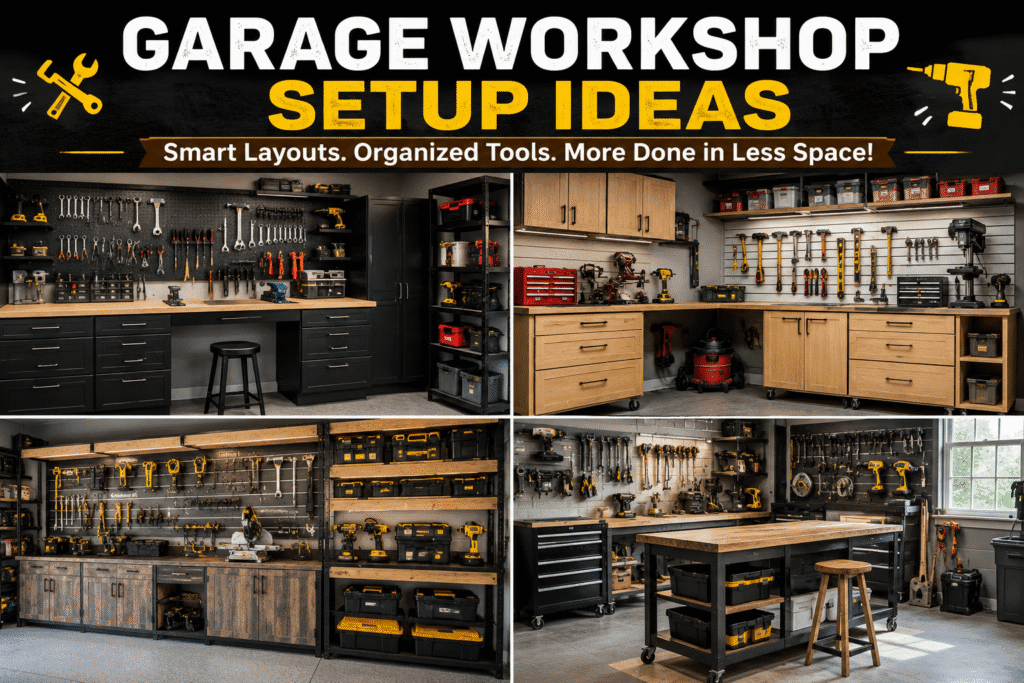
A garage workshop is one of the highest-value spaces in a home for anyone who builds, repairs, tinkers, or just wants somewhere organized to keep tools. But most garages start out as dumping grounds bikes leaning against boxes, tools scattered across a workbench that never gets used, and a car that has not parked inside in years.
Turning that space into a real workshop does not require a full renovation. With the right layout, storage systems, and a few smart upgrades, almost any garage can become a functional, enjoyable place to work. Below are 25 garage workshop setup ideas, organized by category, so you can build a plan that fits your space, budget, and the kind of work you actually do.
If you have not tackled general clutter yet, start with our garage organization ideas guide first it pairs well with everything below.
Why a Dedicated Garage Workshop Setup Matters
Contents
- 1 Why a Dedicated Garage Workshop Setup Matters
- 2 Planning Your Garage Workshop Layout
- 3 Layout and Zoning Ideas
- 4 Storage and Organization Ideas
- 5 Workbench and Tool Station Ideas
- 6 Lighting and Electrical Ideas
- 7 Safety and Ventilation Ideas
- 8 Flooring and Finishing Touches
- 9 Garage Workshop Ideas by Hobby Type
- 10 Budget-Friendly vs. Pro-Level Garage Workshop Setups
- 11 Garage Workshop Shopping List
- 12 Maintaining Your Garage Workshop Over Time
- 13 Common Garage Workshop Setup Mistakes to Avoid
- 14 25-Point Garage Workshop Setup Checklist
- 15 Frequently Asked Questions
- 15.1 How much does it cost to set up a garage workshop?
- 15.2 Do I need to give up parking space for a garage workshop?
- 15.3 What is the most important first step in setting up a garage workshop?
- 15.4 How do I keep a garage workshop from getting too hot or cold?
- 15.5 Can a small garage still fit a full workshop setup?
- 15.6 Should I insulate my garage before setting up a workshop?
- 15.7 How do I choose between built-in cabinetry and freestanding storage?
- 16 Final Thoughts
A workshop that is actually set up for the work you do saves time, protects your tools, and makes projects far more enjoyable to start (and finish).
| Benefit | Why It Matters |
|---|---|
| Faster project starts | Everything has a place, so setup time drops dramatically |
| Better tool lifespan | Proper storage prevents rust, dust damage, and lost tools |
| Improved safety | Dedicated zones reduce clutter-related accidents |
| More usable space | Vertical storage and zoning free up floor space for actual work |
| Higher home value | A finished, functional garage workshop appeals to future buyers |
Planning Your Garage Workshop Layout
Before jumping into individual upgrades, it helps to think through the layout as a whole. Most efficient garage workshops are built around three to four zones:
- A workbench and tool zone for hands-on work
- A storage zone for materials, hardware, and less-used tools
- A clean/finishing zone if your projects involve painting, staining, or assembly
- A parking or open-floor zone, if the garage still needs to hold a vehicle
Sketching your garage’s dimensions and testing a few layouts before buying anything can save you from expensive mistakes. Our Room Layout Planner tool is a simple way to map out zones before you commit to a workbench placement or shelving system, and our Home Cost Calculator can help you budget the project before you start buying materials.
With a rough layout in mind, here are 25 ideas to bring it to life.
Layout and Zoning Ideas
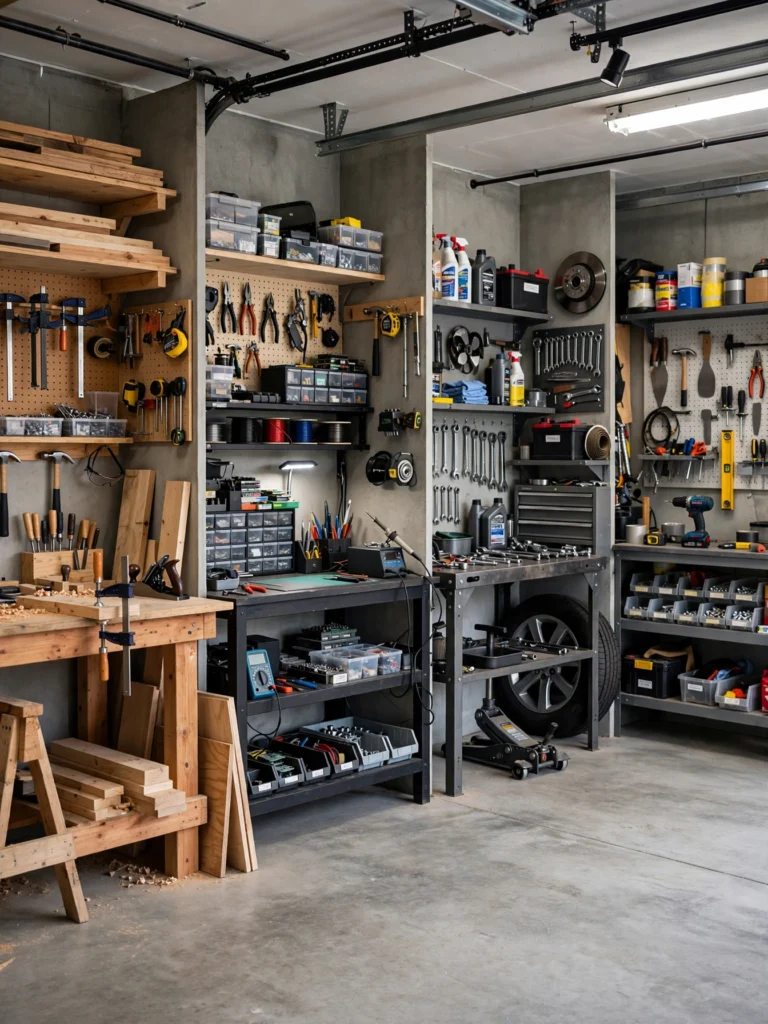
1. Create Defined Work Zones
Instead of one big open area, divide your garage into clear zones woodworking, electronics, automotive, general repair even if it is just one wall per activity. This keeps tools and materials from migrating and mixing between projects.
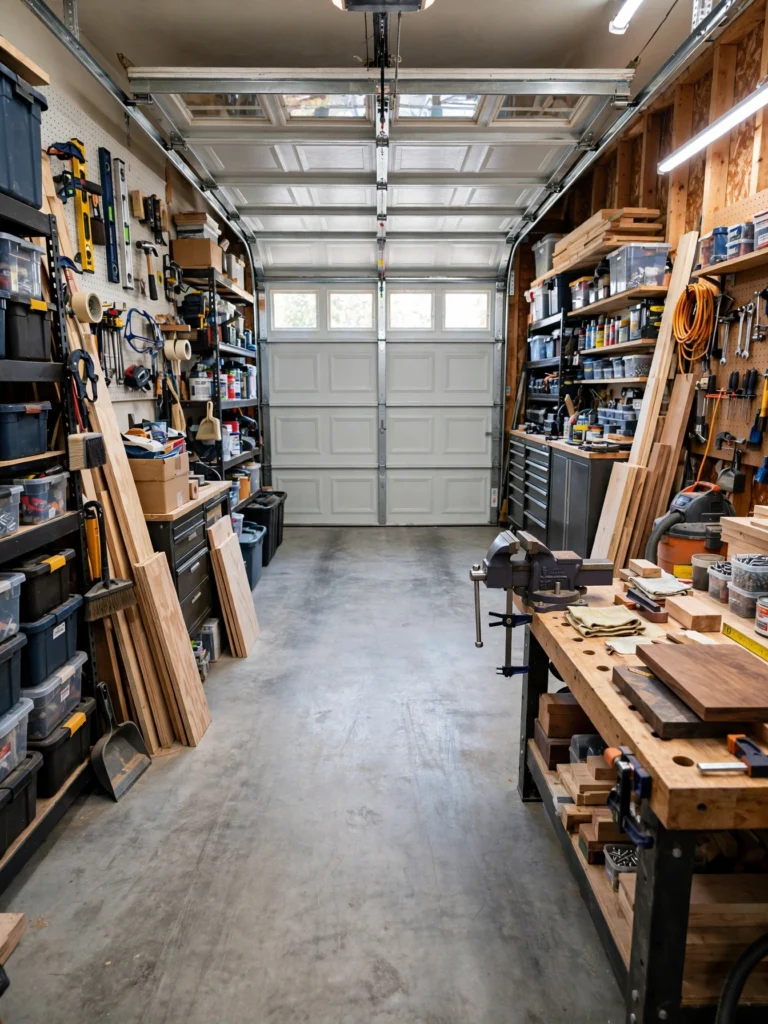
2. Keep a Clear Walking Path
Map out a straight, unobstructed path from the garage door to your main workbench. Even in a packed workshop, a clear path prevents tripping hazards and makes moving large materials or finished projects far easier.
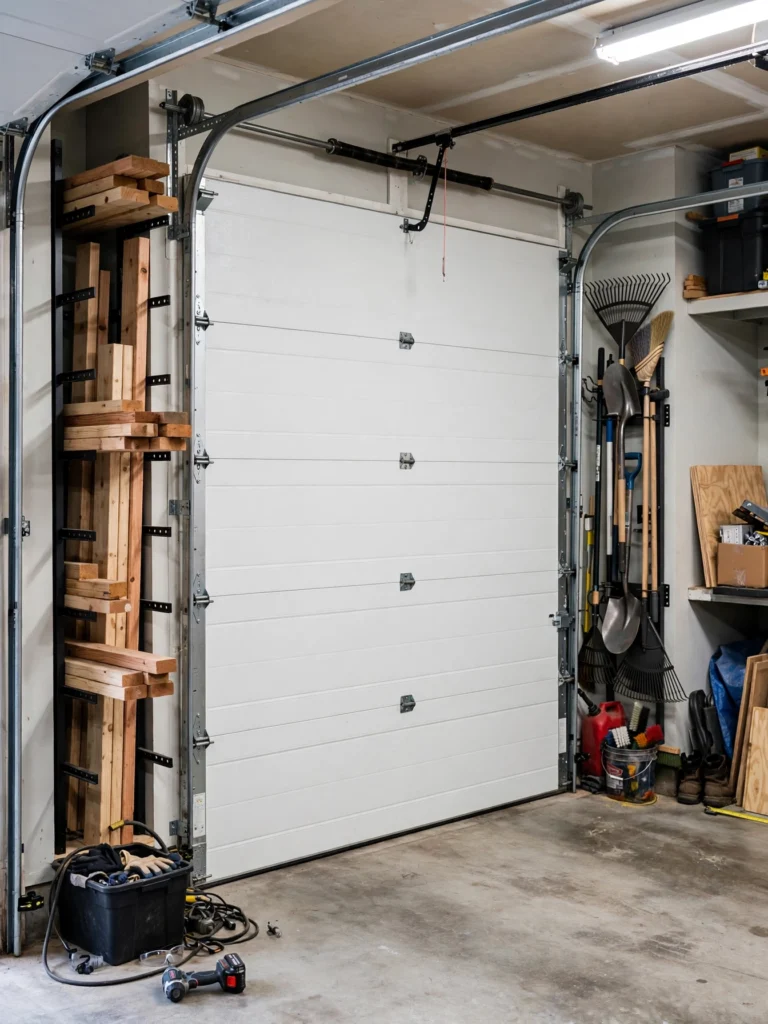
3. Use the Garage Door Wall Wisely
The wall containing the garage door is often wasted space since nothing can be mounted where the door travels. Use the areas beside the door track for tall, narrow storage like lumber racks or long-handled tool holders. If you are also upgrading the door itself, our garage door guide covers style and insulation options that can improve your workshop’s comfort.
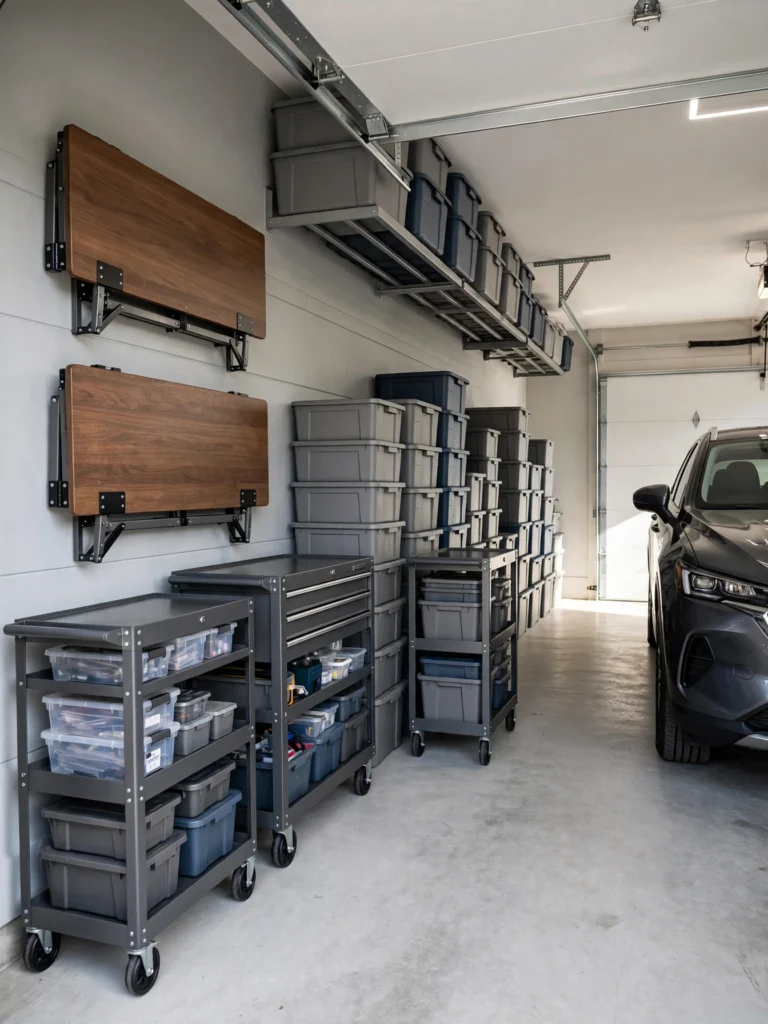
If your garage still needs to fit a car occasionally, build your workshop around mobility. Rolling tool carts, wall-mounted folding workbenches, and stackable storage bins let you convert the space in minutes.
5. Add a Breezeway or Covered Entry for Material Deliveries
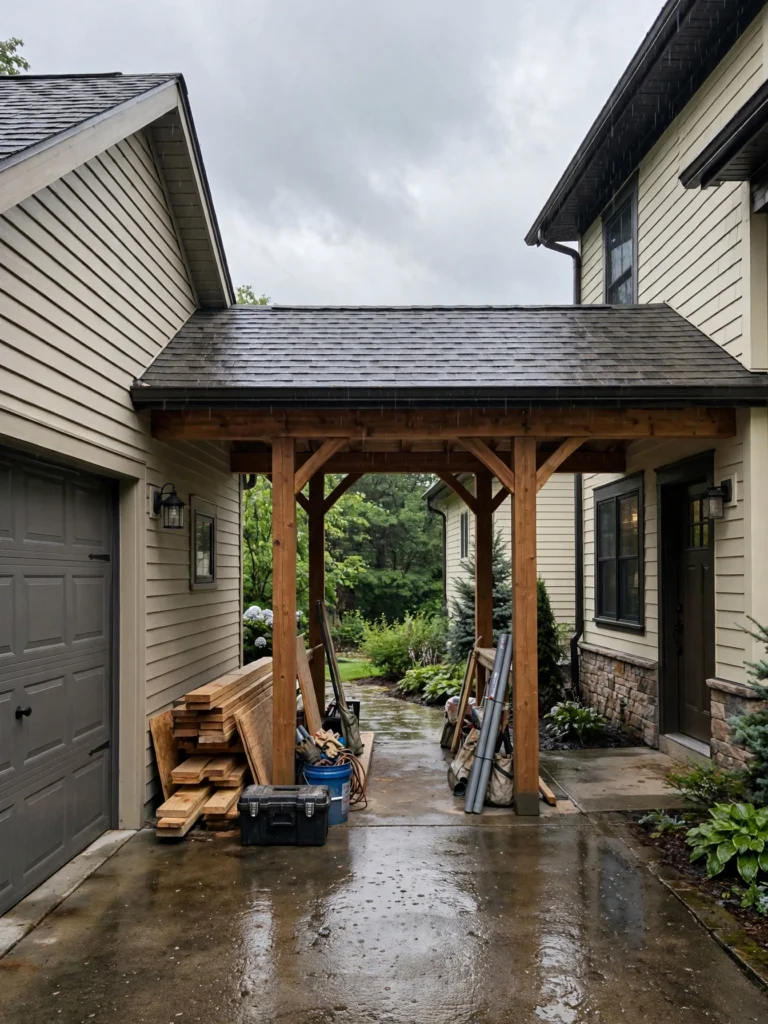
If your home has (or could use) a covered breezeway connecting the garage to the house, it makes hauling lumber, tools, and supplies in and out far more convenient, especially in bad weather. Our garage with breezeway guide has ideas for adding or upgrading one.
Storage and Organization Ideas
6. Install a Pegboard Wall
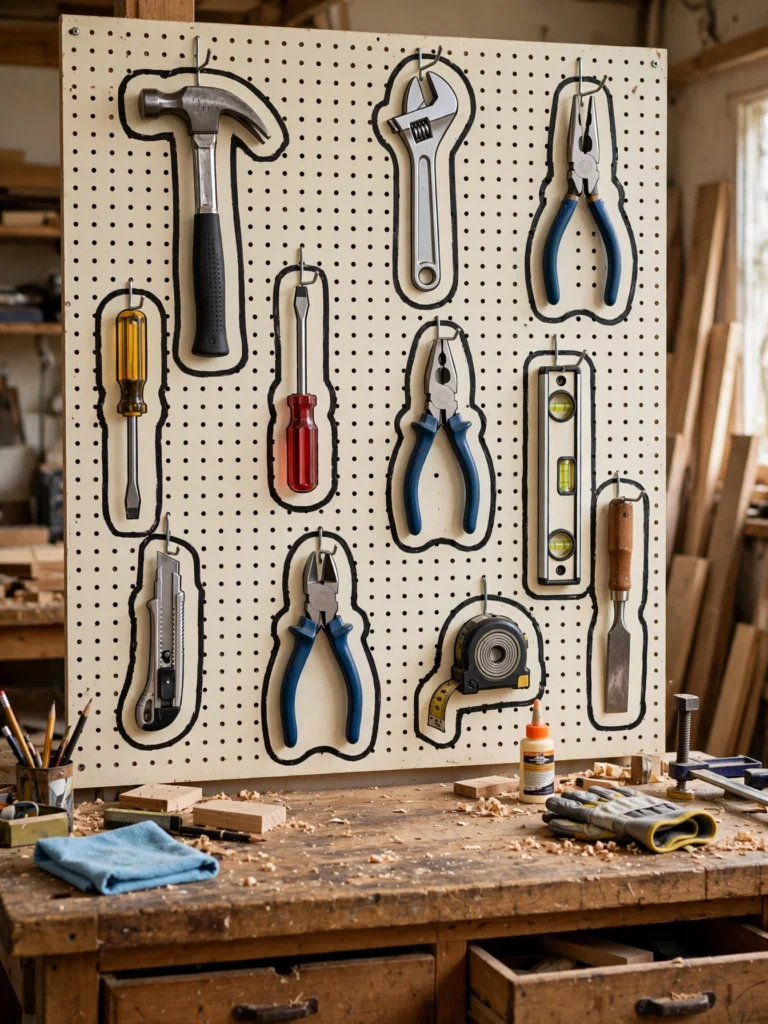
A pegboard above your workbench keeps frequently used hand tools visible and within reach. Outline each tool’s spot with a marker or painted silhouette so everything has an obvious home.
7. Add Slatwall Panels for Heavier Tools
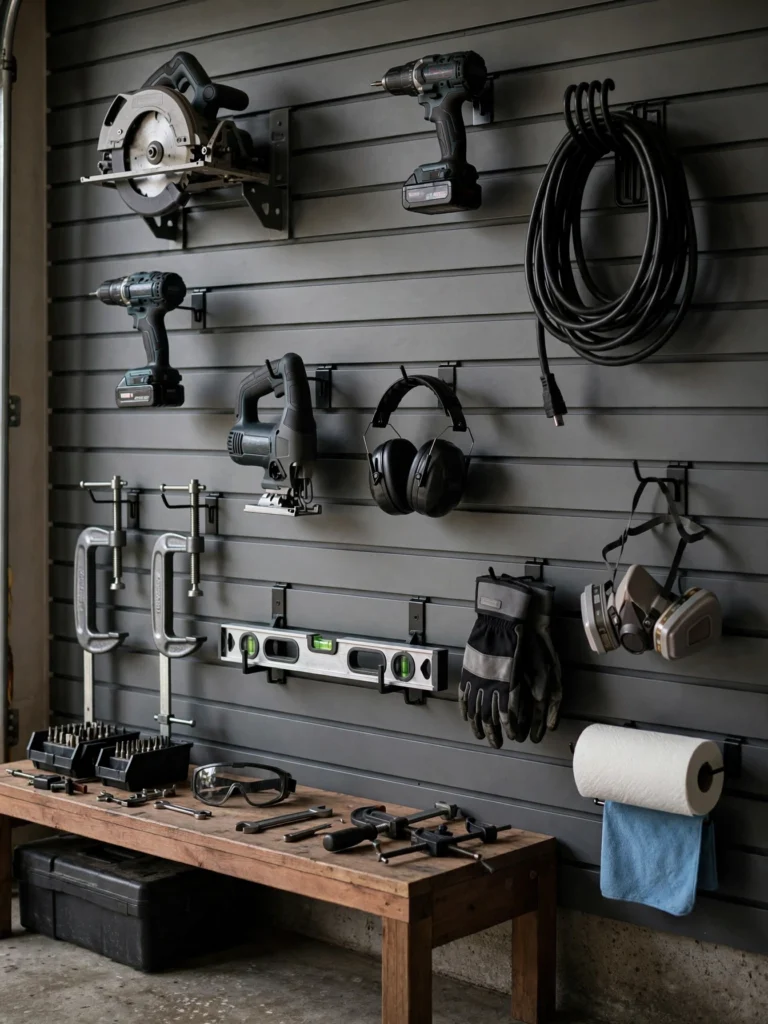
Slatwall systems hold more weight than standard pegboard and work well for power tools, extension cords, and larger accessories using hook-and-bracket attachments.
8. Use Stackable, Labeled Storage Bins
Clear, labeled bins for hardware, fasteners, and small parts prevent the classic “junk drawer” problem. Group by category (screws, bolts, electrical, plumbing) rather than by project.

9. Build or Buy a Wall-Mounted Tool Cabinet
A lockable cabinet keeps power tools protected from dust and out of reach of curious kids, while still being just a few steps from your workbench.
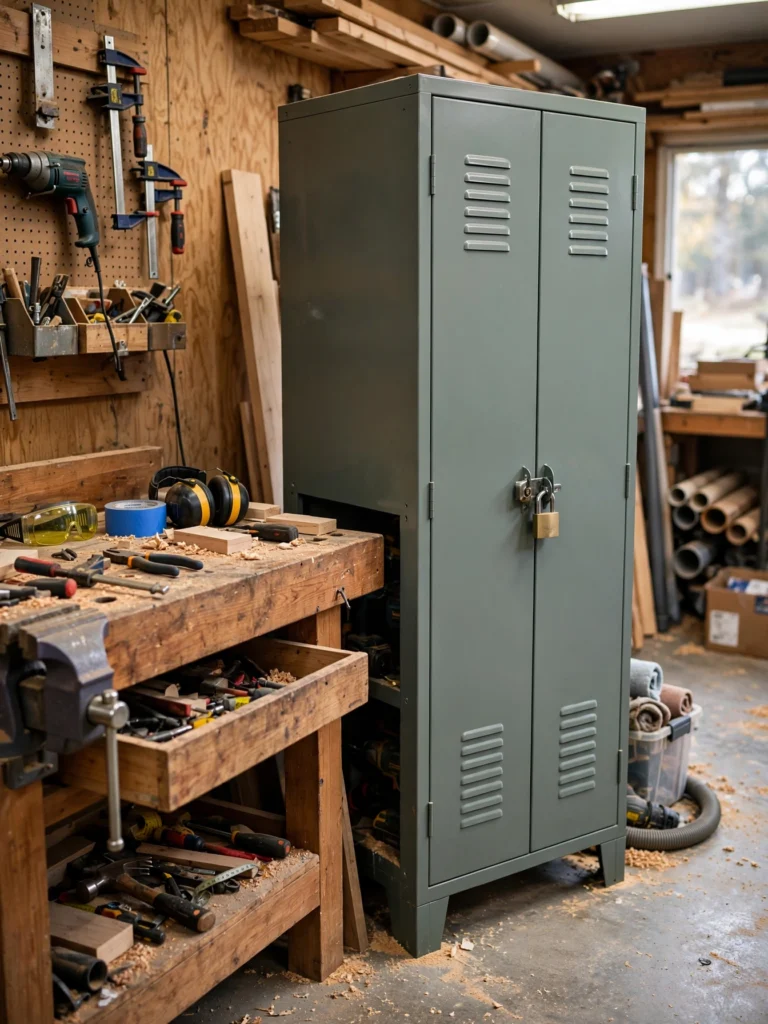
10. Add Overhead Storage Racks
Ceiling-mounted racks are ideal for seasonal or rarely used items holiday decorations, camping gear, spare building materials freeing up wall and floor space for daily-use tools.
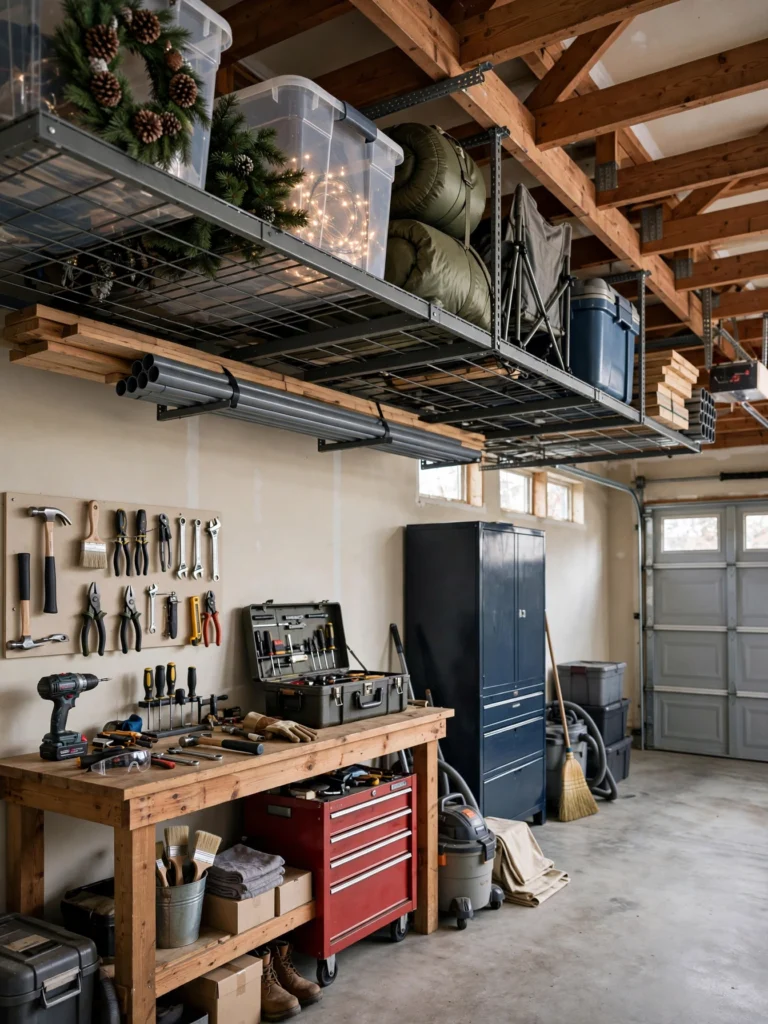
11. Use a Rolling Tool Chest
A multi-drawer rolling chest keeps commonly used tools organized and mobile, so you can bring your full toolkit to a project instead of making repeated trips back to a fixed cabinet.
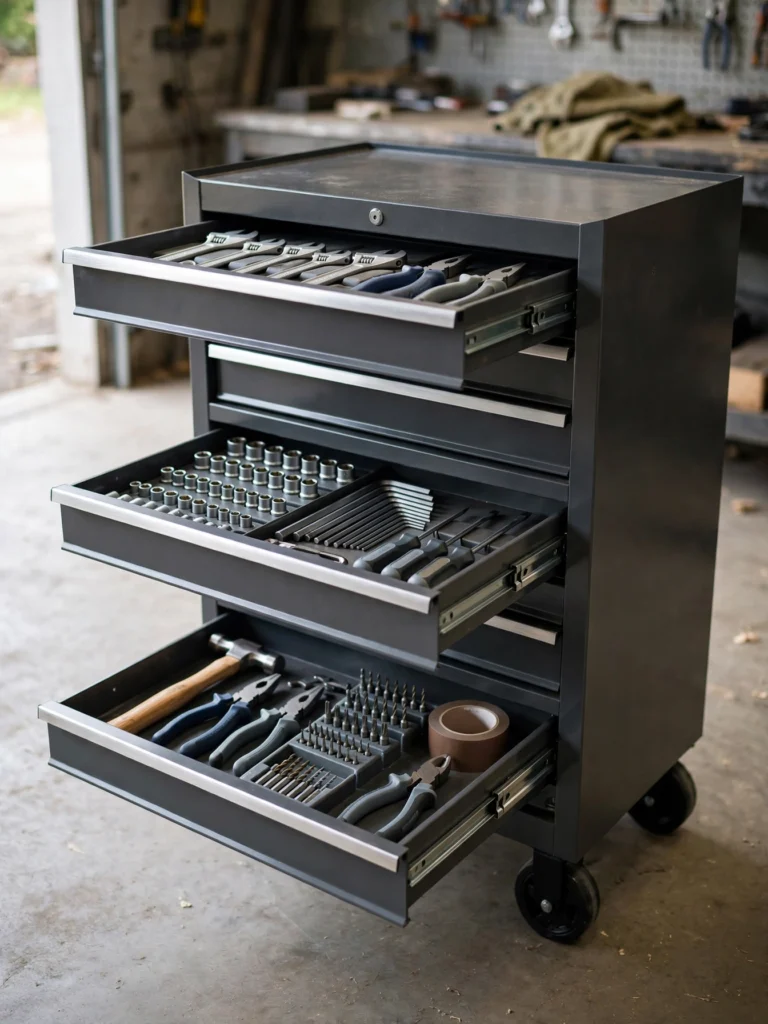
12. Dedicate a Shelf System to Project-in-Progress Storage
Set aside one shelf or bin specifically for unfinished projects and their parts, so half-completed work does not get mixed into general storage or lost entirely.
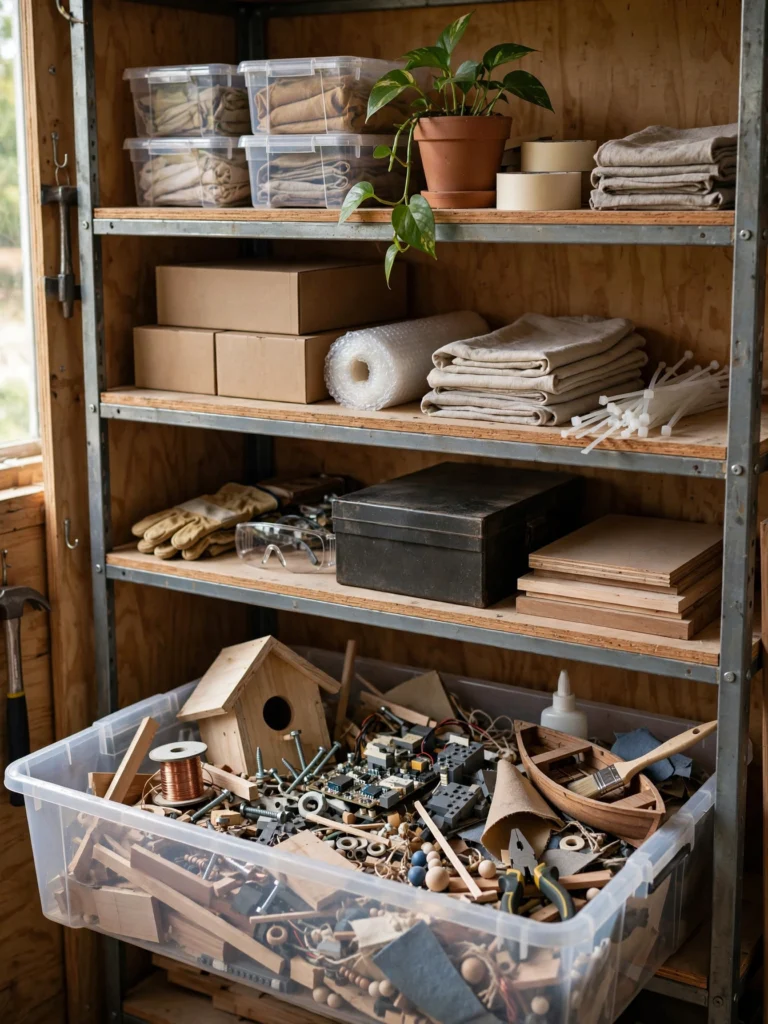
Workbench and Tool Station Ideas
13. Choose a Workbench Height That Matches Your Main Task
A workbench for detailed hand work (electronics, small repairs) should sit higher, closer to elbow height. A workbench for heavier work (sawing, hammering) benefits from a slightly lower surface for better leverage.
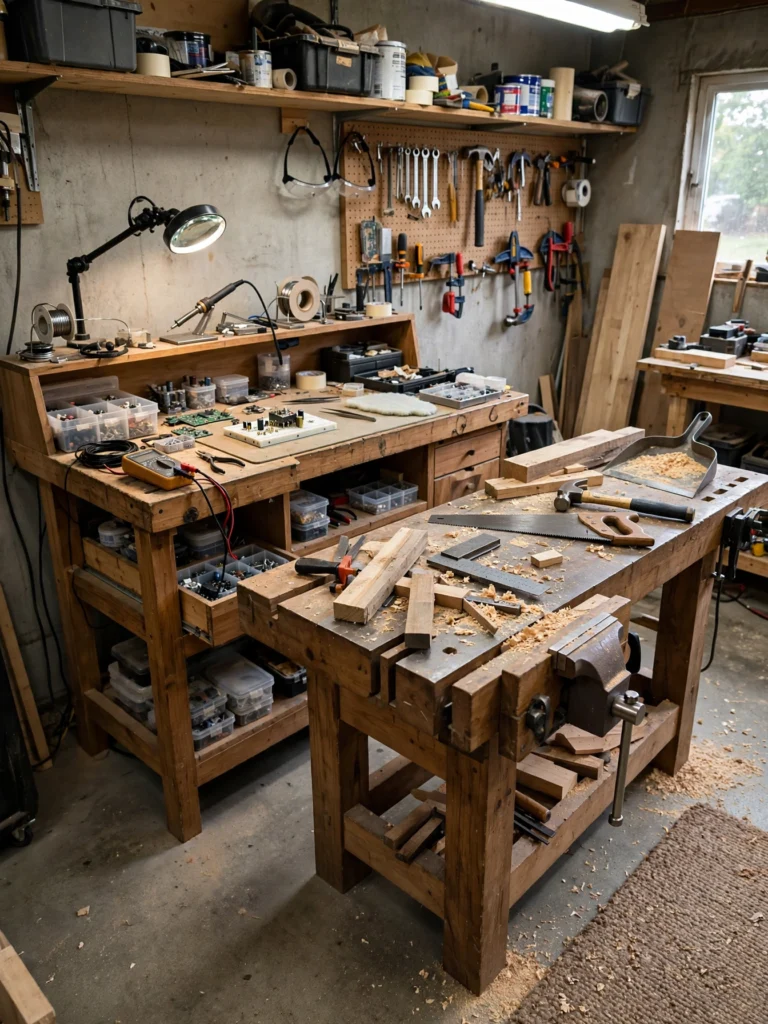
14. Add a Vise to Your Primary Workbench
A quality bench vise is one of the most-used tools in any workshop, whether you are cutting, sanding, gluing, or holding a piece steady for assembly.
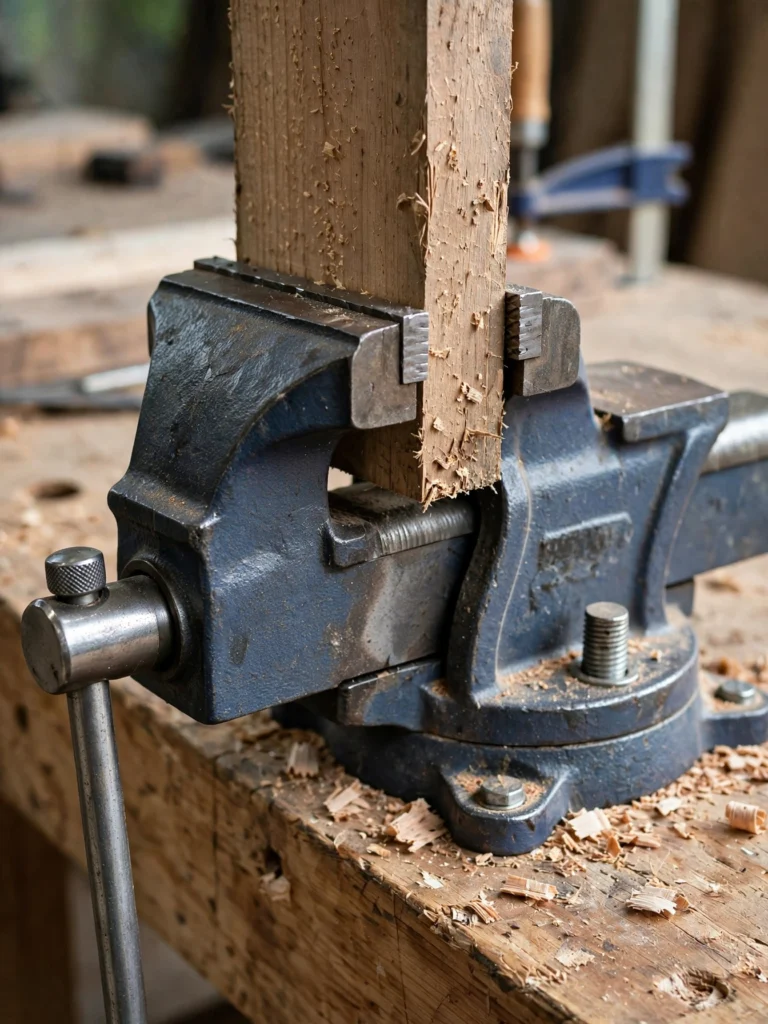
15. Build a Dedicated Assembly Table
If you regularly assemble furniture, projects, or kits, a separate table (even a simple folding one) keeps assembly work from disrupting your main workbench setup.
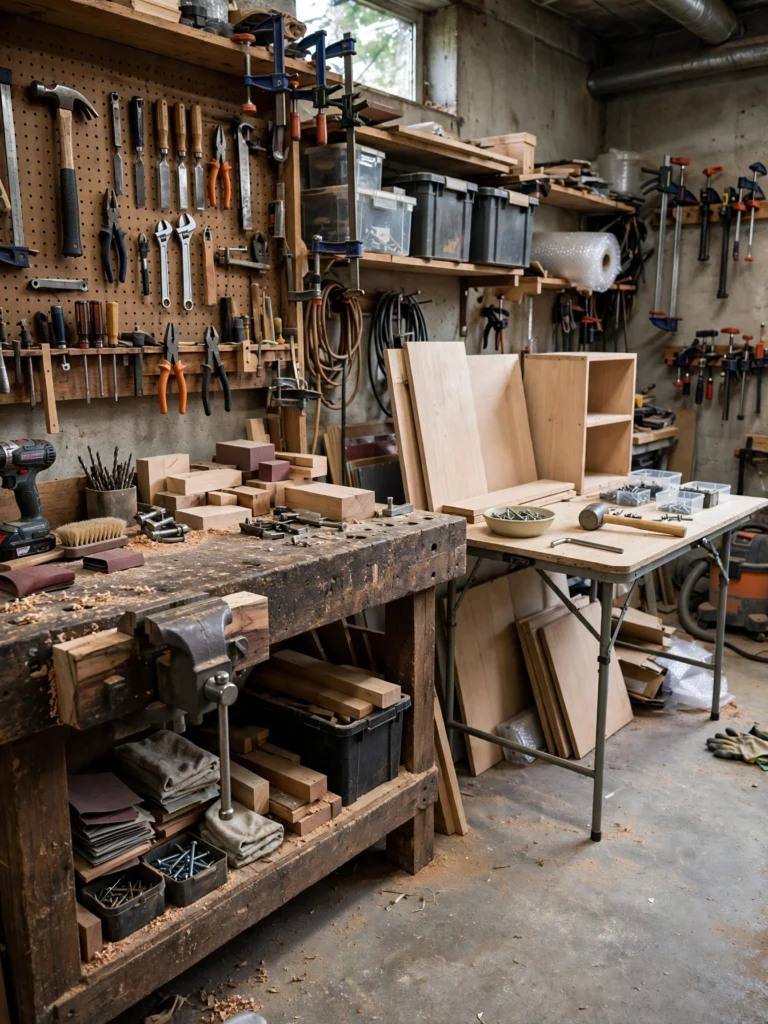
16. Add a Rolling Cart for Power Tools
Keep your most-used power tools drill, sander, saw on a mobile cart so you can bring them directly to a project instead of working at a fixed station every time.
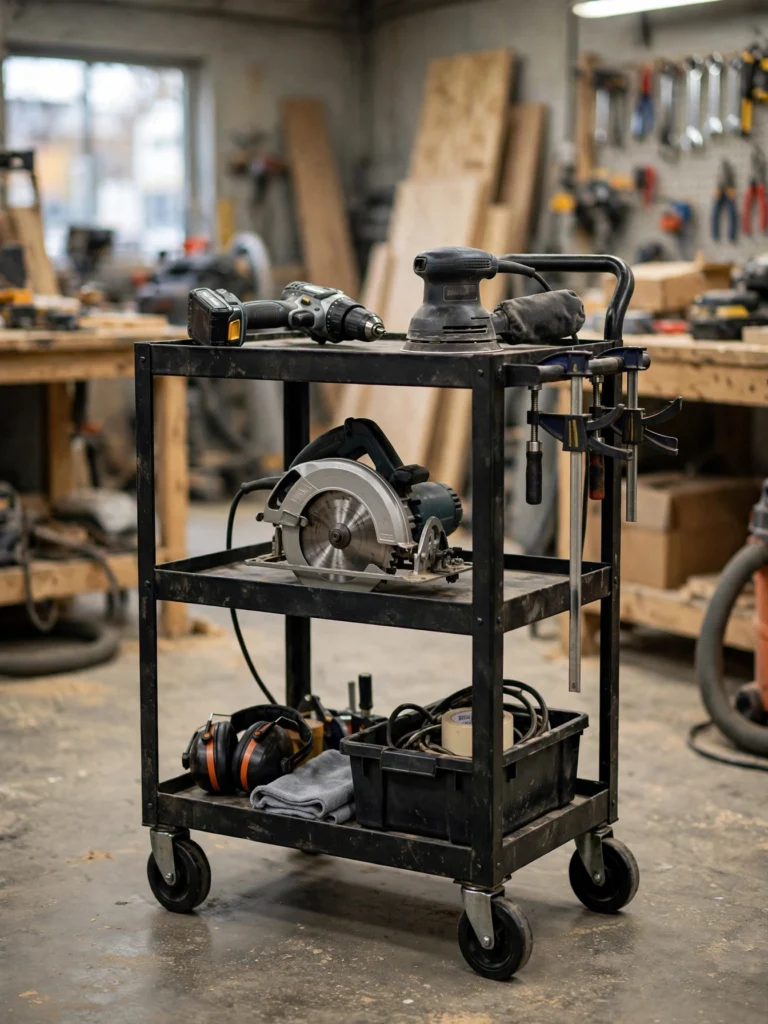
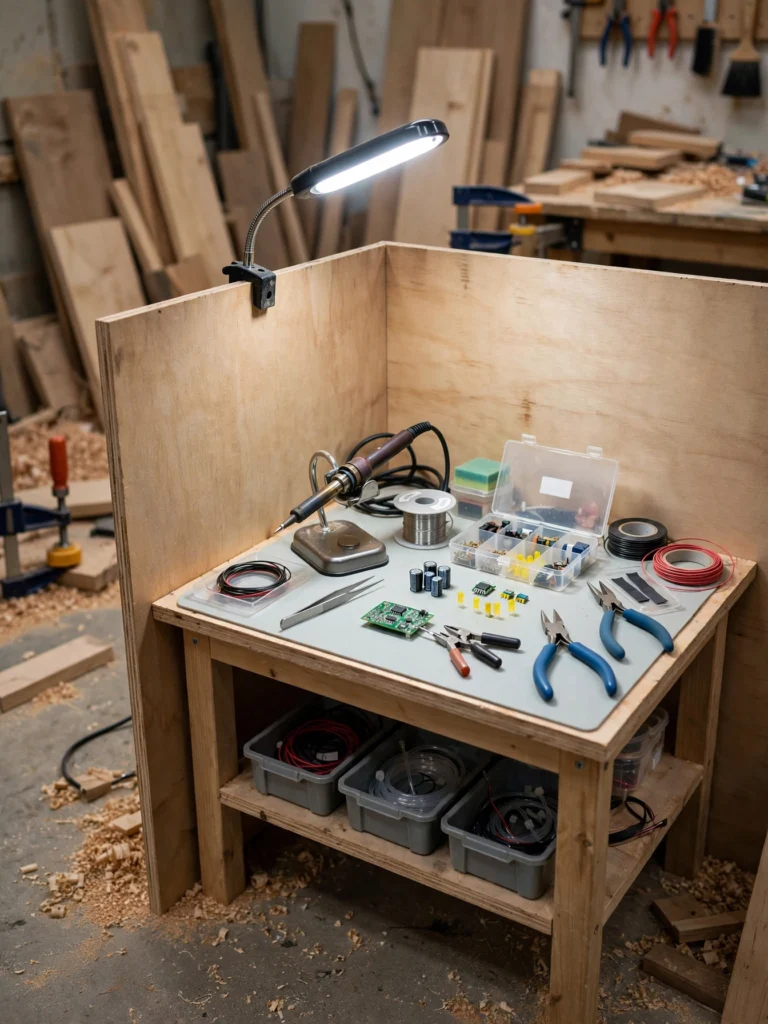
17. Create a Small Electronics or Fine-Detail Station
If your projects include soldering, wiring, or small repairs, a separate, well-lit corner with a smaller table keeps fine work protected from sawdust and larger debris.
Lighting and Electrical Ideas
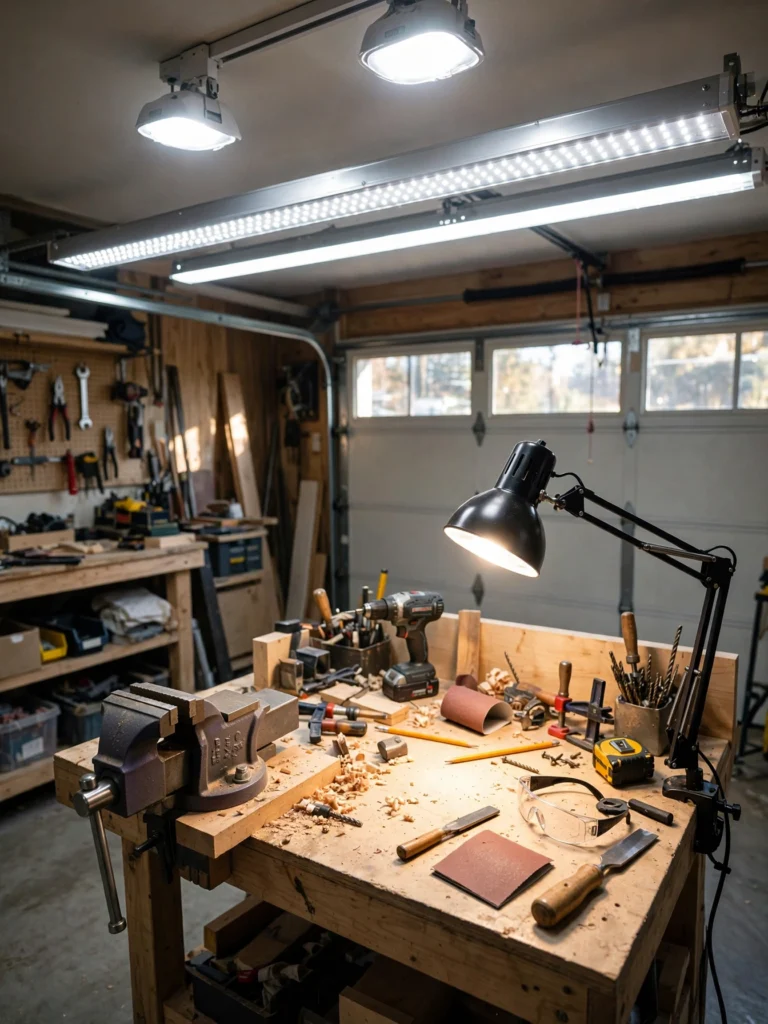
18. Layer Your Lighting
A single overhead bulb is rarely enough for detailed work. Combine bright overhead LED shop lights with a task lamp at your workbench and, if possible, natural light from a window or garage door windows.
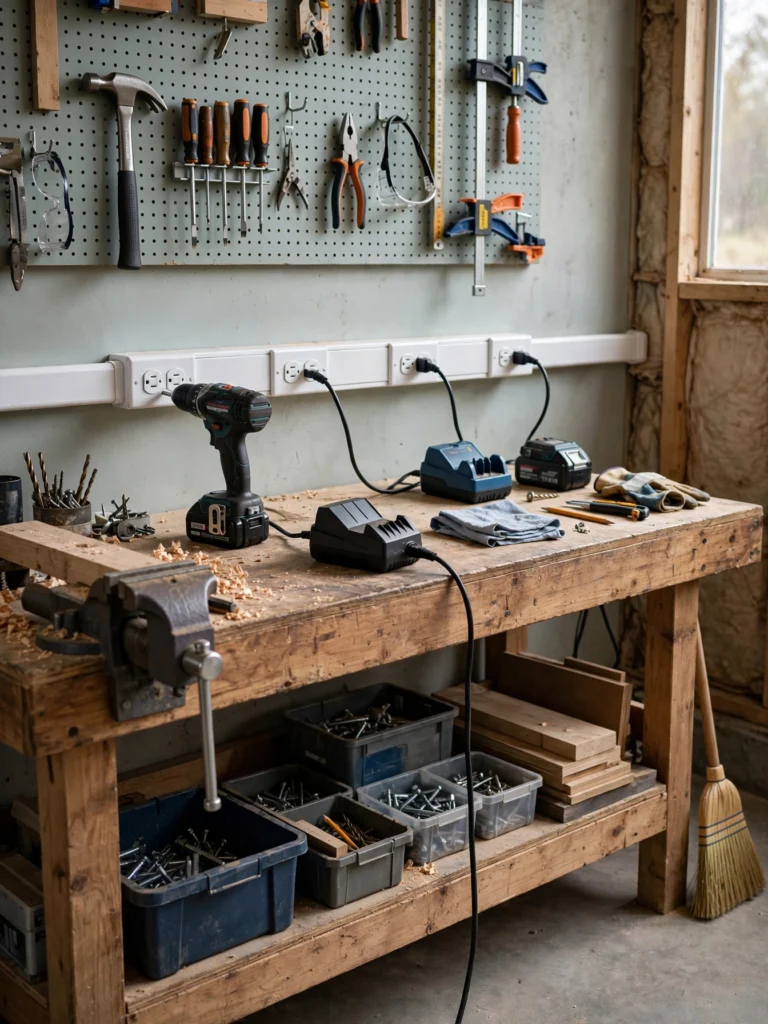
19. Add Additional Outlets Along the Workbench
Running extension cords across the floor is both inconvenient and a safety hazard. A licensed electrician can add a run of outlets directly above or below your workbench for power tools and chargers.
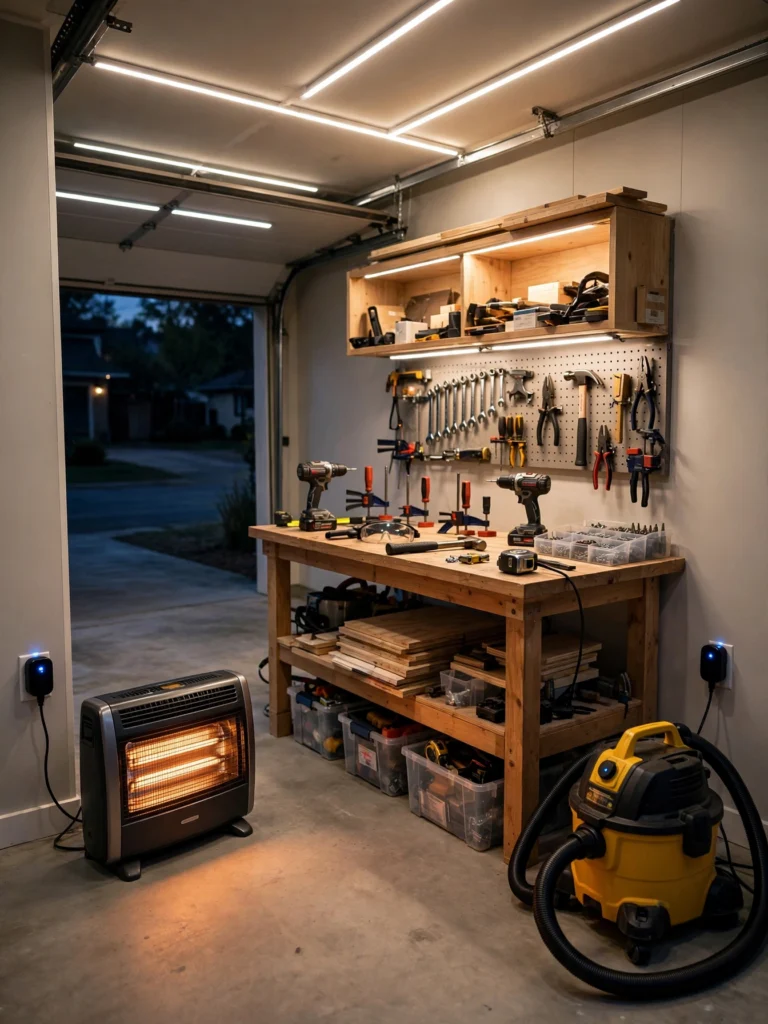
20. Consider Smart Lighting and Outlet Controls
Smart plugs and lighting let you turn on your entire workshop setup lights, a space heater, a shop vacuum with one command or app tap before you even walk in. Our smart home guide covers more ways to bring this kind of automation into a garage workshop.
Safety and Ventilation Ideas
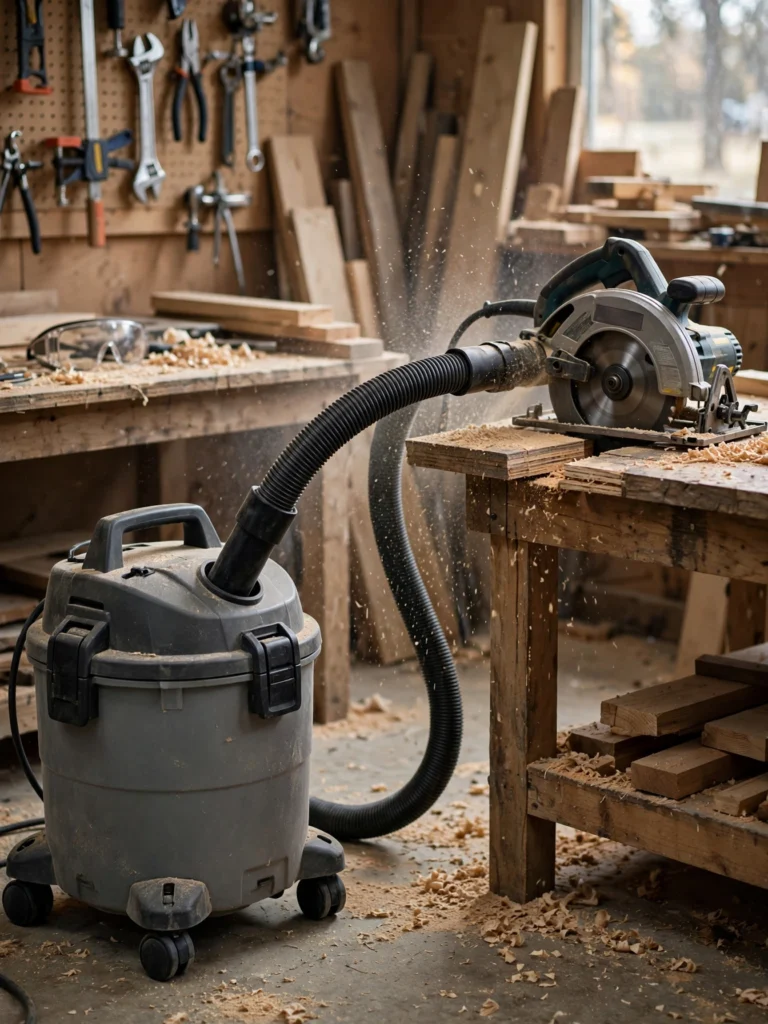
21. Install a Dust Collection System
Even a simple shop vacuum connected to your main power tools can dramatically cut down on airborne dust, which protects both your lungs and your tool storage from buildup.
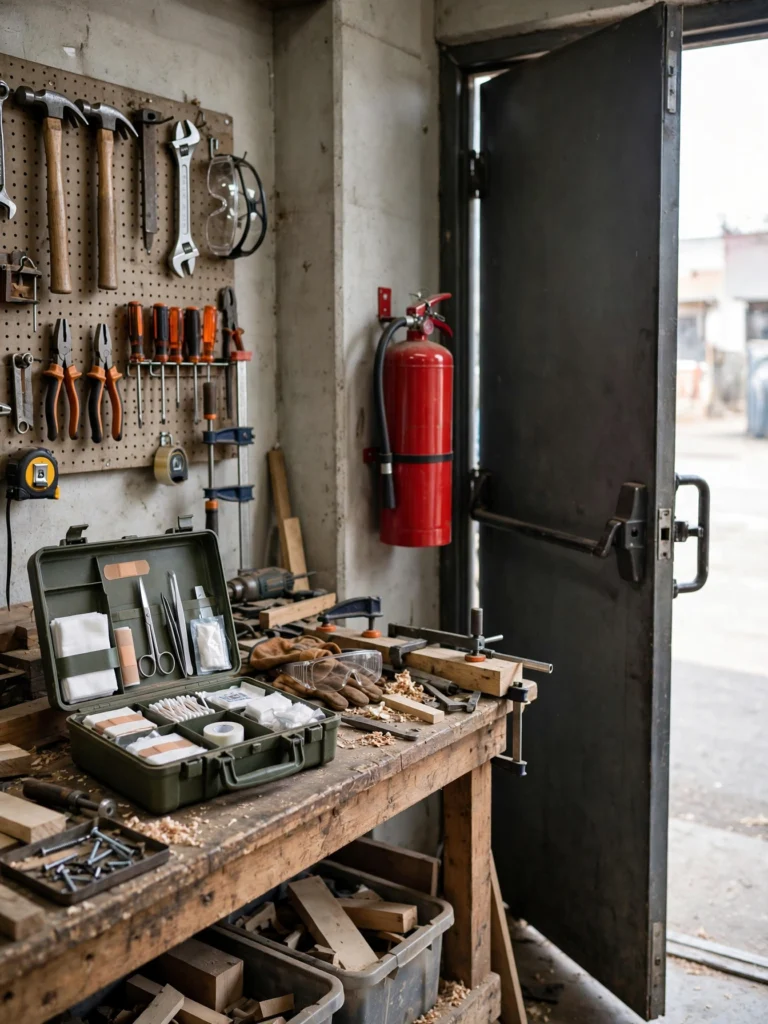
22. Add a Fire Extinguisher and First Aid Kit
Mount a fire extinguisher near the exit, not buried in a cabinet, and keep a basic first aid kit stocked at the workbench for quick access after minor cuts or burns.
23. Improve Ventilation With a Fan or Vent Fan
Garages can trap fumes from paint, solvents, and exhaust. A simple box fan positioned near an open door or window, or a dedicated vent fan, keeps air moving and reduces buildup of fumes.

Flooring and Finishing Touches
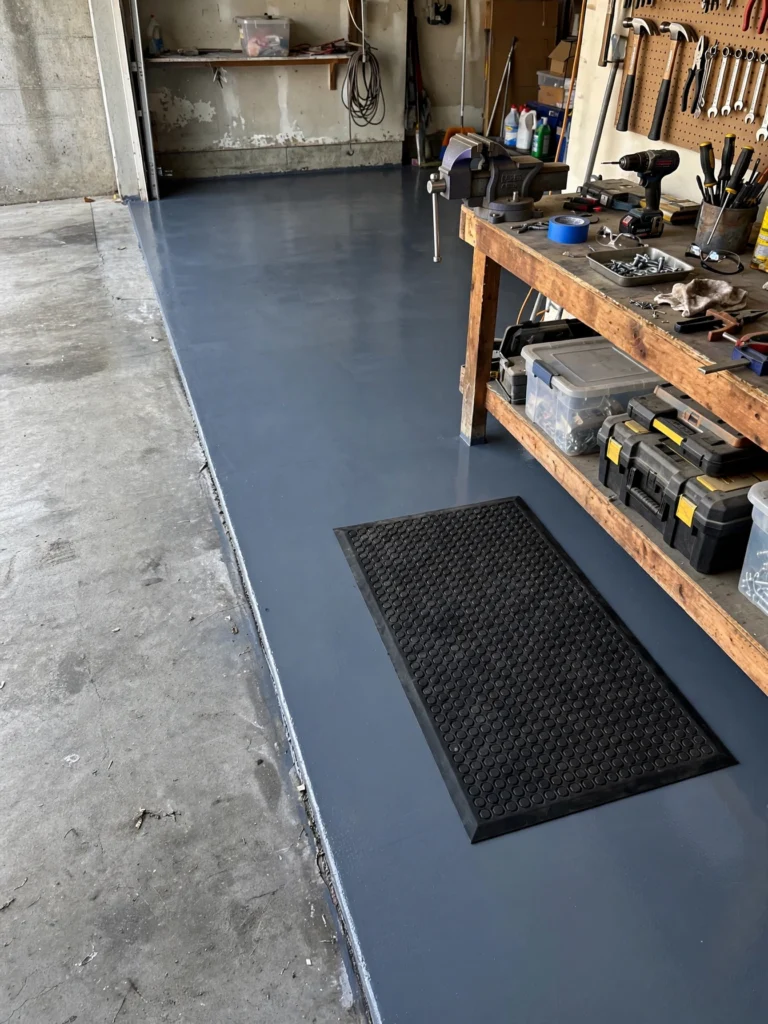
24. Upgrade the Garage Floor
Bare concrete is durable but can be hard on your feet, joints, and tools if something is dropped. Epoxy coatings, interlocking rubber tiles, or anti-fatigue mats near the workbench all improve comfort and protect the floor from stains.
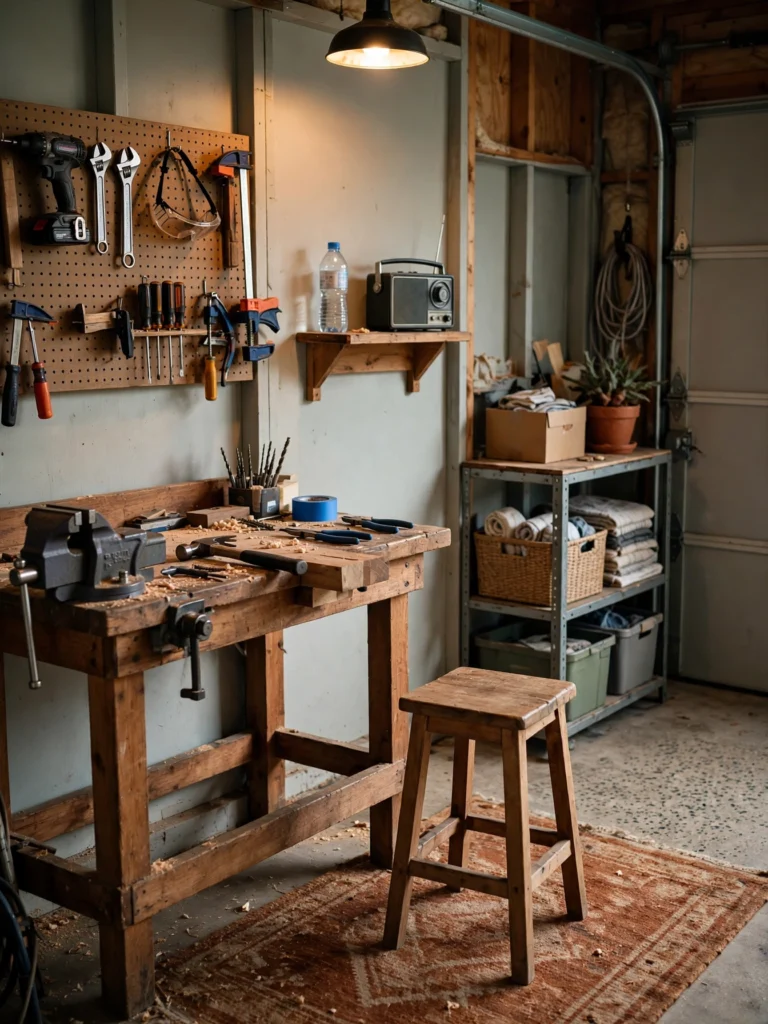
25. Add a Small Seating or Break Area
Even a single stool and a small shelf for a water bottle or radio makes longer projects more comfortable, and gives the space a sense of being a real room rather than just storage with a workbench pushed against one wall.
Garage Workshop Ideas by Hobby Type
The 25 ideas above apply to almost any garage workshop, but the priority order changes depending on what you actually build or repair. Here is how to adjust your setup based on your main focus.
Woodworking Workshops
Woodworking tends to need the most floor space and the most dust control of any garage hobby.
- Prioritize a dust collection system early, since sawdust builds up fast and can damage other stored tools
- Choose a workbench with a flat, sturdy top that can handle clamping and repeated impact
- Store lumber vertically along one wall using a simple rack, rather than stacking it flat where it takes up floor space
- Keep hand tools like chisels and planes on a nearby pegboard so they stay sharp and protected instead of tossed in a drawer
- Leave extra clearance around table saws and miter saws for feeding long boards safely
Automotive and Car Enthusiast Workshops
Car projects need durability underfoot and easy access to bulkier tools.
- Upgrade the floor first epoxy coatings resist oil stains and are far easier to clean than bare concrete
- Store heavier tools (jacks, floor creepers, socket sets) on lower shelves or rolling carts to avoid awkward lifting
- Add a designated parts-and-fluids shelf away from any open flame or spark-producing tools
- Make sure ventilation is strong enough to handle exhaust fumes if you plan to run a vehicle inside
- Keep a fire extinguisher rated for flammable liquids close to the work area, not just a general-purpose one
General DIY and Home Repair Workshops
If your garage supports household repairs rather than a single specialized hobby, flexibility matters more than specialized stations.
- Favor modular storage (stackable bins, adjustable shelving) that can shift as project needs change
- Keep a small “grab-and-go” tool bag stocked with the basics so you are not searching the whole garage for a simple repair
- Label bins by task (plumbing, electrical, painting, general hardware) rather than by tool type, since most home repairs pull from multiple categories at once
- Keep a rolling cart near the door so tools can travel easily to other parts of the house
Crafting and Hobby Workshops
Garages used for crafting, upcycling furniture, or smaller hobby projects benefit from cleanliness and good lighting more than heavy-duty storage.
- Add a washable work surface, since paint, glue, and finishes are more common than sawdust or grease
- Use clear bins for craft supplies so contents are visible at a glance
- Prioritize bright, even lighting over raw brightness, since color accuracy matters more for painting and finishing work
- Add a small drying or curing shelf away from foot traffic for projects that need time to set
No matter which category best describes your workshop, the same underlying framework applies: zone the space by function, keep frequently used items visible and close at hand, and build in room to grow as your projects change.
Budget-Friendly vs. Pro-Level Garage Workshop Setups
Not every workshop needs to be built out all at once. Here is how the same core ideas scale from a starter setup to a fully outfitted shop.
| Feature | Budget-Friendly Approach | Pro-Level Approach |
|---|---|---|
| Workbench | Repurposed table or basic DIY plywood bench | Built-in hardwood bench with integrated vise and outlets |
| Storage | Pegboard + labeled bins from a hardware store | Custom slatwall system with modular cabinets |
| Lighting | Clip-on LED shop lights | Layered overhead LED + task lighting on separate circuits |
| Flooring | Interlocking foam or rubber mats | Epoxy-coated concrete floor |
| Dust Control | Handheld shop vacuum | Dedicated dust collection system wired to power tools |
| Electrical | Power strip with surge protection | Added dedicated outlet circuits installed by an electrician |
Most workshops end up somewhere in between — start with the budget-friendly version of each idea, then upgrade specific stations as your projects and tool collection grow.
Garage Workshop Shopping List
If you are starting from a mostly empty garage, this list covers the core purchases most workshops need, roughly in the order most people buy them.
| Category | What to Buy | Notes |
|---|---|---|
| Workbench | Solid-top workbench or plywood + sawhorse combo | Choose height based on your primary task |
| Storage | Pegboard, hooks, and a few labeled bins | Cheapest high-impact upgrade |
| Lighting | LED shop light fixtures | Layer at least two light sources |
| Seating | A stool or small chair | Helps with longer, detail-oriented tasks |
| Safety | Fire extinguisher, first aid kit, safety glasses | Non-negotiable basics regardless of budget |
| Power | Surge-protected power strip or added outlets | Check capacity before adding heavy tools |
| Flooring | Anti-fatigue mat or interlocking tiles | Start small near the workbench, expand later |
| Dust/Air | Shop vacuum or box fan | Upgrade to a full dust collection system later if needed |
You do not need everything on this list on day one. Most workshops are built in phases start with a workbench, basic storage, and lighting, then add specialized upgrades as specific projects demand them.
Maintaining Your Garage Workshop Over Time
A workshop setup is not a one-time project. Like any working space, it needs periodic upkeep to stay functional.
Do a seasonal reset. Every few months, pull everything off open shelves and pegboards, wipe down surfaces, and reassess whether your current layout still matches how you are actually using the space. Projects and tool collections change, and your zones should shift with them.
Sharpen and service tools regularly. Dull blades, dirty filters, and worn power tool batteries slow down every project and can even be unsafe. Build a simple maintenance schedule into your routine, even if it is just a quarterly checklist.
Reassess storage as your collection grows. A pegboard that fit your tools perfectly a year ago may be overcrowded now. Rather than cramming new tools in wherever they fit, take the time to reorganize by frequency of use.
Keep an ongoing “wish list” shelf or note. Instead of buying every new gadget or storage solution as soon as you see it, keep a running list of upgrades you actually need. This keeps the workshop from slowly refilling with clutter disguised as organization.
Revisit safety equipment annually. Check that your fire extinguisher is still charged, your first aid kit is stocked, and any ventilation fans or dust collection filters are clean and working properly.
Common Garage Workshop Setup Mistakes to Avoid
1. Buying storage before decluttering Adding more bins and shelves to an already-cluttered garage just organizes the clutter — it does not remove it. Sort and purge first.
2. Ignoring workflow between zones If your lumber storage is on the opposite side of the garage from your saw, you will feel that inefficiency on every single project. Plan zones based on how materials actually move through a project.
3. Skipping proper lighting Poor lighting leads to measurement errors, missed details, and eye strain. It is one of the cheapest upgrades with the biggest impact on both safety and enjoyment.
4. Overlooking electrical capacity Running several power tools off one overloaded circuit is both inconvenient and a fire risk. Check your garage’s electrical capacity before adding heavy equipment.
5. Forgetting seasonal temperature swings Garages can get extremely hot or cold depending on climate, which affects both comfort and certain materials (like glues and finishes) that need a stable temperature to cure properly. See our house maintenance resources for insulation and climate-control tips.
6. Not leaving room to grow A workshop that fits your tools exactly today will feel cramped within a year. Leave at least one open shelf or section of wall for future additions.
25-Point Garage Workshop Setup Checklist
| # | Task |
|---|---|
| 1 | Declutter and sort existing items before adding storage |
| 2 | Sketch a zoned layout (work, storage, finishing, parking) |
| 3 | Choose and position a main workbench |
| 4 | Install a pegboard or slatwall above the workbench |
| 5 | Add labeled bins for hardware and small parts |
| 6 | Set up overhead storage for seasonal items |
| 7 | Add a rolling tool chest or cart |
| 8 | Install a bench vise |
| 9 | Layer overhead and task lighting |
| 10 | Add outlets along the workbench |
| 11 | Set up a dust collection or shop vacuum system |
| 12 | Mount a fire extinguisher near the exit |
| 13 | Stock a basic first aid kit |
| 14 | Improve ventilation with a fan or vent |
| 15 | Upgrade the flooring or add anti-fatigue mats |
| 16 | Reserve a clear walking path |
| 17 | Add a small assembly table if needed |
| 18 | Set up a fine-detail or electronics station if applicable |
| 19 | Add smart plugs or lighting controls |
| 20 | Check electrical capacity before adding heavy tools |
| 21 | Add seating or a small break area |
| 22 | Label all storage clearly |
| 23 | Leave room to grow for future tools |
| 24 | Review insulation and temperature control |
| 25 | Do a final walkthrough to test the full workflow |
Frequently Asked Questions
How much does it cost to set up a garage workshop?
Costs vary widely based on how much you build versus buy a basic setup with a repurposed workbench, pegboard, and shop lighting can often be done for a modest budget, while a fully custom workshop with built-in cabinetry and epoxy flooring costs significantly more. Our Home Cost Calculator can help estimate a project like this before you start buying materials.
Do I need to give up parking space for a garage workshop?
Not necessarily. Many workshop setups are designed to be mobile or foldable, using rolling carts, wall-mounted folding workbenches, and stackable bins so the garage can still fit a vehicle when needed.
What is the most important first step in setting up a garage workshop?
Decluttering and planning a zoned layout before buying any new storage or equipment. Adding organization systems to an already-cluttered space just reorganizes the clutter instead of solving the underlying problem.
How do I keep a garage workshop from getting too hot or cold?
Proper insulation, weatherstripping around the garage door, and a portable heater or fan for extreme seasons all help. See our house maintenance guide for more climate-control tips specific to garages.
Can a small garage still fit a full workshop setup?
Yes. Vertical storage, foldable workbenches, and clearly defined zones allow even a single-car garage to function as a complete workshop, especially if the space does not need to hold a vehicle at the same time.
Should I insulate my garage before setting up a workshop?
If you plan to spend significant time working in the space, insulation is worth doing early, since it affects comfort, tool performance, and even how well certain finishes and adhesives cure. It is far easier to insulate walls and the garage door before shelving and cabinetry are installed.
How do I choose between built-in cabinetry and freestanding storage?
Built-in cabinetry looks more finished and maximizes wall space, but freestanding storage is easier to reconfigure or take with you if you move. Many workshops use a mix built-in storage for permanent tool categories and freestanding carts for anything that needs to move around the space.
Final Thoughts
A great garage workshop is not about having every tool or the most expensive setup it is about having a layout that matches how you actually work. Start with a clear zone plan, add storage that keeps your most-used tools visible and accessible, and layer in lighting, safety, and comfort upgrades as your projects grow. Whether you are working with a single pegboard and a folding table or building out a fully custom shop, the same core principles apply: plan first, organize by workflow, and leave room to grow.
For more ideas on the rest of the garage, revisit our garage organization ideas guide, or explore our full home improvement collection for related projects.