
Introduction
Contents
- 1 Introduction
- 1.1 1. Start With a Deep Clean
- 1.2 2. Remove Doors and Hardware
- 1.3 3. Use a Liquid Deglosser
- 1.4 4. Repair Imperfections
- 1.5 5. Choose the Right Primer
- 1.6 6. Pick Durable Cabinet Paint
- 1.7 7. Use the Right Tools
- 1.8 8. Apply Thin Coats
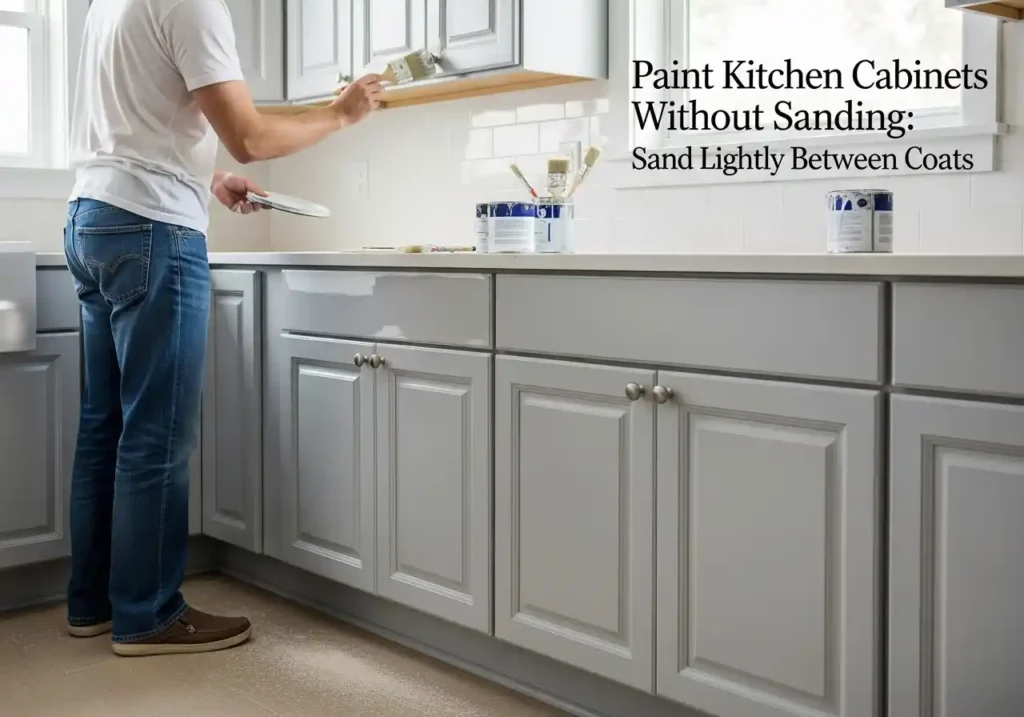
- 1.9 9. Sand Lightly Between Coats (Optional)
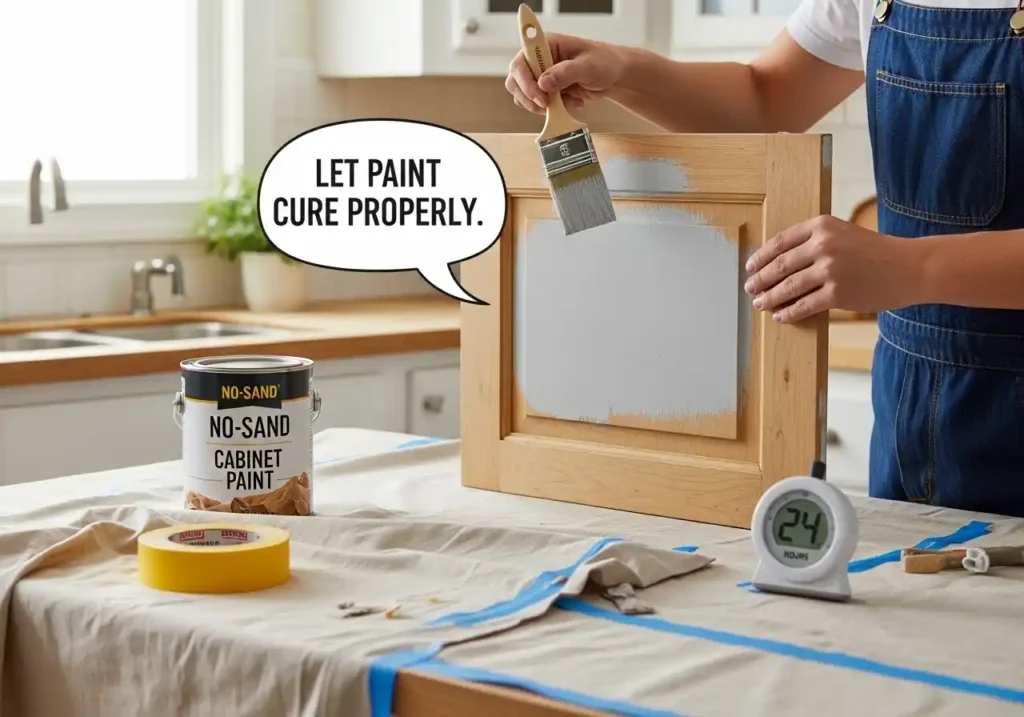
- 1.10 10. Let Paint Cure Properly
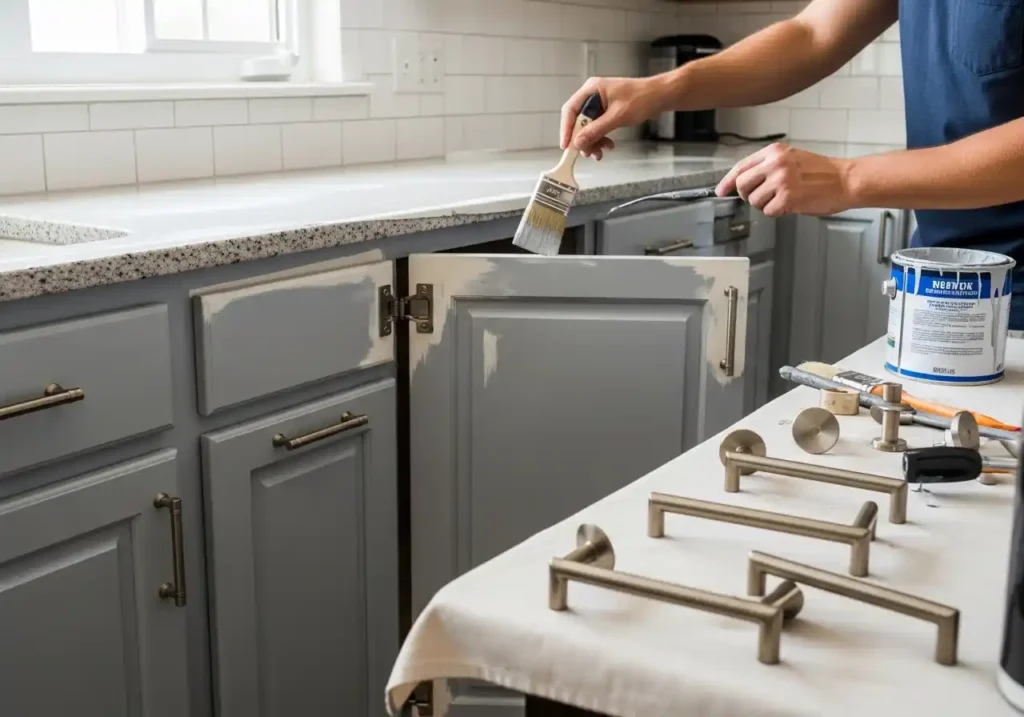
- 1.11 11. Upgrade Hardware for Extra Impact
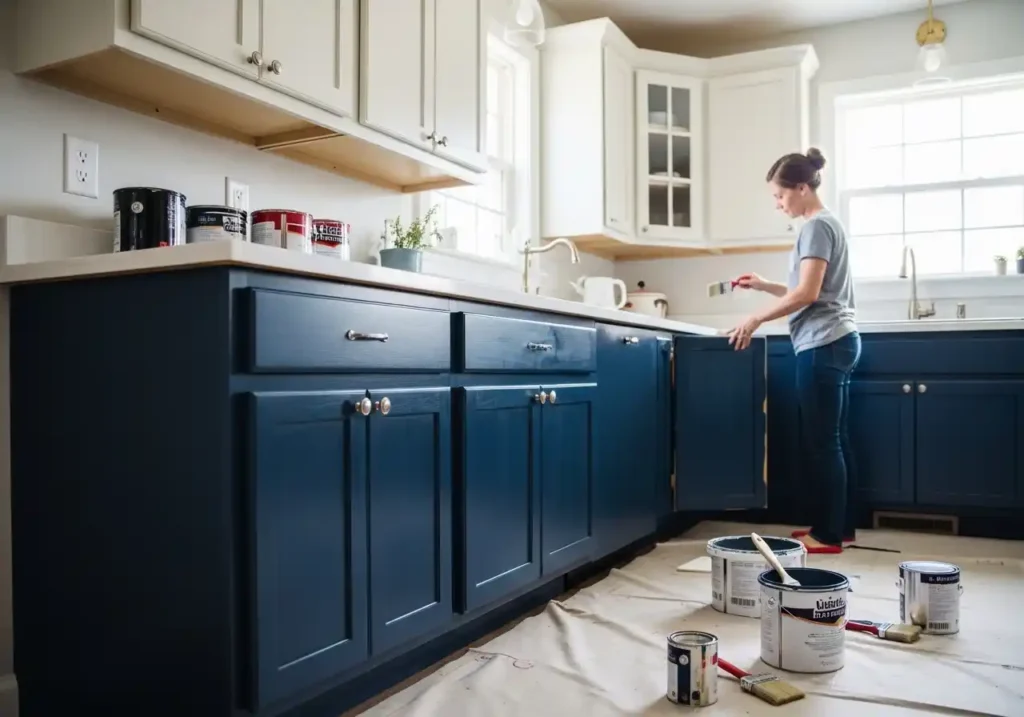
- 1.12 12. Consider Two-Tone Cabinets
- 1.13 13. Don’t Forget the Edges
- 1.14 14. Protect Surrounding Surfaces
- 1.15 15. Reassemble Carefully
- 2 Final Thoughts
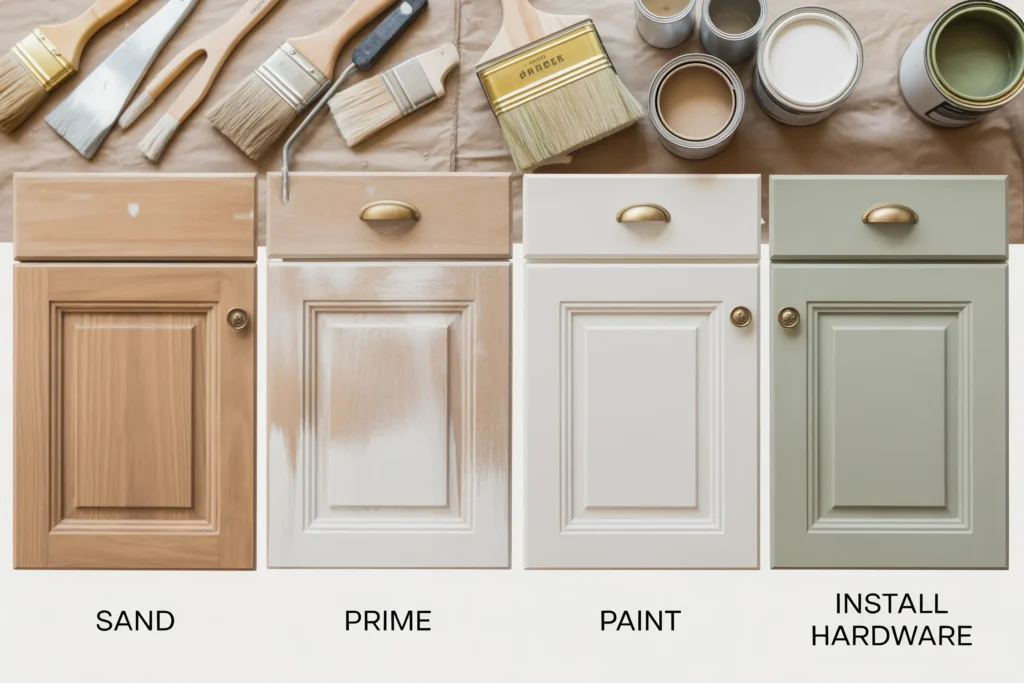
Giving your kitchen cabinets a fresh new look doesn’t have to involve hours of messy sanding. With the right preparation, products, and techniques, you can achieve a smooth, professional finish without the dust and hassle. This method is perfect for busy homeowners who want a budget-friendly kitchen refresh. Follow these smart, no-sanding strategies to transform your cabinets the right way.
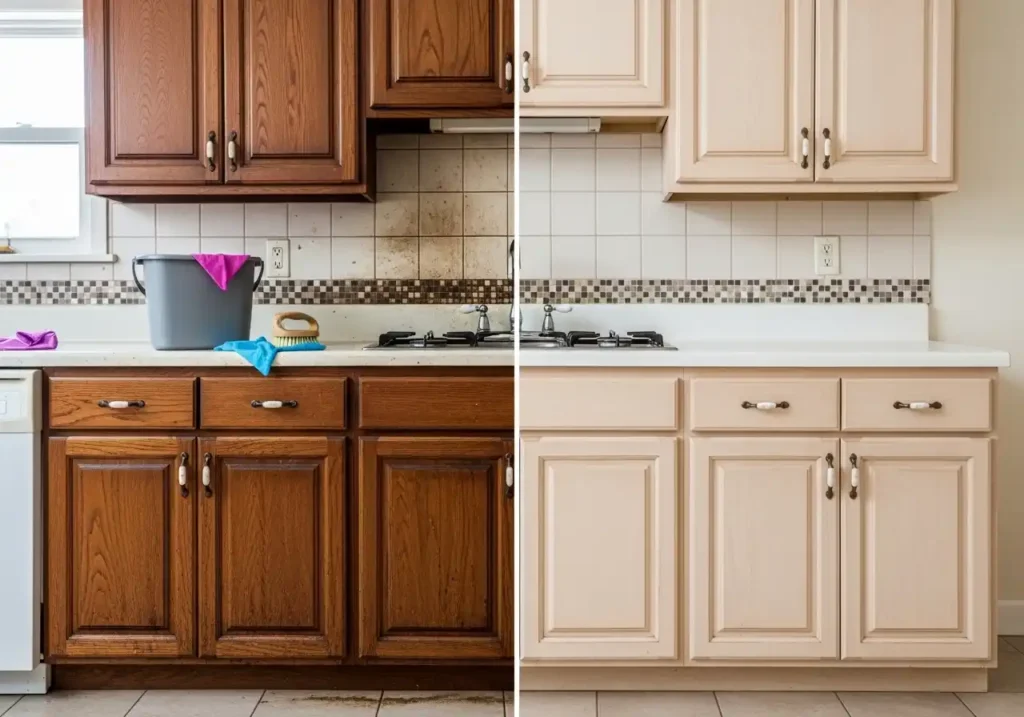
1. Start With a Deep Clean
The most important step is removing grease, grime, and residue. Kitchen cabinets collect oils that can prevent paint from sticking properly. Use a strong degreaser or a mixture of warm water and dish soap to thoroughly scrub every surface. Let the cabinets dry completely before moving on.
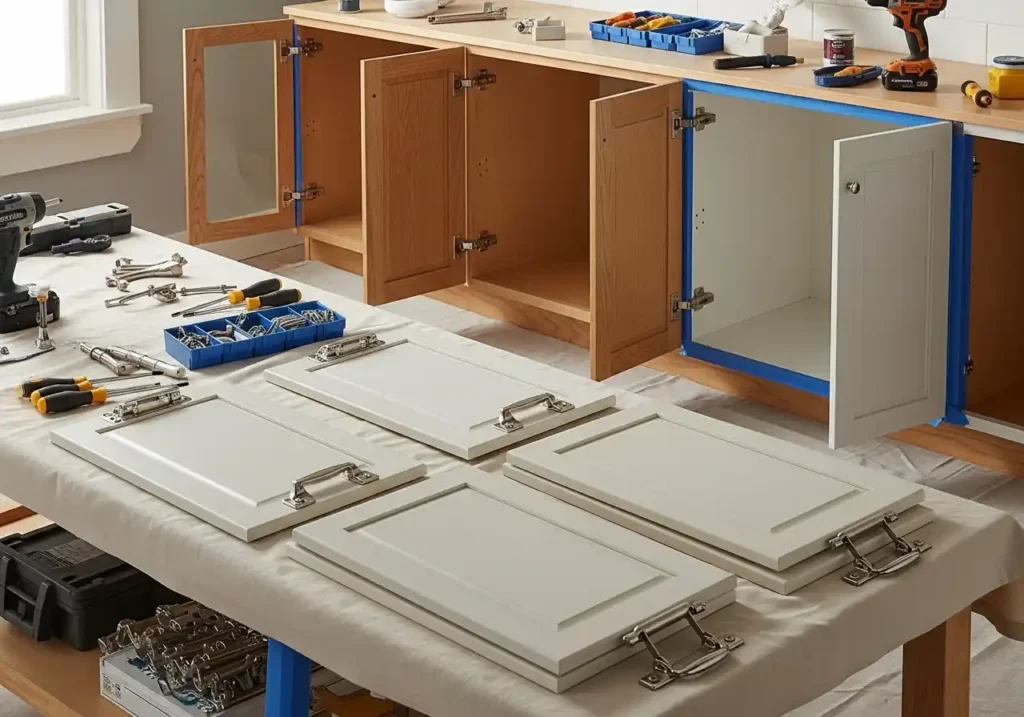
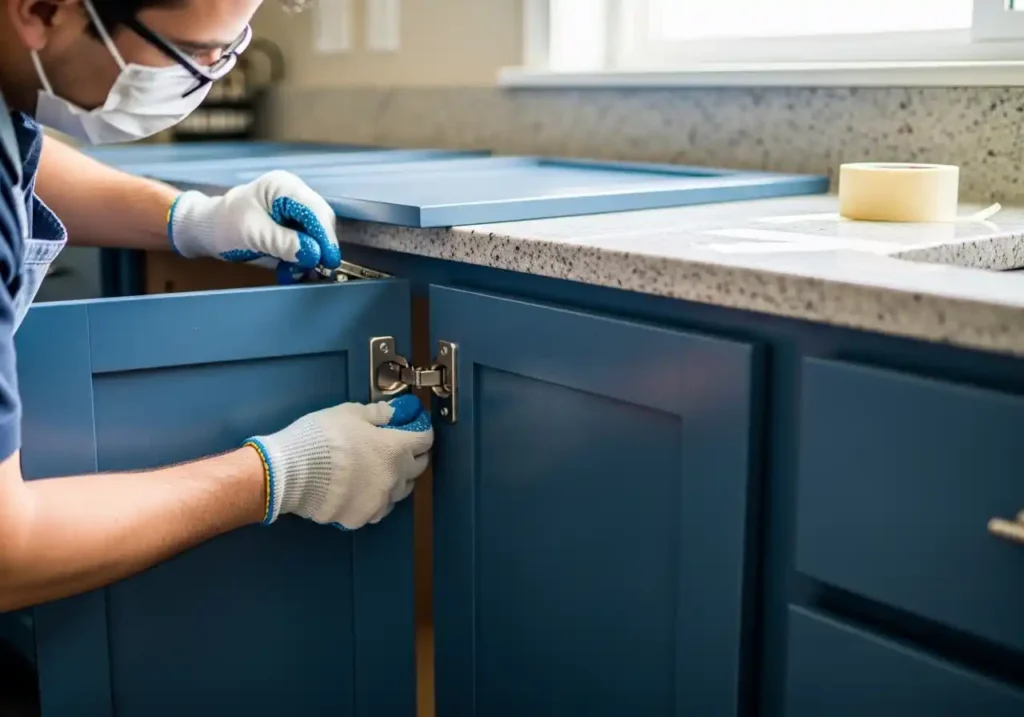
2. Remove Doors and Hardware
Take off cabinet doors, drawers, handles, and hinges before painting. Label each piece so reassembly is simple later. This makes the painting process easier and prevents drips around hardware. It also ensures a cleaner, more professional finish.
3. Use a Liquid Deglosser
Instead of sanding, apply a liquid deglosser (also called liquid sandpaper). This product removes shine and helps new paint adhere to glossy surfaces. Wipe it on with a lint-free cloth and follow the manufacturer’s instructions. It’s quick, effective, and far less messy than sanding.
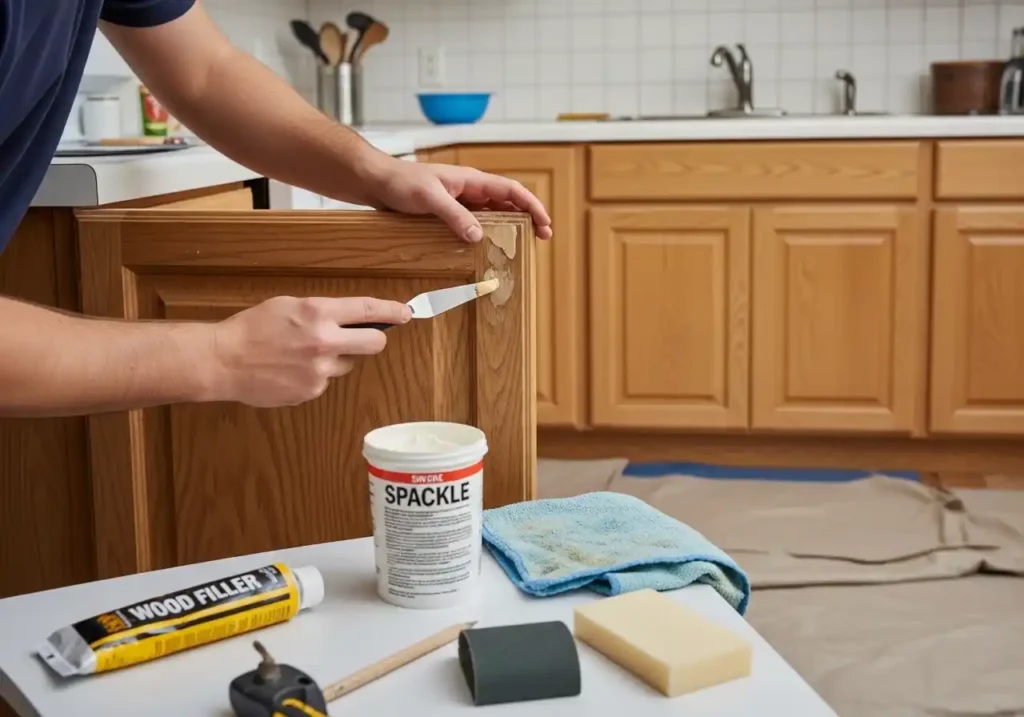
4. Repair Imperfections
Fill any dents, scratches, or holes with wood filler. Once dry, lightly smooth the repaired areas with a fine sanding sponge if needed. Even though you’re skipping full sanding, small touch-ups ensure a flawless result. Clean away dust before priming.
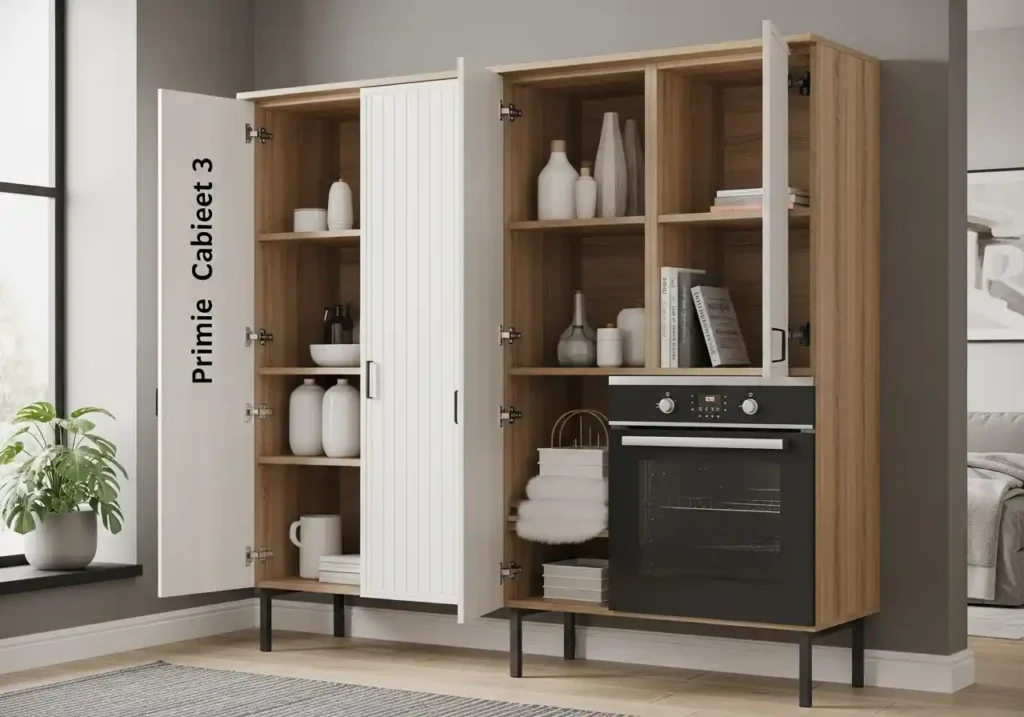
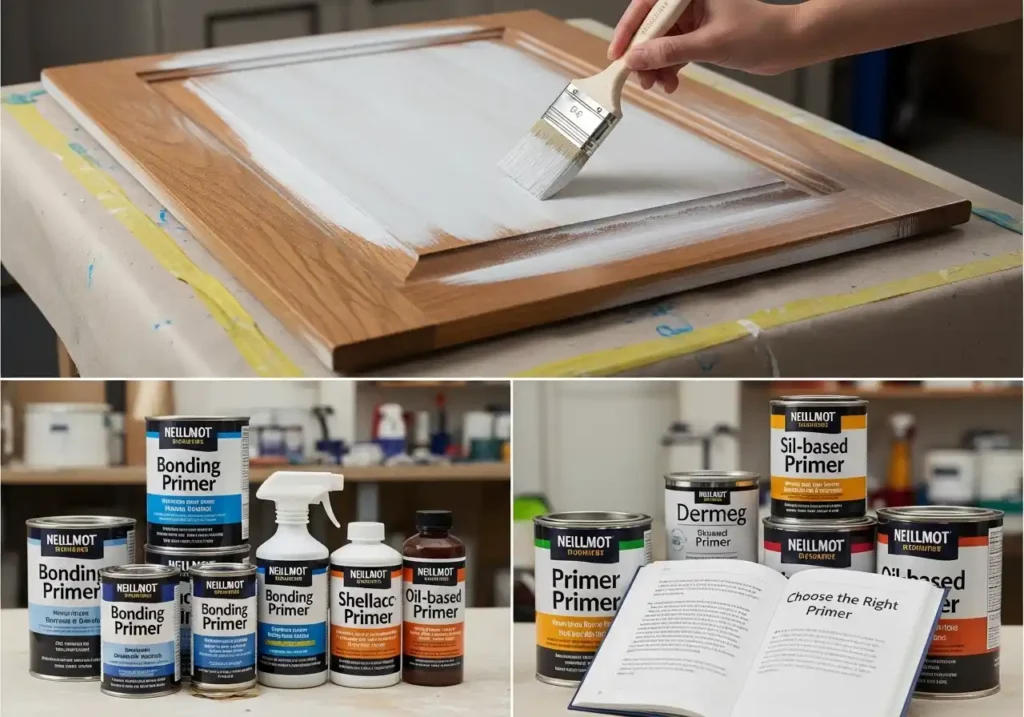
5. Choose the Right Primer
A high-quality bonding primer is essential for skipping sanding. Look for primers specifically designed for slick or glossy surfaces. Apply a thin, even coat and allow it to dry fully. Proper priming prevents peeling and chipping later.
6. Pick Durable Cabinet Paint
Not all paints are suitable for cabinets. Choose a paint formulated for cabinets, trim, or furniture for durability. Satin, semi-gloss, or gloss finishes are easiest to clean and maintain. Quality paint makes a noticeable difference in the final look.

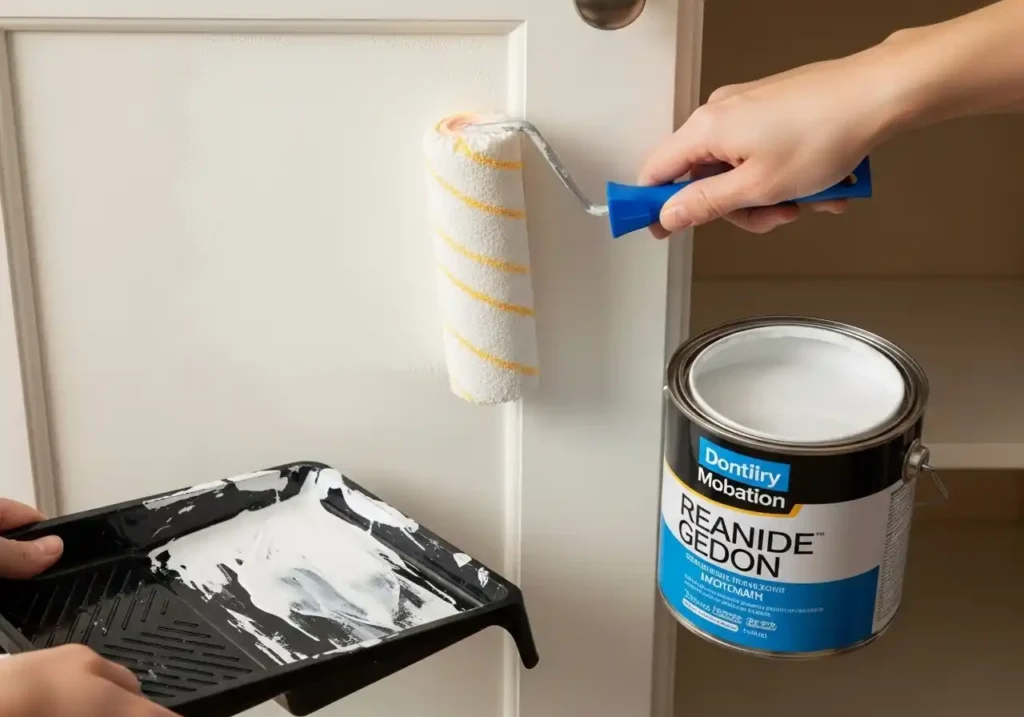
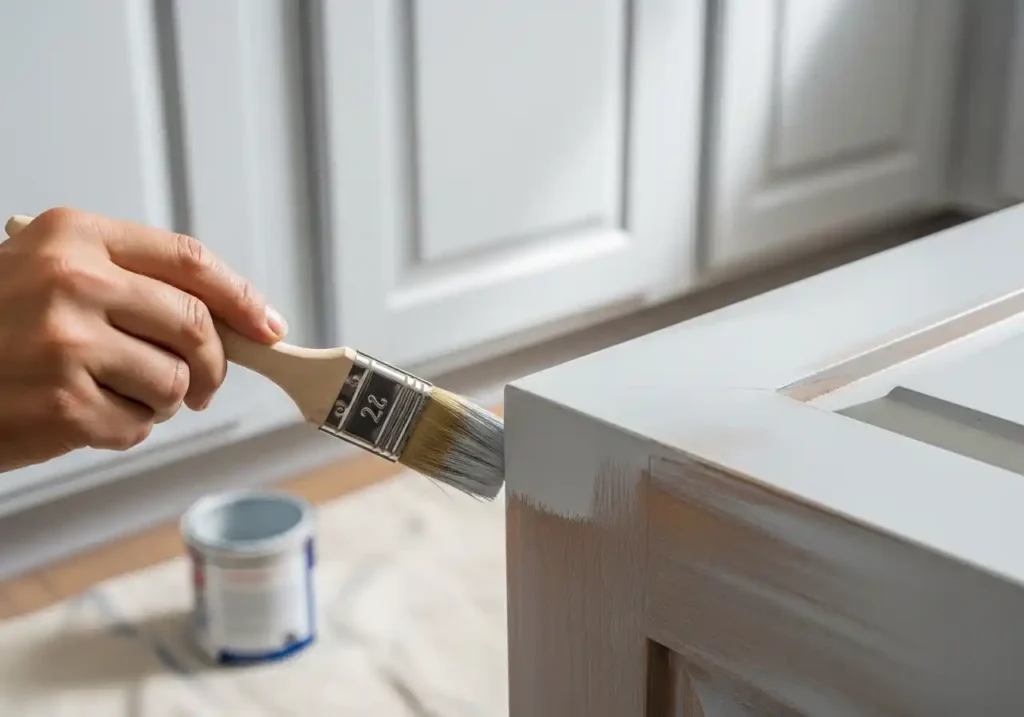
7. Use the Right Tools
A combination of a high-density foam roller and an angled brush works best. Foam rollers help create a smooth, brush-stroke-free surface. Use brushes only for corners and detailed areas. Good tools elevate the overall finish.
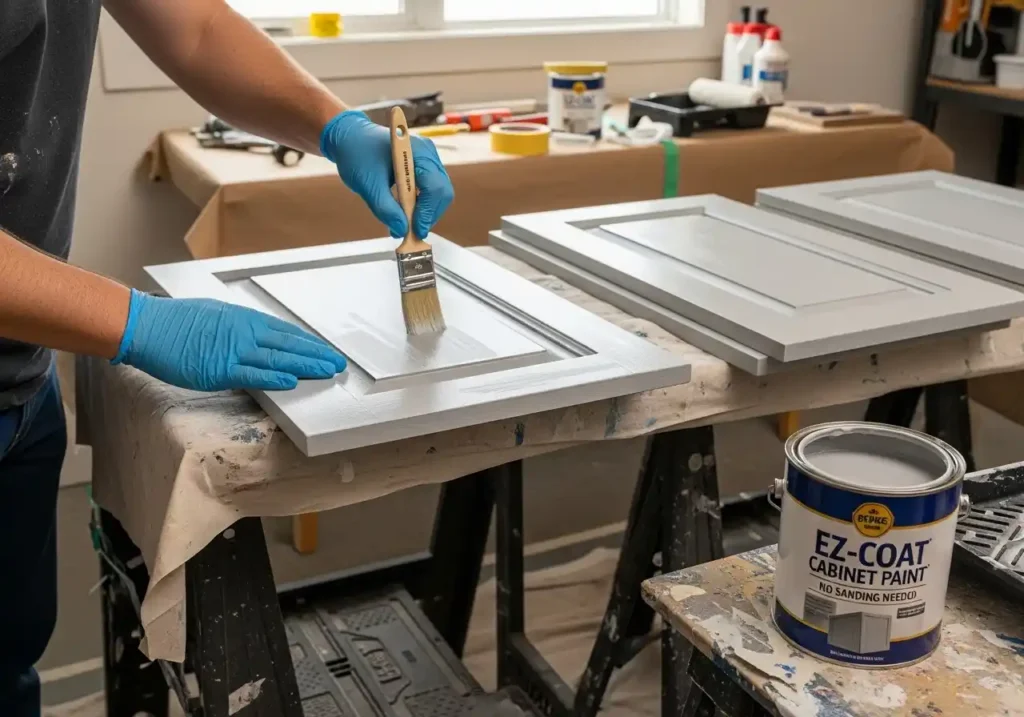
8. Apply Thin Coats
Avoid thick coats that lead to drips and uneven drying. Apply multiple thin layers instead of one heavy coat. Allow each coat to dry completely before adding the next. Patience results in a smooth, factory-like finish.
9. Sand Lightly Between Coats (Optional)
While you’re skipping heavy sanding, a very light buff between coats can improve smoothness. Use a fine-grit sanding sponge gently. Wipe away any dust before applying the next layer. This step enhances the final appearance.
10. Let Paint Cure Properly
Dry and cure are not the same thing. Even if paint feels dry to the touch, it may need several days to fully harden. Avoid heavy use during this time. Proper curing ensures long-lasting durability.
11. Upgrade Hardware for Extra Impact
New handles and knobs can completely transform painted cabinets. Choose modern, classic, or bold styles depending on your kitchen aesthetic. Hardware is a small detail that creates a big visual upgrade. It complements your fresh paint beautifully.
12. Consider Two-Tone Cabinets
For a trendy Pinterest-worthy look, try two-tone cabinets. Paint upper cabinets a lighter shade and lower cabinets a darker color. This adds depth and dimension to the space. It’s a stylish way to elevate your kitchen design.
13. Don’t Forget the Edges
Cabinet edges and corners are easy to miss. Pay special attention to these areas when priming and painting. Smooth, even coverage prevents visible patches later. Detail work makes your project look professionally done.
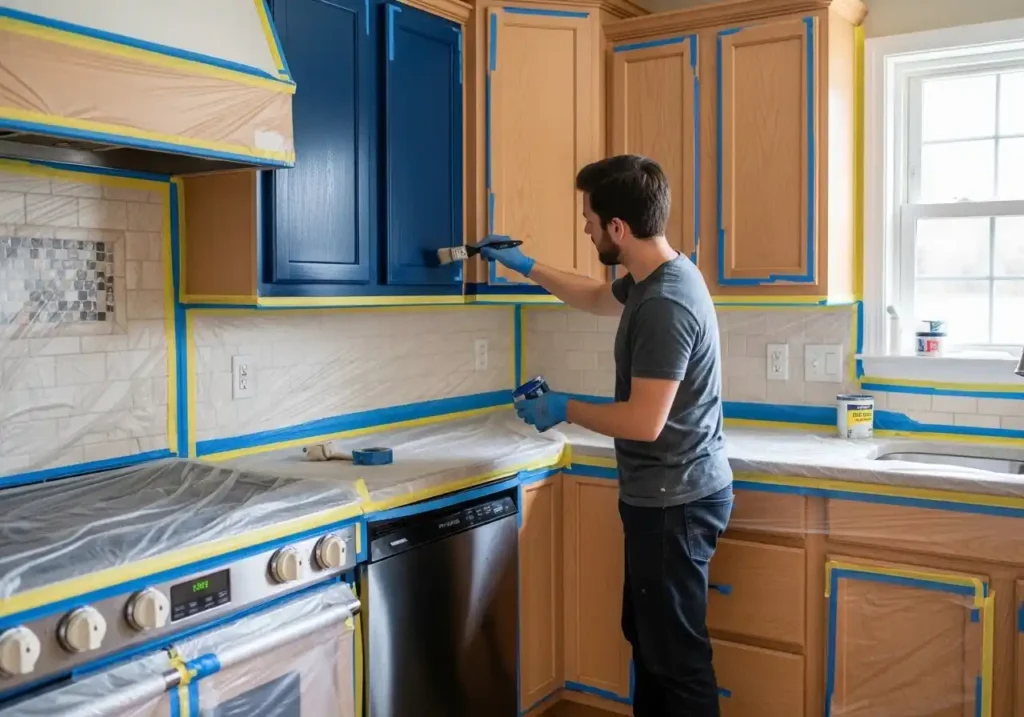
14. Protect Surrounding Surfaces
Use painter’s tape and drop cloths to protect countertops, floors, and walls. Careful preparation prevents accidental splatters. A clean workspace makes the entire process less stressful. Prevention saves cleanup time later.
15. Reassemble Carefully
Once everything is fully cured, reinstall doors and hardware. Tighten hinges securely and adjust alignment if needed. Take your time to ensure everything sits evenly. The final assembly reveals the full transformation.
Final Thoughts
Painting kitchen cabinets without sanding is completely achievable when done correctly. The key lies in thorough cleaning, proper priming, and applying thin, even coats. With patience and attention to detail, you can create a stunning, long-lasting finish. This simple upgrade can dramatically refresh your kitchen without the cost of a full renovation.