
Introduction
Contents
- 1 Introduction
- 1.1 1. Choose the Right Location
- 1.2 2. Reinforce the Walls
- 1.3 3. Secure the Entrance
- 1.4 4. Improve Ventilation
- 1.5 5. Stock Emergency Supplies
- 1.6 6. Add Basic Bedding
- 1.7 7. Install Emergency Lighting
- 1.8 8. Strengthen the Ceiling
- 1.9 9. Waterproof the Area
- 1.10 10. Create Storage Solutions
- 1.11 11. Set Up Communication Tools
- 1.12 12. Keep It Discreet
- 2 Final Thoughts
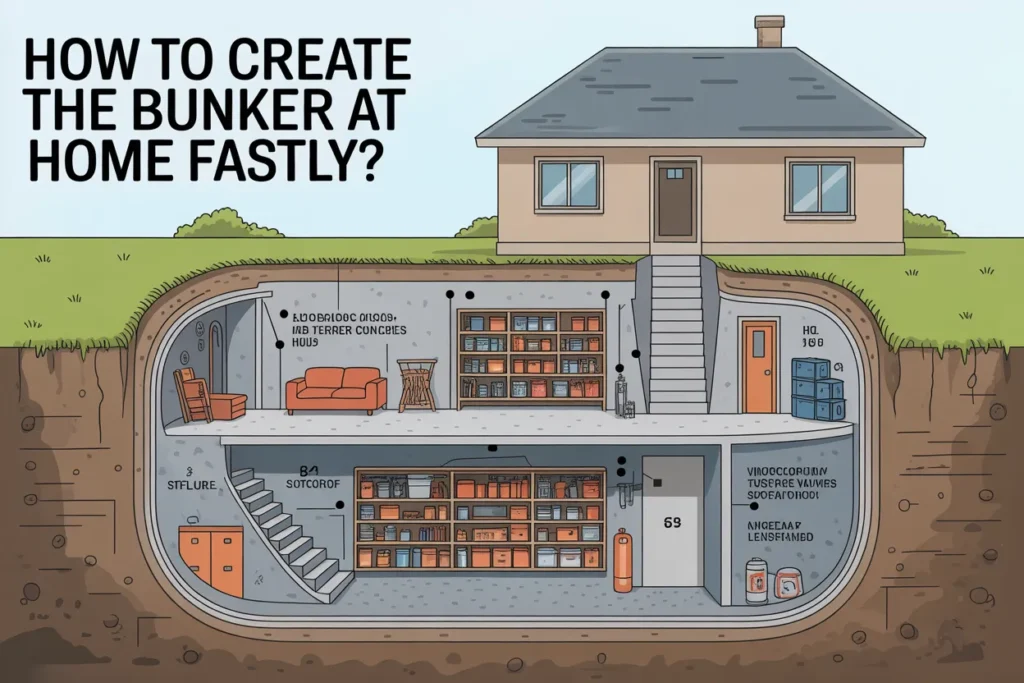
Creating a bunker at home quickly is possible with smart planning and practical materials. Whether you want a safe space for emergencies, natural disasters, or extra security, a well-organized approach saves both time and money. You don’t need extreme construction skills to build a functional shelter. With the right ideas and preparation, you can set up a reliable home bunker efficiently.
1. Choose the Right Location
Start by selecting the safest area in your home, such as a basement or underground space. If you don’t have a basement, consider a reinforced interior room without windows. The location should be easily accessible yet discreet. Make sure the area is dry and structurally strong before building.
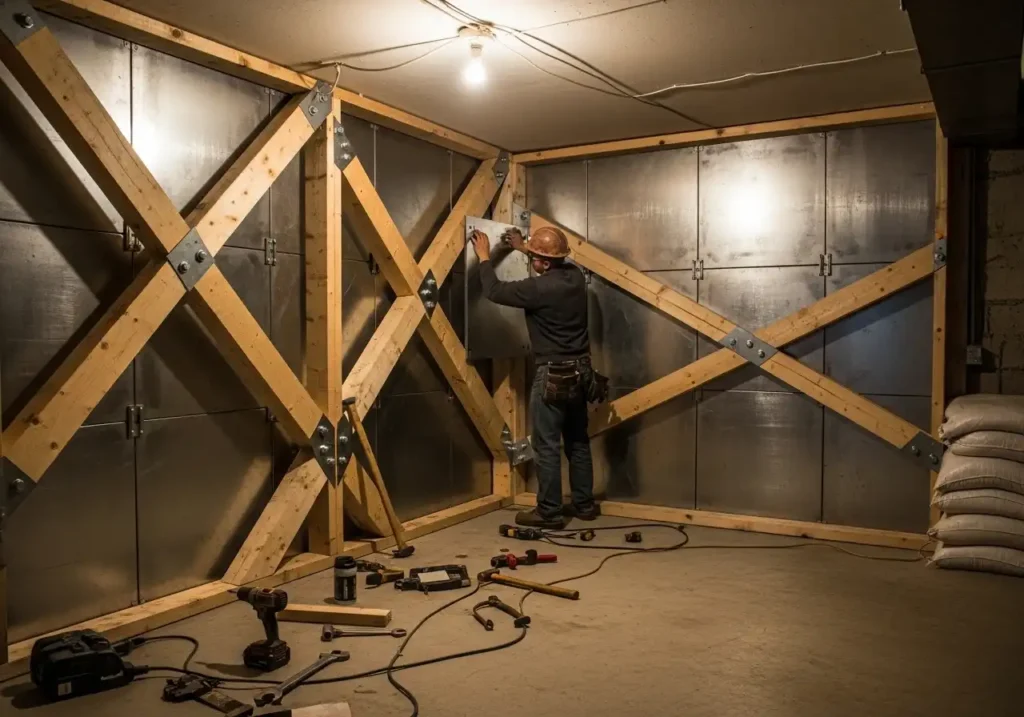
2. Reinforce the Walls
Strengthen the walls using concrete blocks, sandbags, or steel sheets. Reinforcement increases protection against debris and external impact. Even adding thick plywood layers can provide extra durability. Focus on covering weak points like doors and corners.
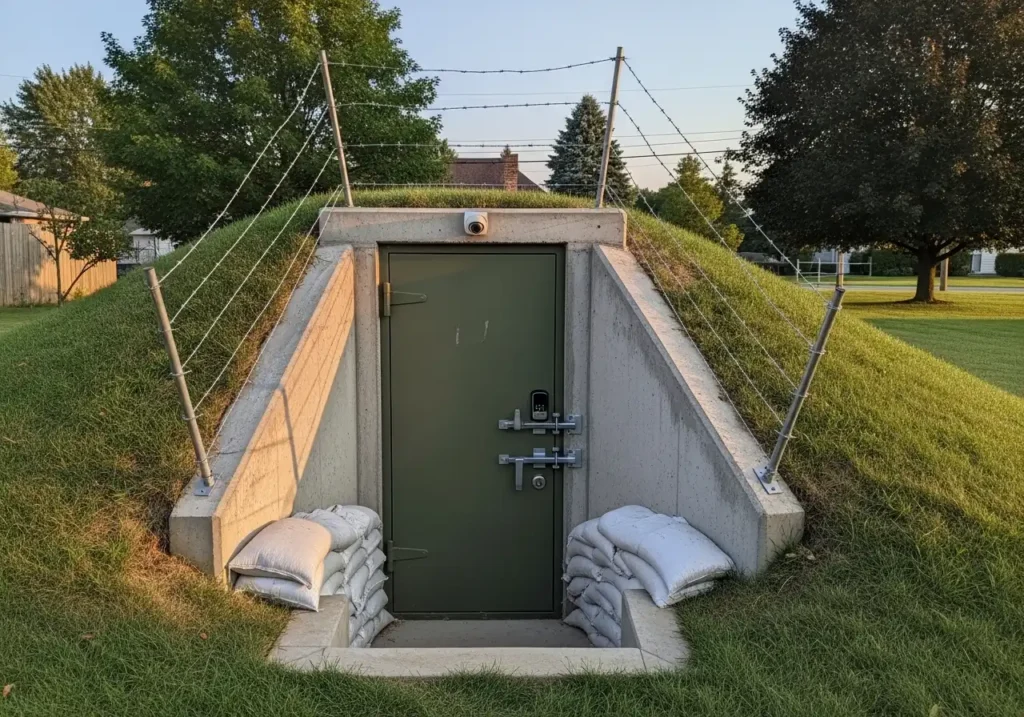
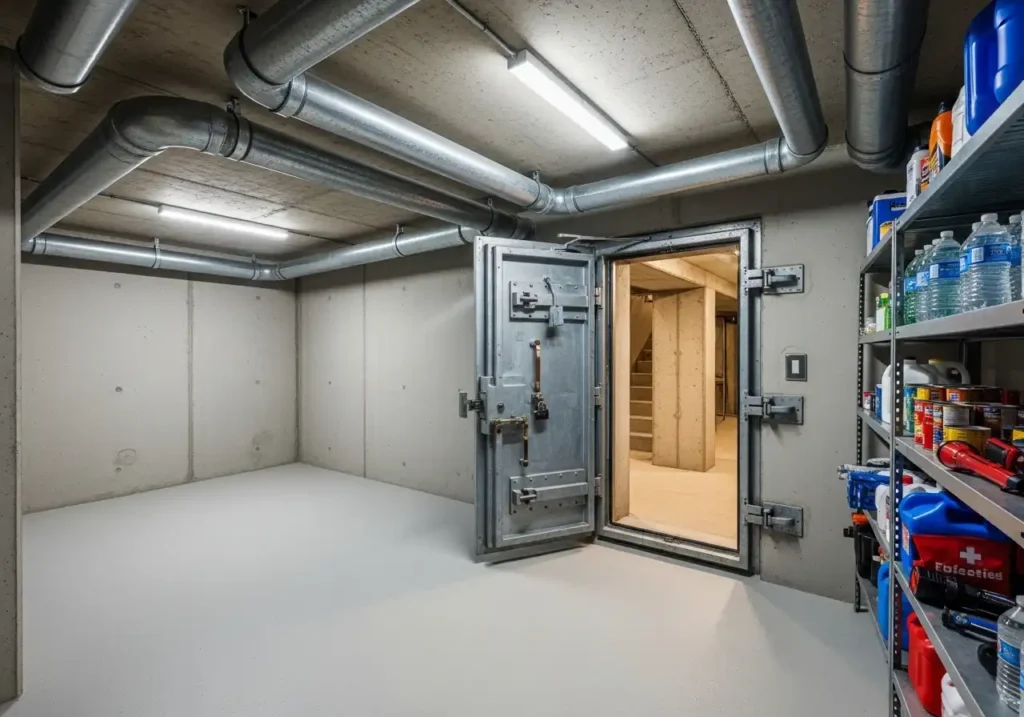
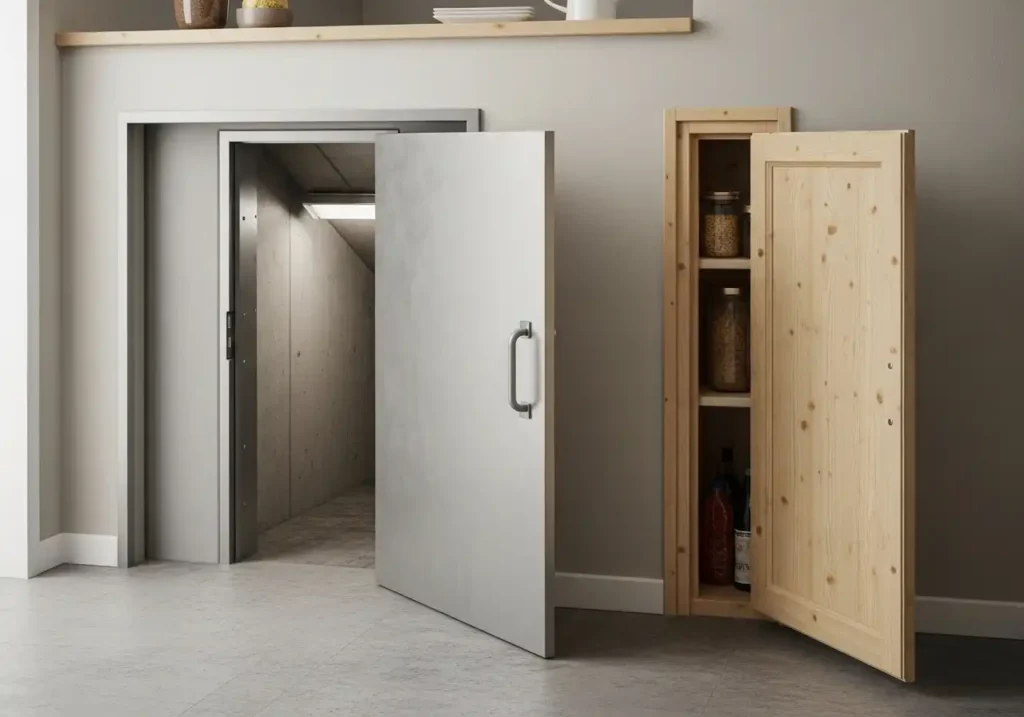
3. Secure the Entrance
Install a solid core or steel door for maximum security. Reinforce the door frame to prevent forced entry. Add strong locks and hinges for extra protection. Keep the entrance simple but sturdy to save time.
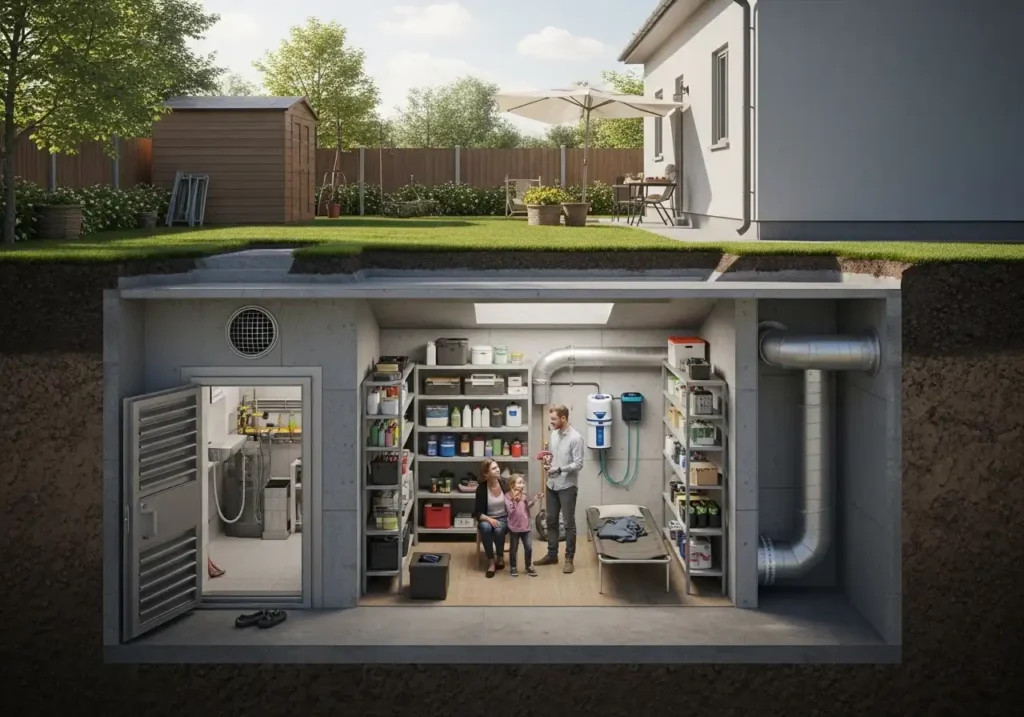
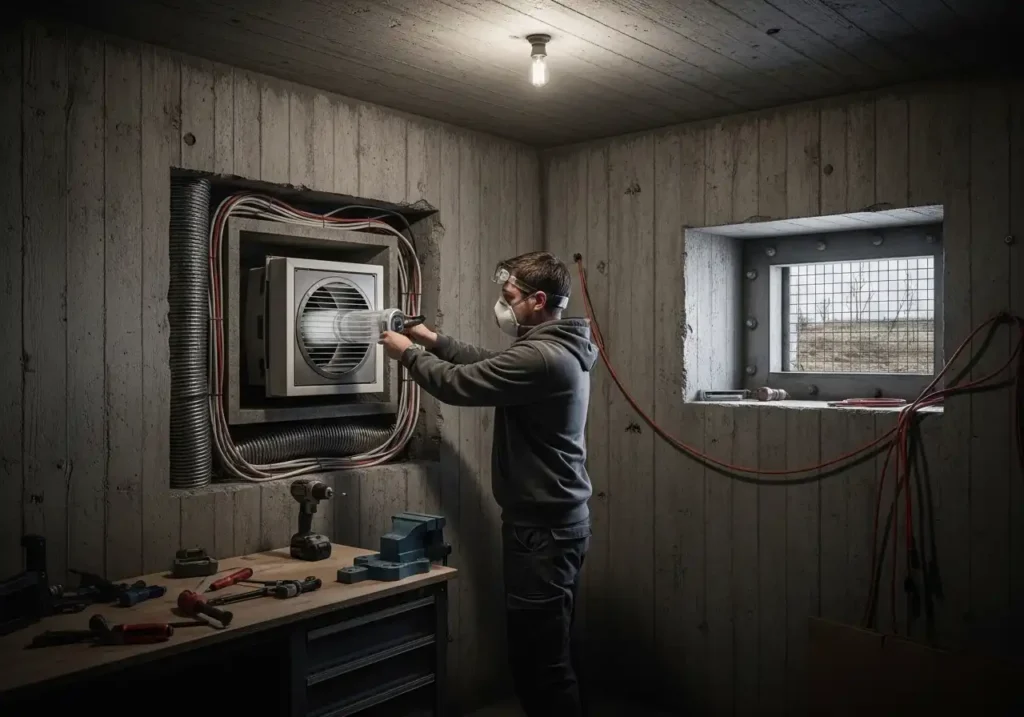
4. Improve Ventilation
Proper airflow is essential for safety and comfort. Install basic ventilation pipes or air vents with protective covers. You can also use battery-powered fans for air circulation. Make sure ventilation openings are shielded from outside hazards.
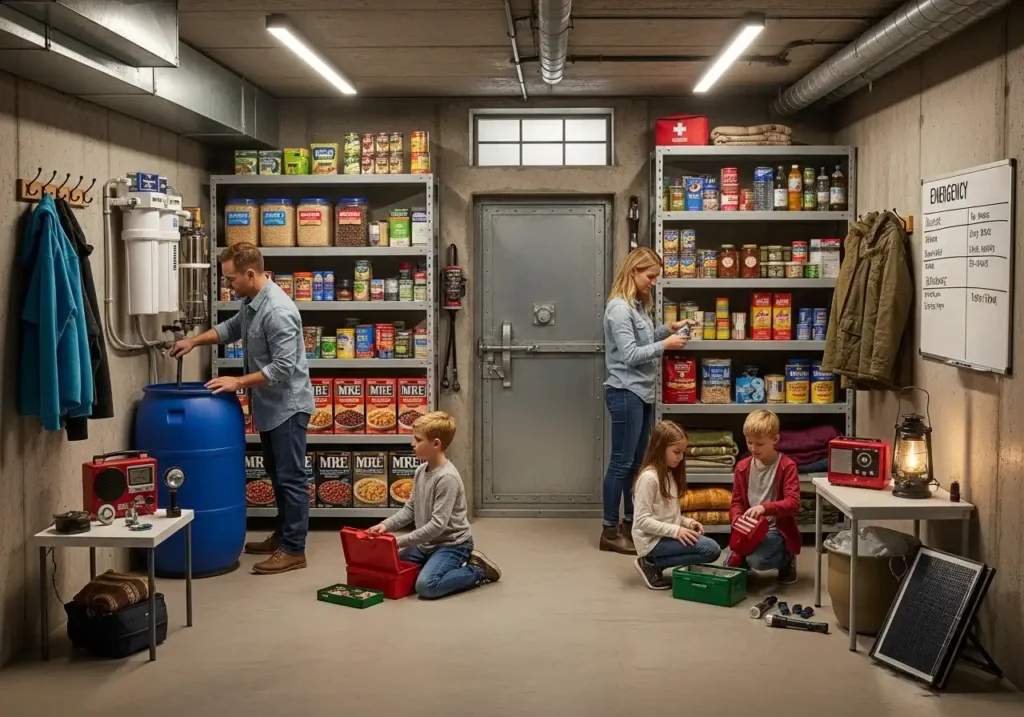
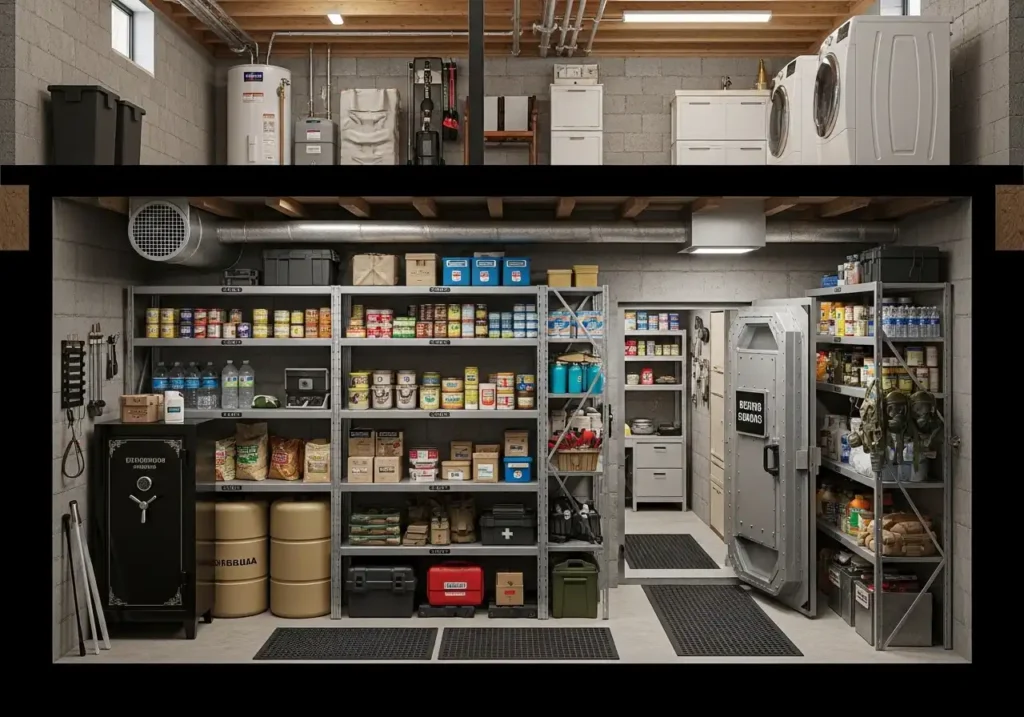
5. Stock Emergency Supplies
Store water, non-perishable food, and medical kits inside the bunker. Include flashlights, batteries, and portable chargers. Keep supplies organized in sealed containers. Plan enough resources for at least 72 hours.
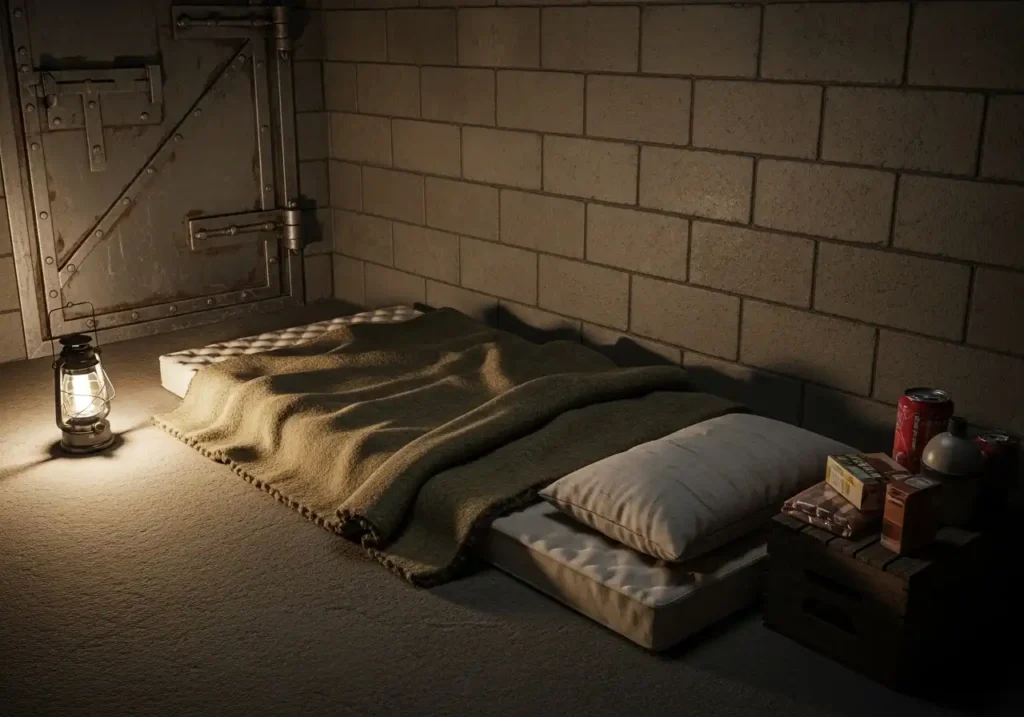
6. Add Basic Bedding
Comfort matters during extended stays. Use foldable mattresses, sleeping bags, or foam pads. Store blankets to maintain warmth. Choose compact bedding to maximize space.
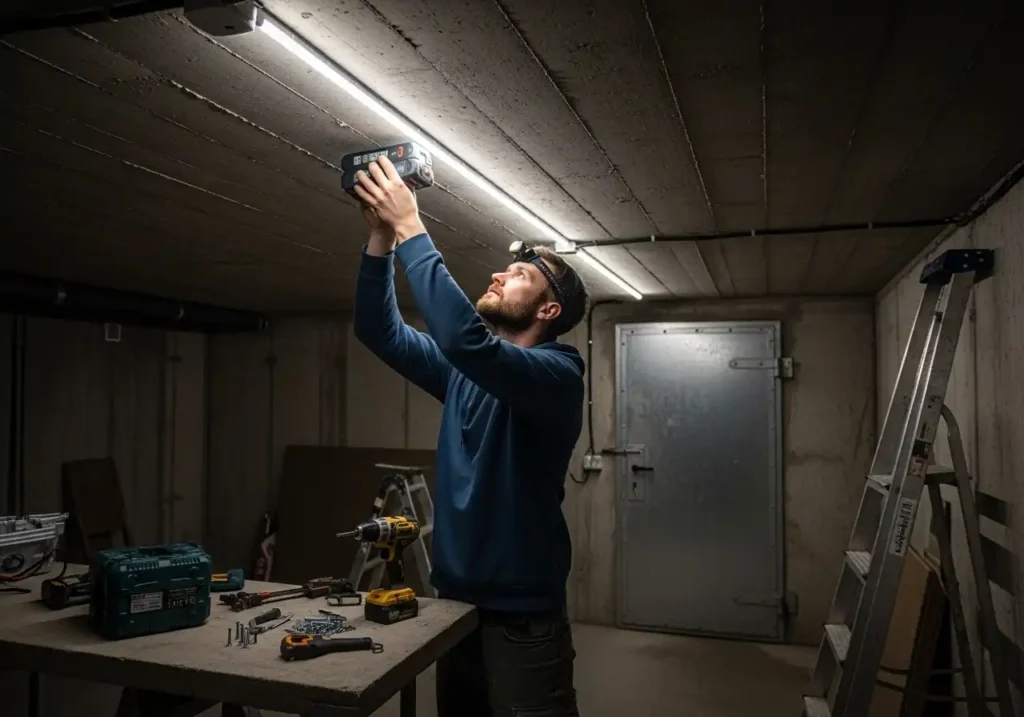
7. Install Emergency Lighting
Use battery-powered or rechargeable LED lights. Solar lanterns are also a practical option. Keep spare batteries available at all times. Good lighting improves both safety and morale.
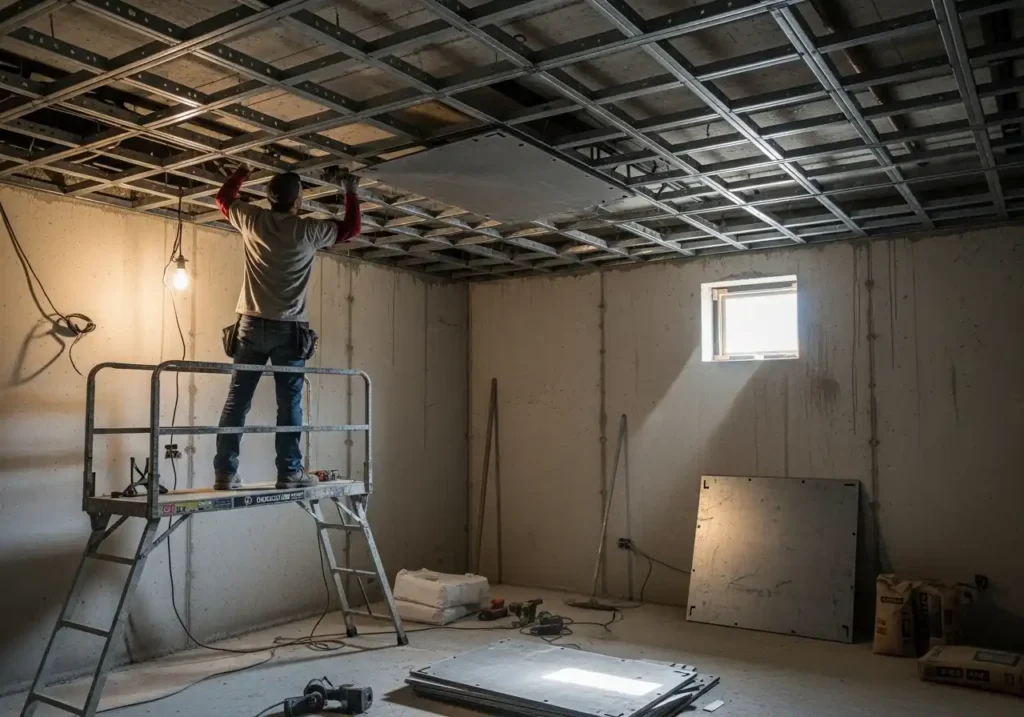
8. Strengthen the Ceiling
If your bunker is underground, ensure the ceiling can handle weight and pressure. Add support beams if necessary. Reinforce with extra wood or steel layers. Safety should always come first in overhead protection.
9. Waterproof the Area
Seal cracks and gaps to prevent water leaks. Apply waterproof coatings on walls and floors if possible. Use moisture absorbers to reduce humidity. A dry bunker prevents mold and structural damage.
10. Create Storage Solutions
Install shelves or stackable containers for better organization. Label supplies clearly for quick access. Keep heavier items on lower shelves. Efficient storage saves space and reduces clutter.
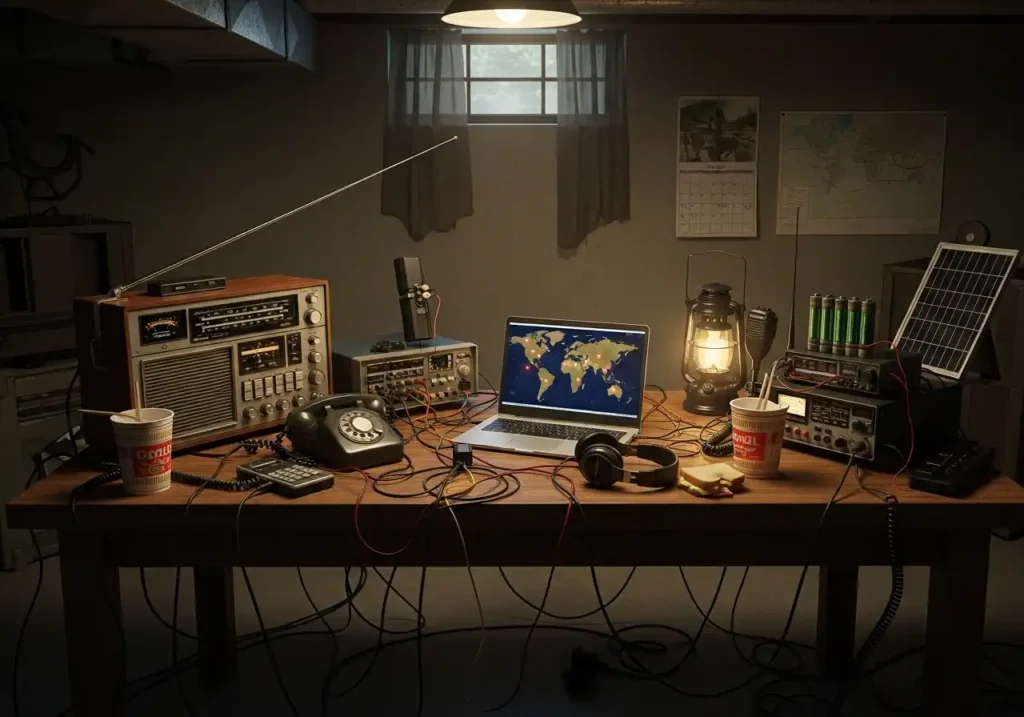
11. Set Up Communication Tools
Keep a battery-powered radio for emergency updates. Store fully charged power banks for mobile devices. Consider a basic two-way radio if needed. Staying informed is critical during emergencies.
12. Keep It Discreet
Avoid drawing attention to your bunker’s location. Use hidden doors or camouflage techniques if possible. Do not share details widely about your setup. Privacy adds an extra layer of security.
Final Thoughts
Building a home bunker quickly is about smart choices and efficient planning. Focus on safety, ventilation, and essential supplies first before adding comfort features. Even a simple reinforced space can provide strong protection during emergencies. With these practical ideas, you can create a reliable bunker at home without unnecessary delays.