

Introduction
Contents
- 1 Introduction
- 1.1 1. Decide If Your Floors Are Good Candidates
- 1.2 2. Calculate Your Potential Savings
- 1.3 3. Choose the Right Time to Refinish
- 1.4 4. Gather the Essential Tools
- 1.5 5. Prepare the Room Properly
- 1.6 6. Learn How to Sand Correctly
- 1.7 7. Handle Edges and Corners Carefully
- 1.8 8. Clean Thoroughly Before Staining
- 1.9 9. Choose the Right Stain Color
- 1.10 10. Apply Stain Evenly
- 1.11 11. Seal the Floors for Protection
- 1.12 12. Allow Proper Drying and Curing
- 1.13 13. Reinstall Trim and Furniture Carefully
- 1.14 14. Maintain Your Newly Finished Floors
- 1.15 15. Enjoy the Value You Added
- 2 Final Results
Refinishing hardwood floors yourself is one of the most rewarding home improvement projects you can take on. With the right preparation, tools, and patience, you can achieve professional-looking results without paying contractor prices. Many homeowners are surprised to learn that DIY refinishing can save $2,000 or more on a single project. This guide breaks the process into clear ideas so you can feel confident from start to finish.
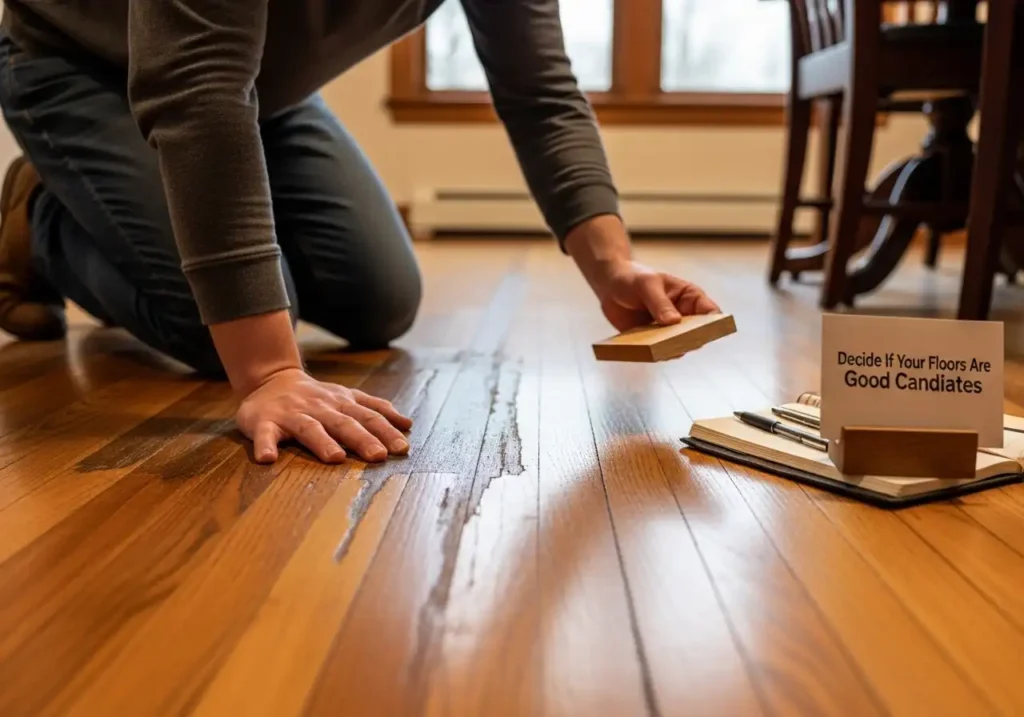
1. Decide If Your Floors Are Good Candidates
Not all hardwood floors need a full refinish, so start by inspecting their condition. If scratches are shallow and boards are solid, refinishing is usually a great option. Floors with deep structural damage may require repairs first. Knowing this early prevents wasted time and money.
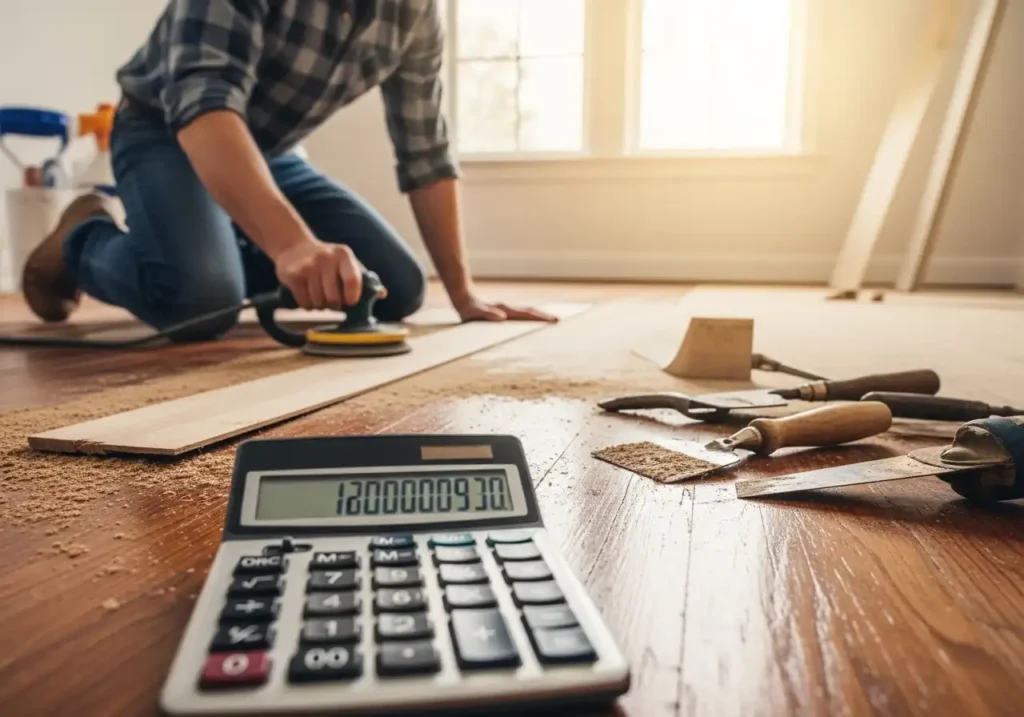
2. Calculate Your Potential Savings
Professional refinishing often costs thousands depending on square footage. DIY refinishing mainly requires tool rentals and materials, which are far less expensive. Comparing these numbers upfront is motivating and helps you budget accurately. This step confirms whether the project is worth your effort.
3. Choose the Right Time to Refinish
Plan your project when you can avoid walking on the floors for several days. Refinishing works best in moderate temperatures with low humidity. Timing it right ensures proper drying and curing. A well-chosen schedule reduces stress and mistakes.
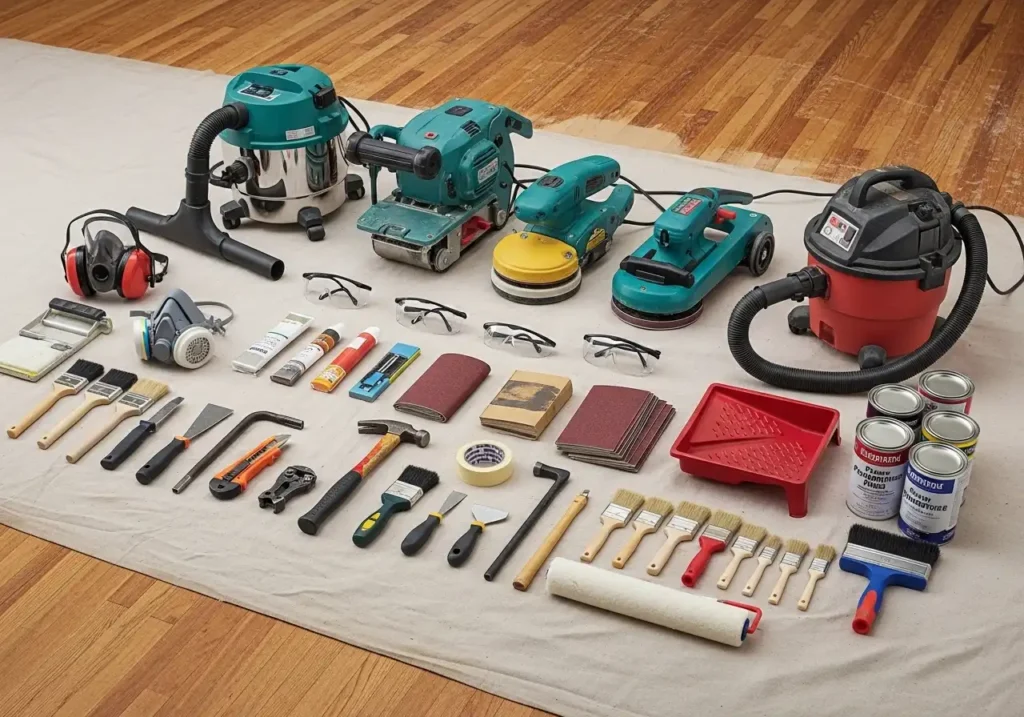
4. Gather the Essential Tools
Most tools can be rented, including drum sanders and edge sanders. You’ll also need safety gear, sandpaper grits, stain, and sealant. Preparing everything before you begin keeps the project moving smoothly. Organization is key to staying on track.
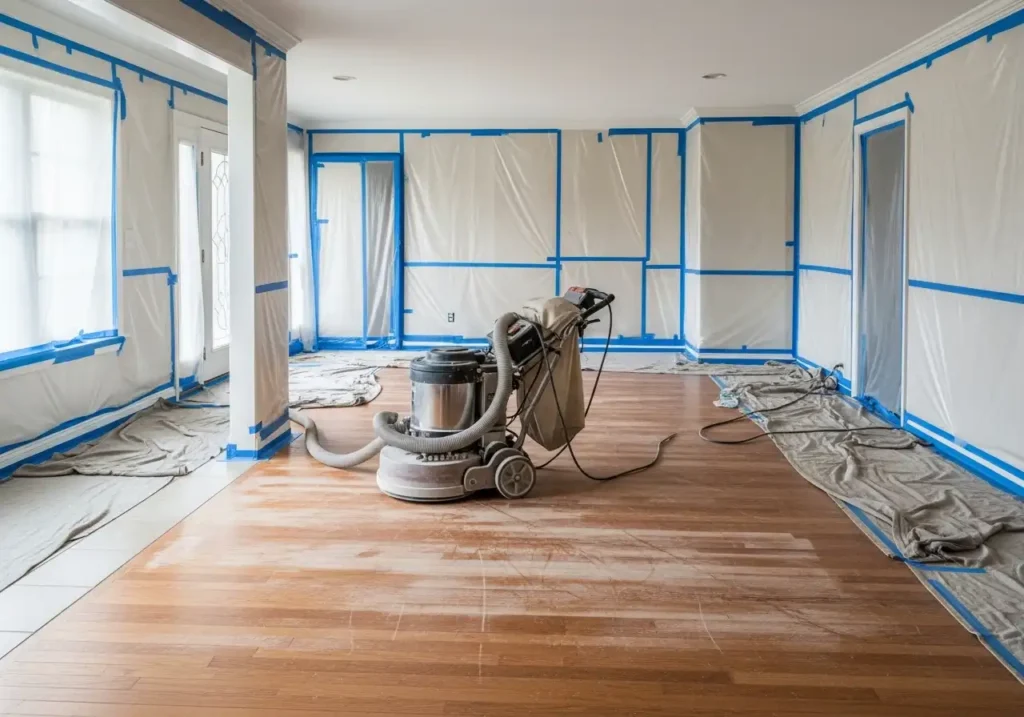
5. Prepare the Room Properly
Remove all furniture, rugs, and baseboards before starting. Seal off doorways to keep dust from spreading through your home. Proper preparation protects nearby spaces and saves cleanup time later. This step sets the foundation for professional results.
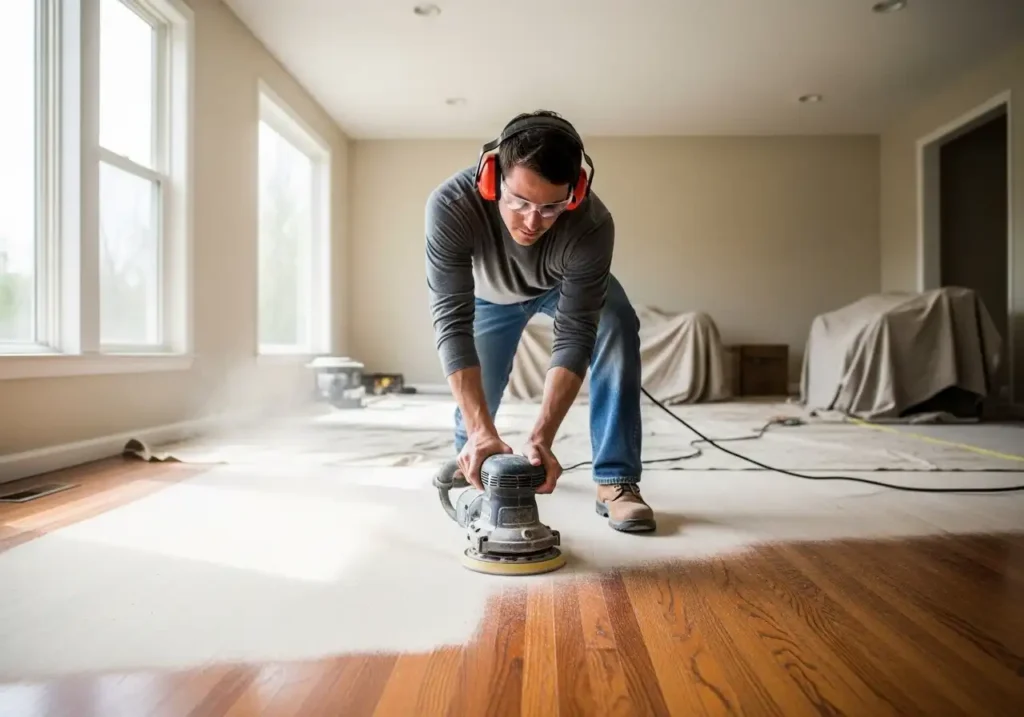
6. Learn How to Sand Correctly
Sanding is the most important and time-consuming part of refinishing. Start with coarse grit to remove old finish, then gradually move to finer grits. Consistent movement prevents gouges and uneven spots. Patience here pays off in the final look.
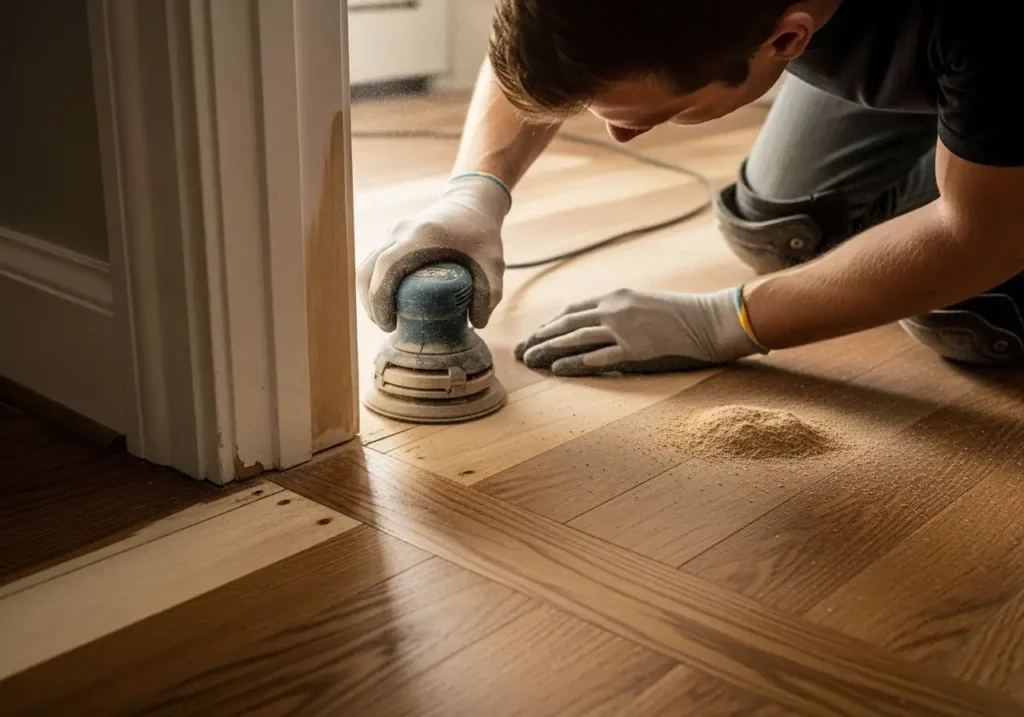
7. Handle Edges and Corners Carefully
Edges and corners require special attention with an edge sander or hand sanding. These areas are highly visible once the floor is finished. Taking extra care ensures a seamless look across the entire room. Small details make a big difference.
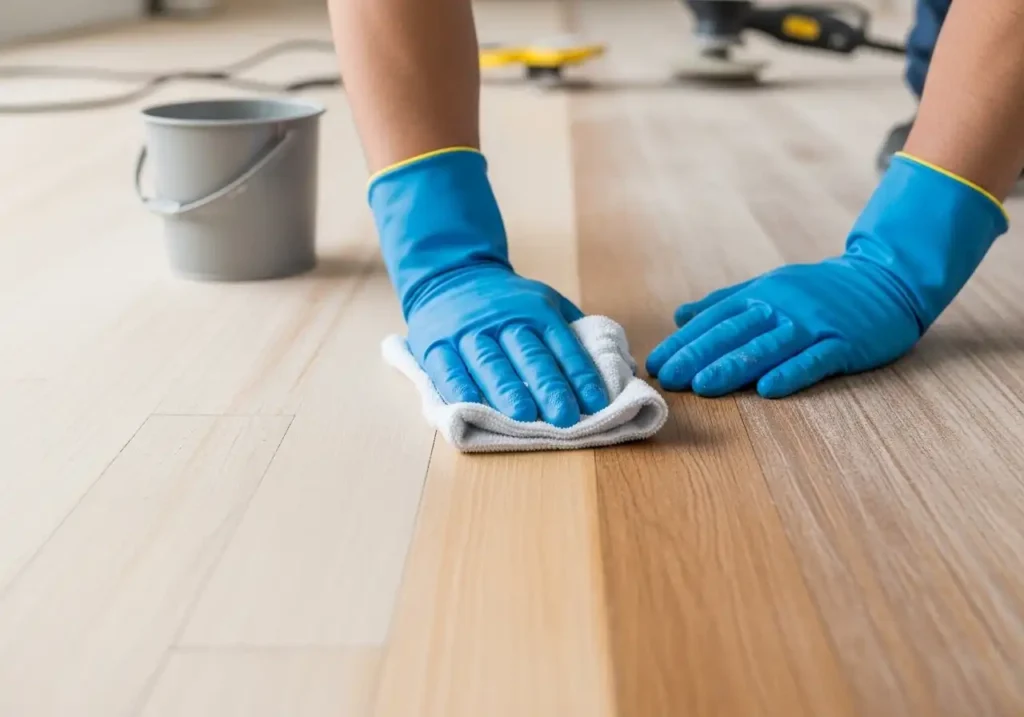
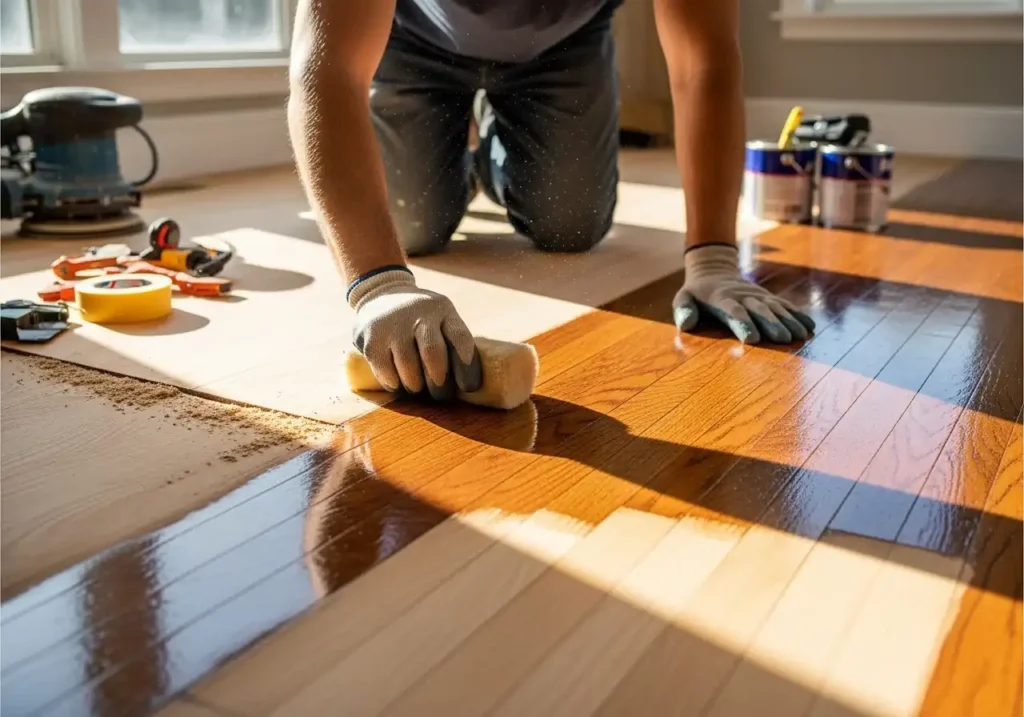
8. Clean Thoroughly Before Staining
Dust left behind can ruin an otherwise great finish. Vacuum multiple times and wipe surfaces with a tack cloth. Clean floors allow stain and sealant to bond evenly. This step is critical for a smooth final appearance.
9. Choose the Right Stain Color
Test stain colors on a small, hidden area before committing. Lighting and wood type can change how colors appear. Choosing carefully prevents disappointment later. A good stain enhances the natural beauty of the wood.

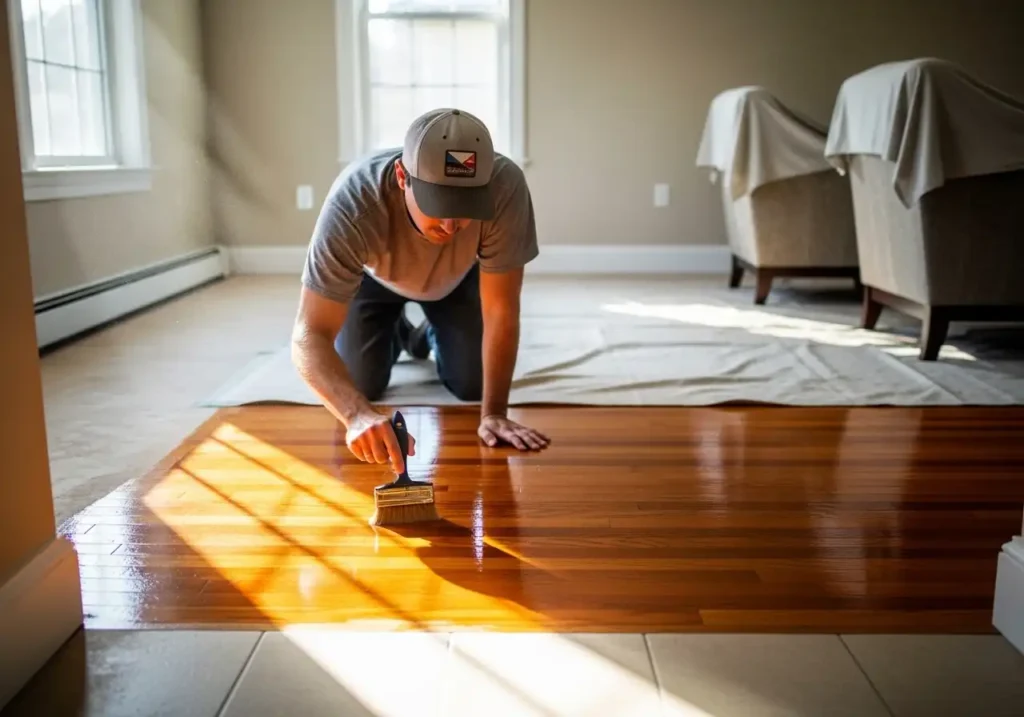
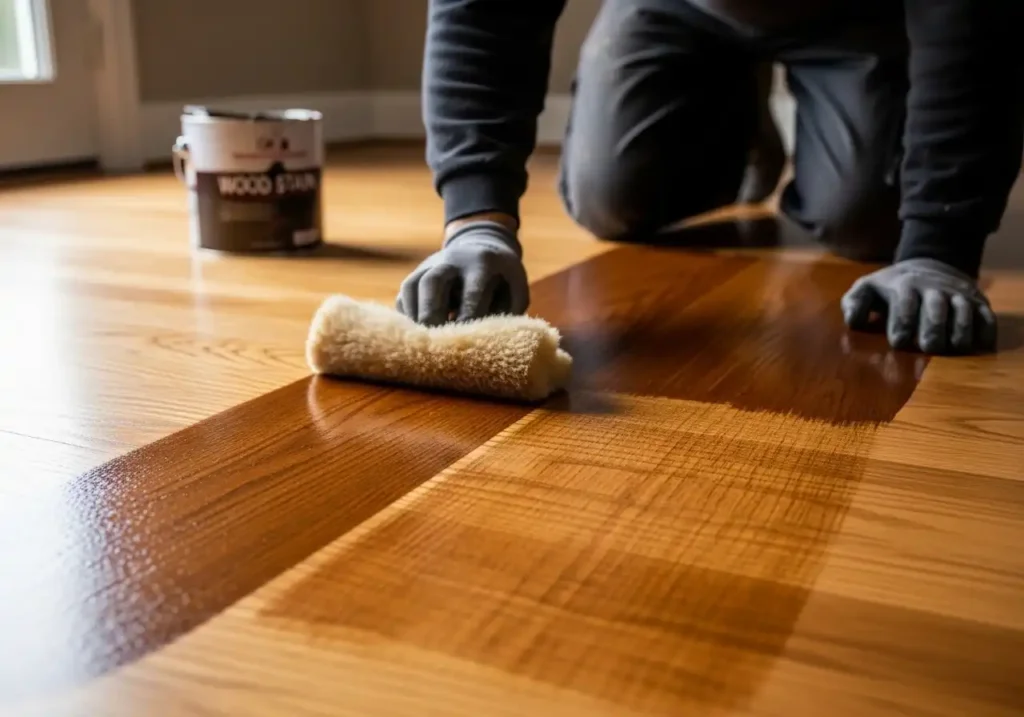
10. Apply Stain Evenly
Work in small sections to maintain control and consistency. Wipe off excess stain to avoid blotchy areas. Even application creates a uniform, professional finish. Take your time for the best results.
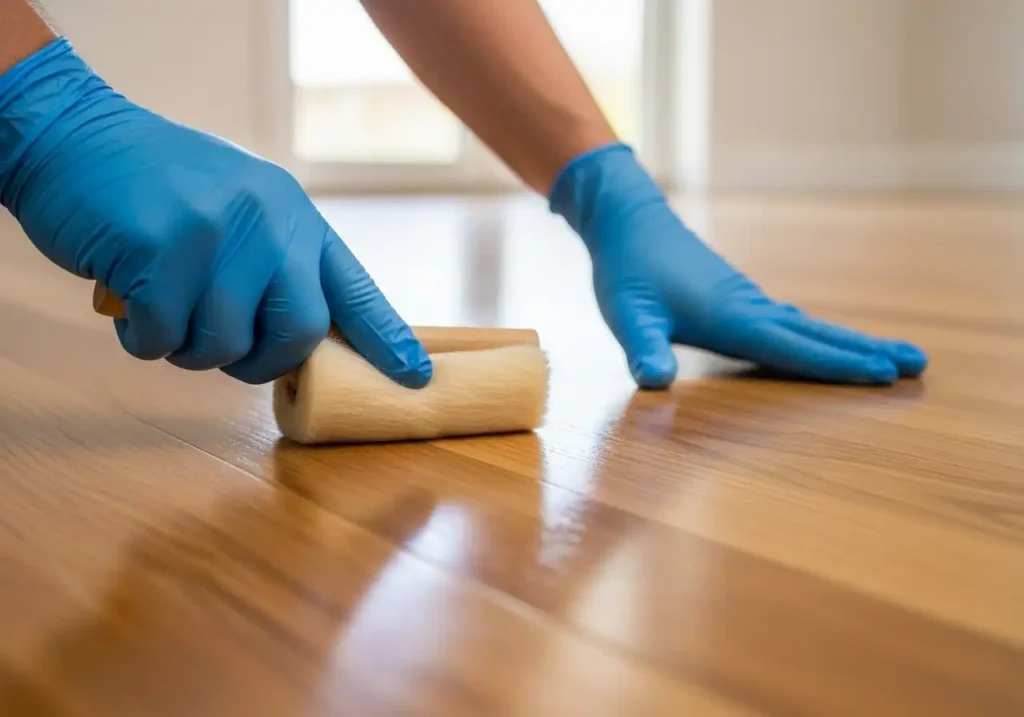
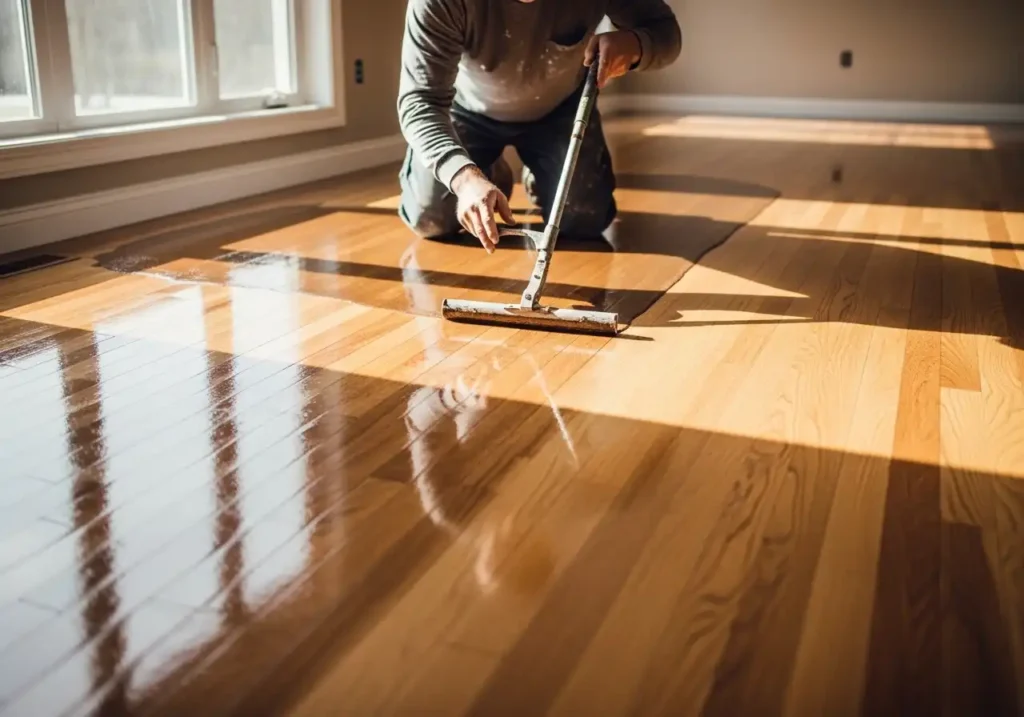
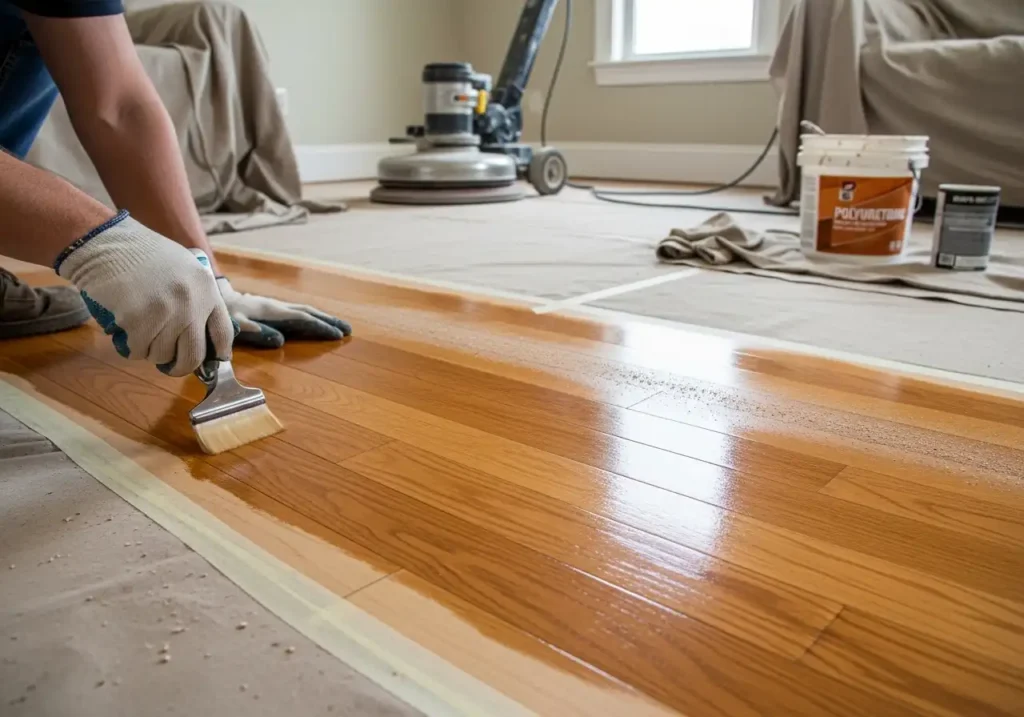
11. Seal the Floors for Protection
Sealant protects your floors from wear, moisture, and stains. Apply multiple thin coats rather than one thick coat. Allow proper drying time between layers. This ensures long-lasting durability.
12. Allow Proper Drying and Curing
Avoid walking on the floors until they are fully dry. Full curing can take several days or longer depending on the product. Rushing this step can damage the finish. Patience preserves all your hard work.
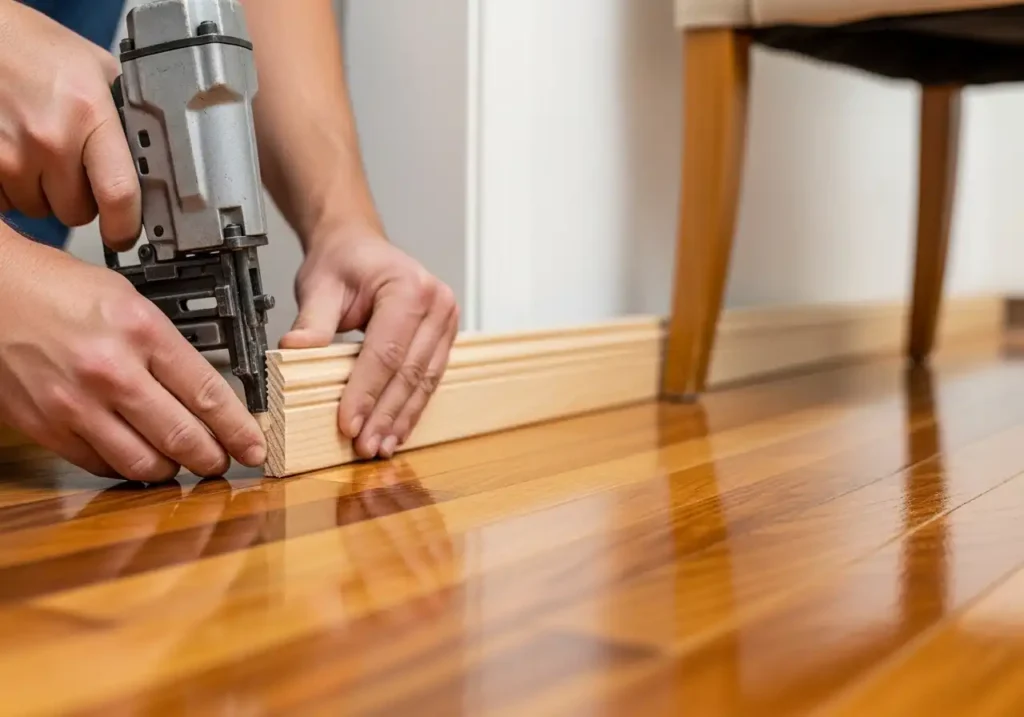
13. Reinstall Trim and Furniture Carefully
Once cured, reinstall baseboards and move furniture back gently. Use felt pads under furniture legs to prevent scratches. Careful reassembly keeps your floors looking new. Small precautions extend the life of your finish.
14. Maintain Your Newly Finished Floors
Regular sweeping and gentle cleaning keep floors looking fresh. Avoid harsh chemicals that can damage the finish. Consistent maintenance protects your investment. Proper care means you won’t need another refinish for years.
15. Enjoy the Value You Added
Refinished floors instantly elevate the look of your home. They also increase resale value and buyer appeal. Knowing you did it yourself adds extra satisfaction. The savings make the effort even more rewarding.
Final Results
Refinishing hardwood floors yourself is a powerful way to transform your home while saving thousands of dollars. With careful planning and attention to detail, DIY results can rival professional work. The process takes time, but the payoff is well worth it. You’ll enjoy beautiful floors, new skills, and significant savings for years to come.