
Introduction
Contents
- 1 Introduction
- 1.1 1. Gather All Tools and Materials First
- 1.2 2. Remove Old Flooring Completely
- 1.3 3. Inspect and Repair the Subfloor
- 1.4 4. Ensure the Surface Is Level
- 1.5 5. Plan Your Tile Layout Carefully
- 1.6 6. Measure and Mark Reference Lines
- 1.7 7. Mix and Apply Tile Adhesive Correctly
- 1.8 8. Place Tiles With Even Pressure
- 1.9 9. Cut Tiles Accurately for Edges
- 1.10 10. Allow Proper Drying Time
- 1.11 11. Apply Grout Evenly
- 1.12 12. Seal and Finish the Floor
- 2 Final Thoughts
Tiling a bathroom floor might seem intimidating, but with the right steps, beginners can achieve professional-looking results. The key is preparation, patience, and precision at every stage. This step-by-step guide breaks down the entire process into simple, mistake-proof actions. Follow these 12 ideas carefully, and you’ll transform your bathroom floor with confidence.
1. Gather All Tools and Materials First
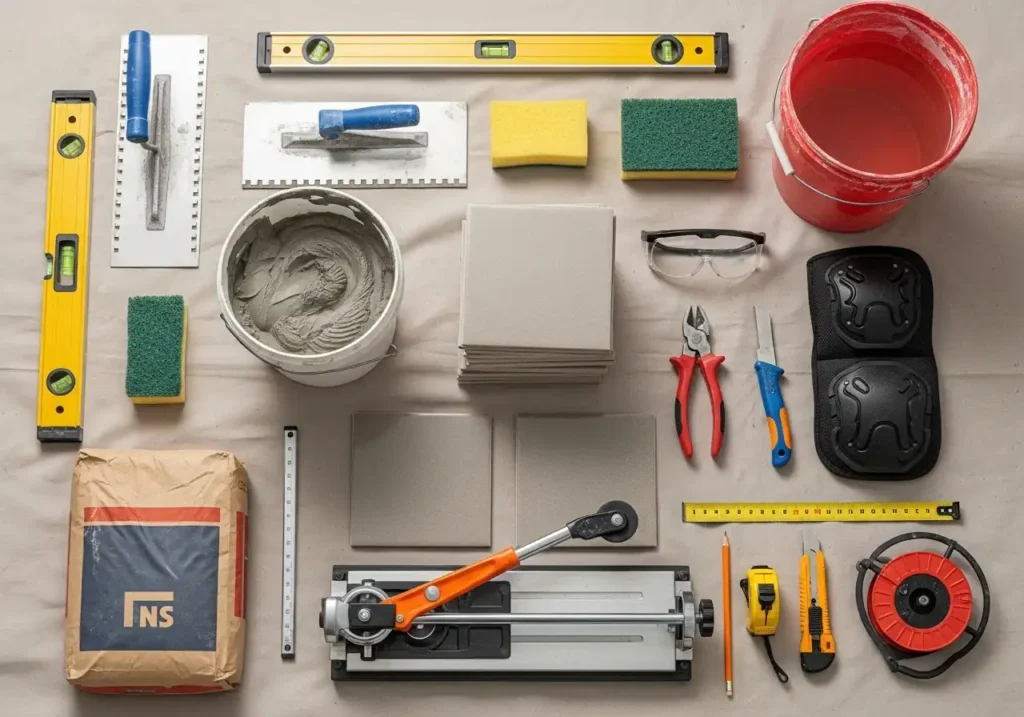
Before you begin, make sure you have all necessary tools such as tile spacers, a notched trowel, tile cutter, level, and grout float. Double-check that you have enough tiles, adhesive, and grout for your space. Running out of materials mid-project can delay progress and affect consistency. Preparation eliminates unnecessary stress and mistakes.
2. Remove Old Flooring Completely
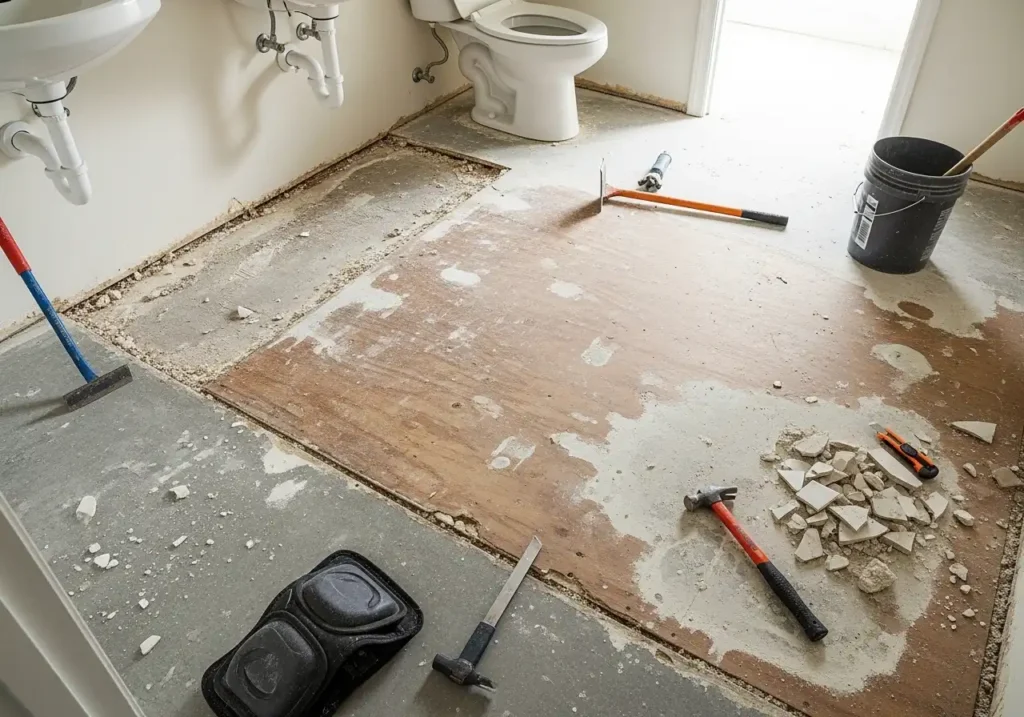
Start by removing any existing flooring, nails, adhesive, or debris. The surface must be completely clean and smooth before installing tile. Even small bumps or leftover glue can cause uneven tiles later. Take your time during this step to create a perfect foundation.
3. Inspect and Repair the Subfloor
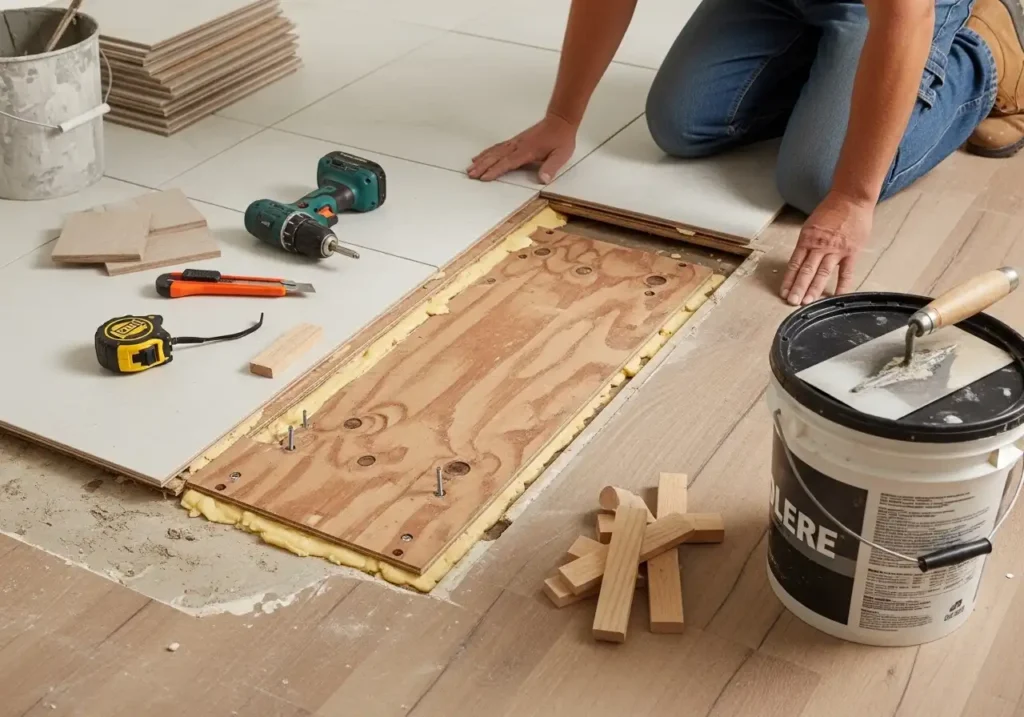
Check the subfloor for damage, moisture issues, or weak spots. Replace any rotted wood or damaged sections before moving forward. A sturdy and level subfloor prevents cracked tiles in the future. Stability is essential for long-lasting results.
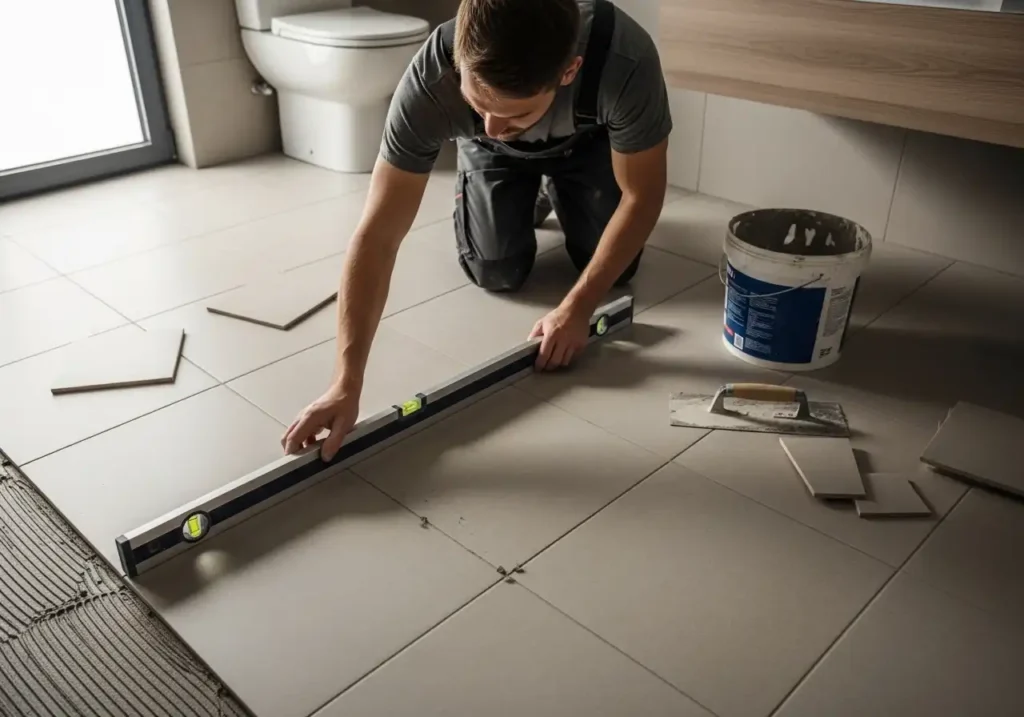
4. Ensure the Surface Is Level
Use a level to check for dips or uneven areas across the floor. Apply a self-leveling compound if necessary to smooth out imperfections. Uneven floors lead to lippage, where tiles sit at different heights. A flat surface guarantees a professional finish.
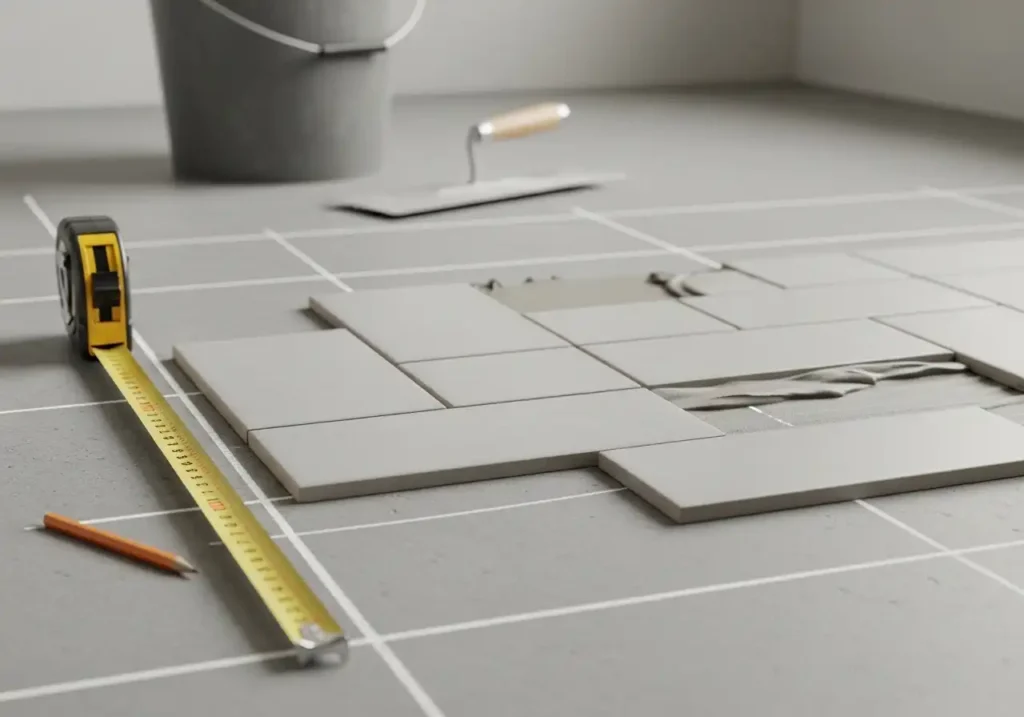
5. Plan Your Tile Layout Carefully
Dry-lay your tiles without adhesive to determine the best layout. Start from the center of the room and work outward for balanced edges. This helps avoid awkward small tile pieces along walls. Planning reduces cutting mistakes and improves symmetry.
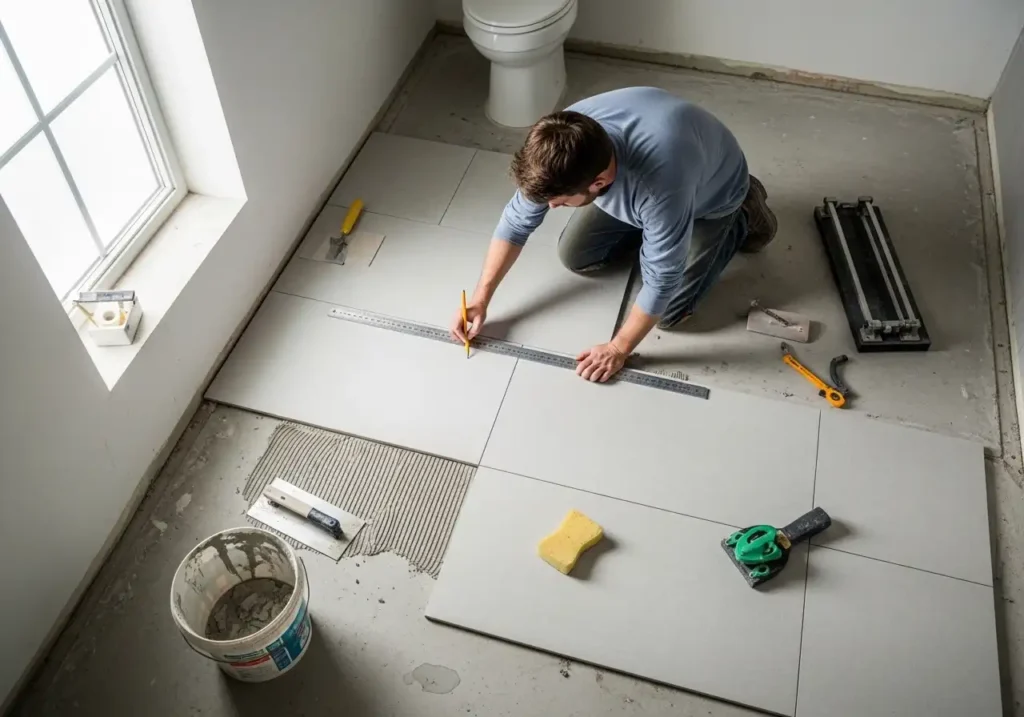
6. Measure and Mark Reference Lines
Snap chalk lines to create straight guidelines on the floor. These lines act as a roadmap while placing tiles. Without reference lines, tiles can slowly drift out of alignment. Straight guidelines ensure clean, even rows.
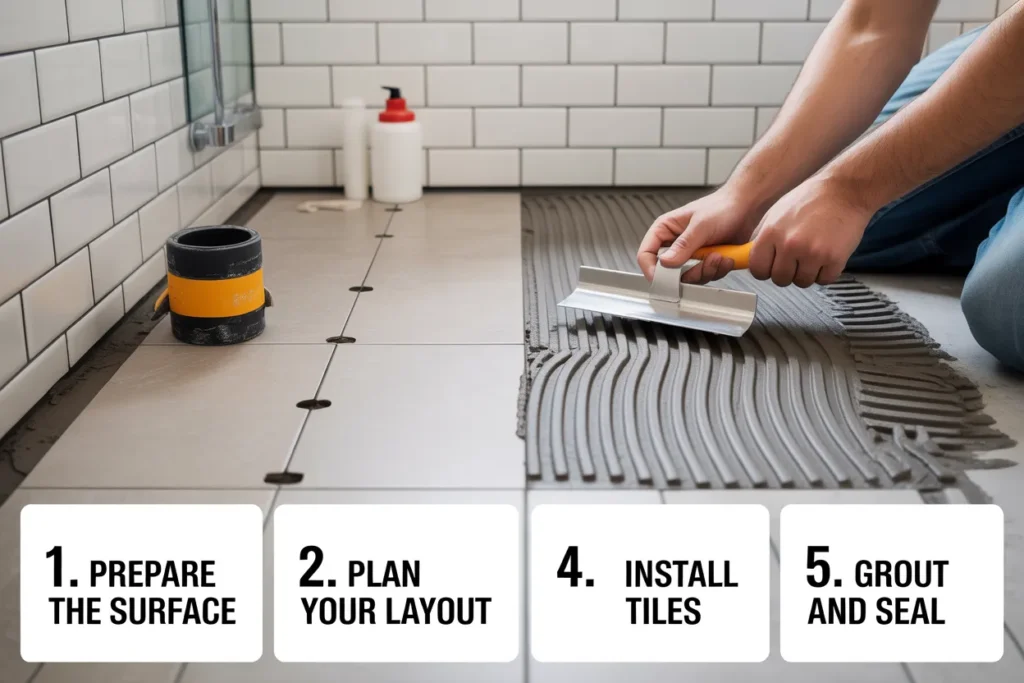
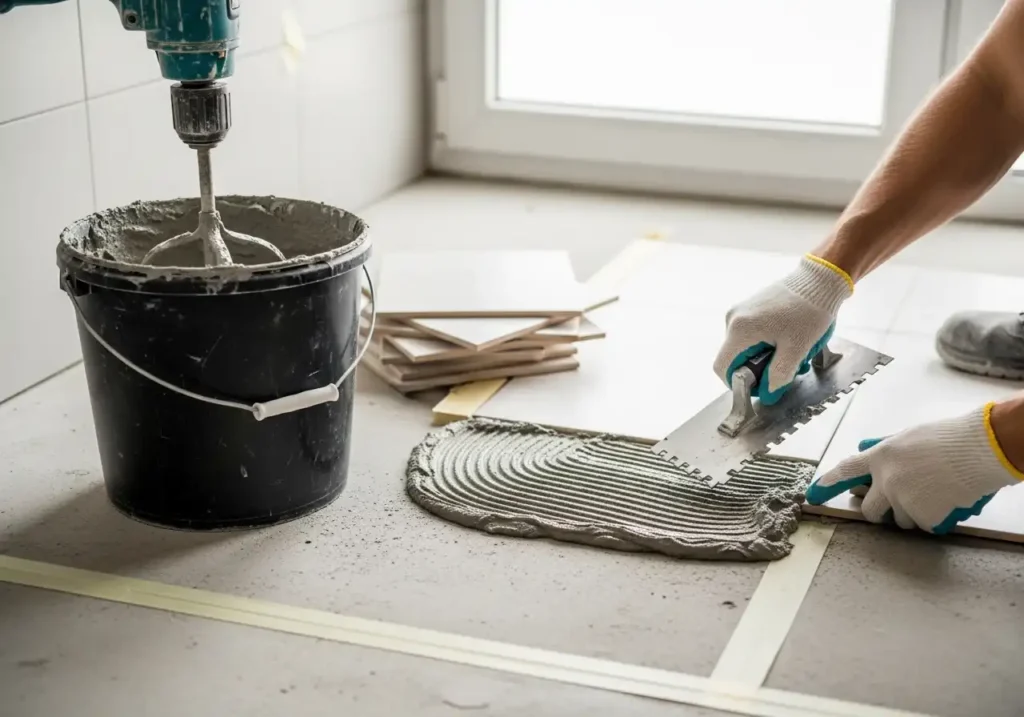
7. Mix and Apply Tile Adhesive Correctly
Follow the manufacturer’s instructions when mixing thin-set mortar. Spread adhesive using a notched trowel at a consistent angle. Avoid applying too much at once, as it can dry before tiles are placed. Work in small sections for best control.
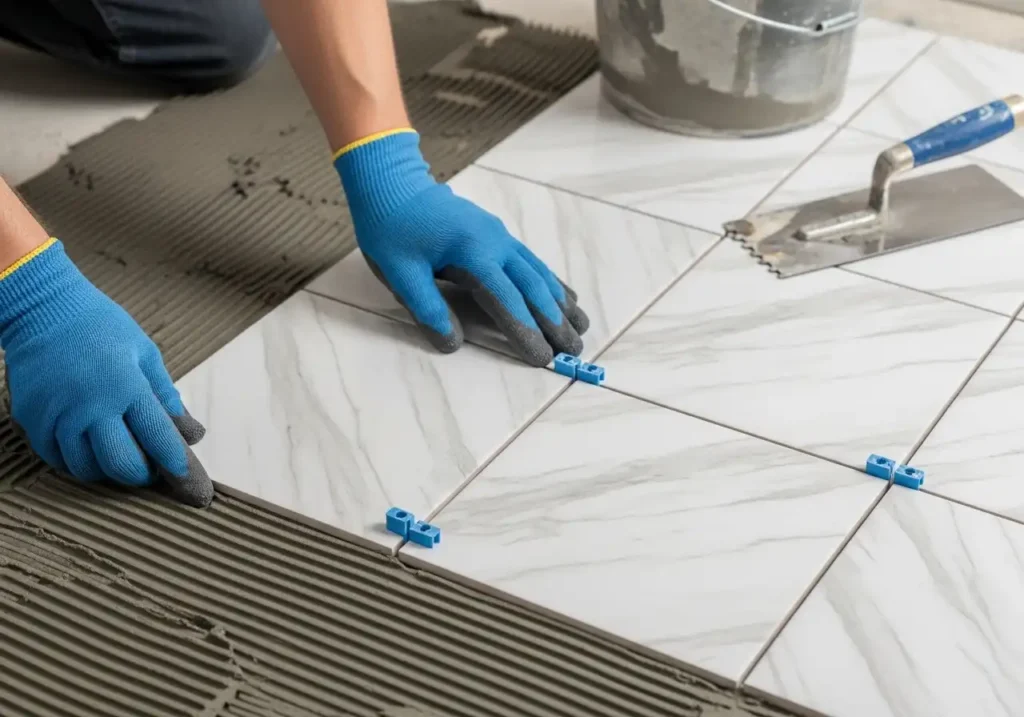
8. Place Tiles With Even Pressure
Press each tile firmly into the adhesive while slightly twisting it into place. Use spacers between tiles to maintain consistent gaps. Check alignment frequently with a level. Small adjustments early prevent major corrections later.
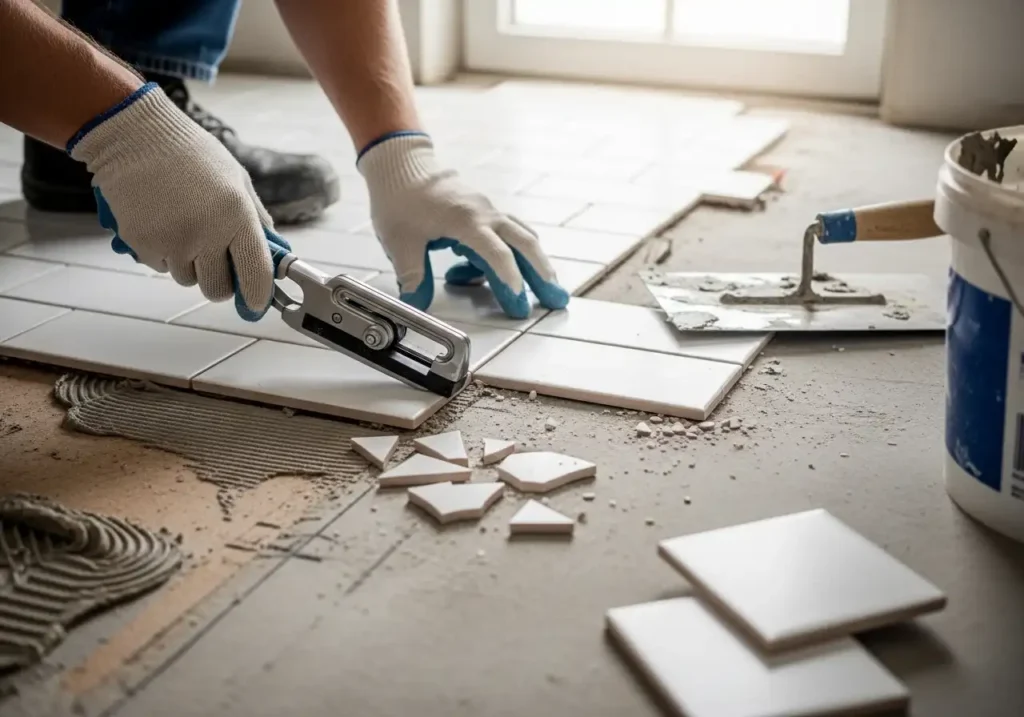
9. Cut Tiles Accurately for Edges
Measure edge spaces carefully before cutting tiles. Use a tile cutter or wet saw for clean, precise cuts. Always wear safety gear during cutting. Accurate cuts create a polished and seamless border.
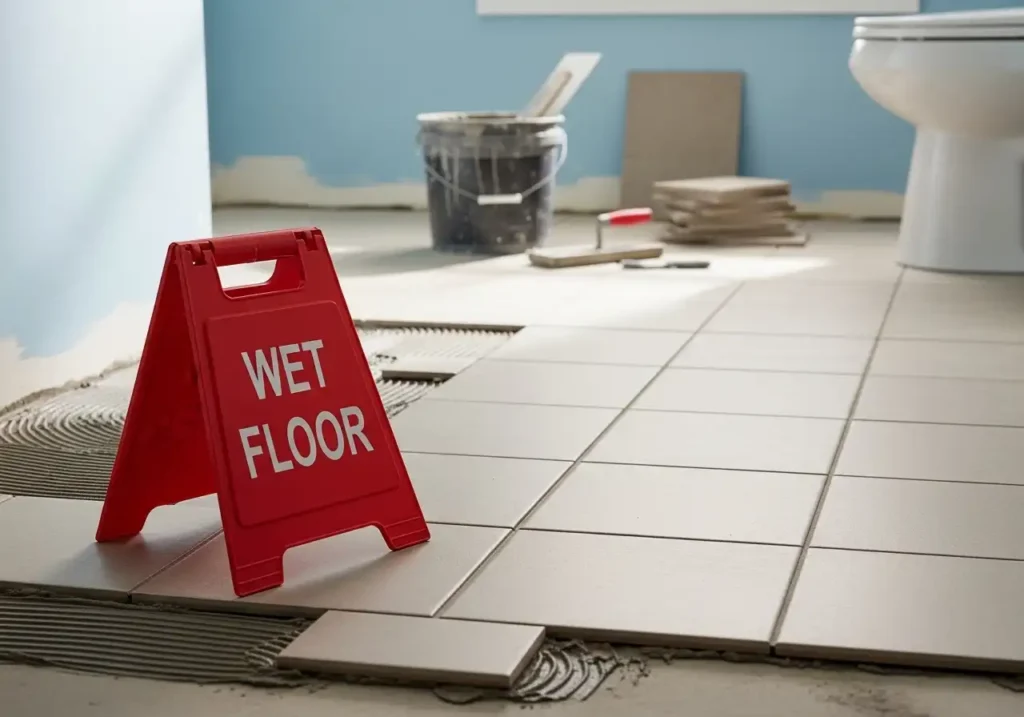
10. Allow Proper Drying Time
Let the adhesive cure fully before walking on the tiles. Rushing this step can shift tiles and ruin alignment. Drying time typically ranges from 24 to 48 hours. Patience here protects all your hard work.
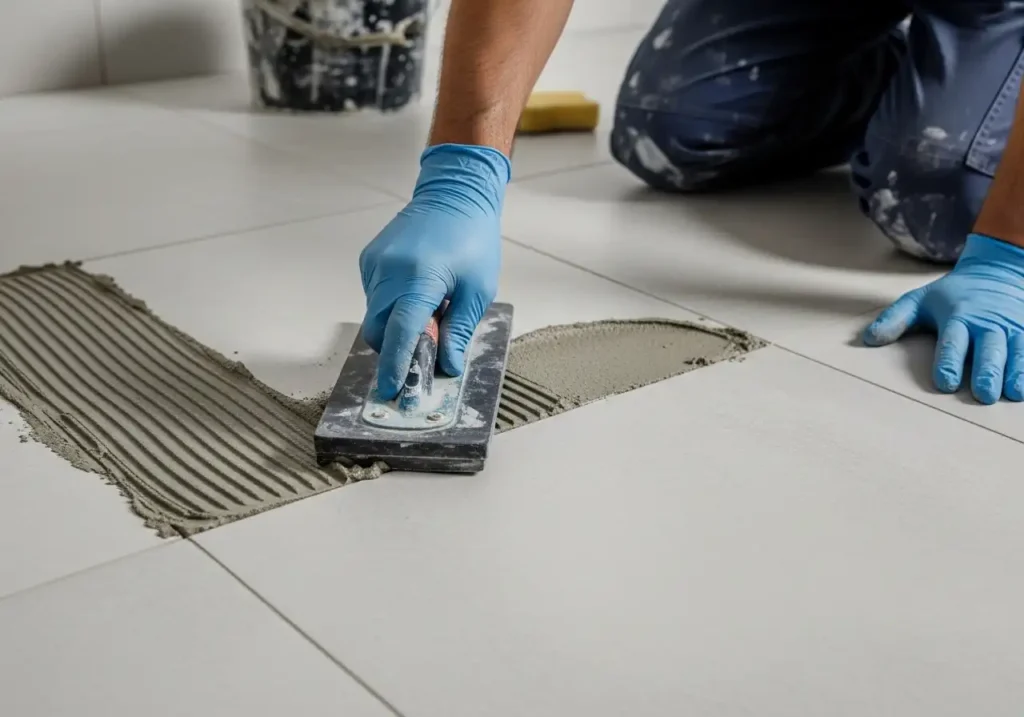
11. Apply Grout Evenly
Remove spacers and spread grout diagonally across the tiles using a grout float. Press grout firmly into the joints to eliminate gaps. Wipe excess grout with a damp sponge before it hardens. Clean lines make a dramatic difference in appearance.
12. Seal and Finish the Floor
After grout dries completely, apply a grout sealer to protect against moisture and stains. This step is especially important in bathrooms where humidity is high. Clean the tile surface thoroughly for a polished look. Sealing extends the life of your new floor.

Final Thoughts
Tiling a bathroom floor as a beginner is completely achievable when you follow a structured plan. Each step builds on the previous one, ensuring zero costly mistakes along the way. With careful preparation, precise placement, and proper finishing, you’ll achieve a durable and beautiful result. Take your time, stay patient, and enjoy the transformation of your space.