

For the installation of a tongue and groove ceiling, first, you have to measure the ceiling to determine how many boards you need. Then, you start by nailing the first board to the ceiling, making the grooved side facing the wall. The next board fits into the groove of the first one, like puzzle pieces fitting together. You keep adding more boards this way and make each one tightly connected to the next. This method gives our ceiling a nice, smooth look with no gaps.
Prepare surface by removing old ceiling and trim
Contents
Before installing a new tongue and groove ceiling, you need to remove the old one. This task is completed efficiently and safely by yourself. There is a special need for safety goggles, gloves, a pry bar, a hammer, a utility knife, a dust mask, and trash bags on hand.
Begin by taking down any light fixtures you have to power off the circuit. Carefully pry off the old ceiling material with a pry bar and hammer, starting from one corner and working your way across. Once the old ceiling is removed, clean up the debris and dispose of it properly.
Mark the center and make a plan
Planning is crucial for a successful ceiling installation. Start by measuring the width and length of the ceiling to find its center point, marking it with a pencil. From this center point, snap chalk lines to each corner of the room, creating a visual guide for the board placement.

Decide on the direction you want the boards to run, typically 12×12 tongue and groove ceiling joists for added support. Use a stud finder to locate the ceiling joists and mark them.
Ordering pine ceiling planks
As you know Pine ceiling planks are popular due to their lightweight, affordable, and simple to install. So, first, we calculate the total square footage of the ceiling and add an extra 10% to account for waste and mistakes.
It may also helps Tray ceiling with crown molding installation
Before the selection of the planks, we saw the grade of the wood. Because higher grades have fewer knots and imperfections, offering a more refined look. Order planks in lengths that minimize waste and make installation easier. It’s always wise to order a few extra planks to cover any mistakes.
Priming and painting wood ceiling planks
Before installing the pine planks, priming and painting them is essential for protection and a smoother installation process. Lay the planks on a flat surface in a well-ventilated area. Lightly sand the planks to remove any rough spots, then use a paintbrush to apply a coat of primer to all sides.
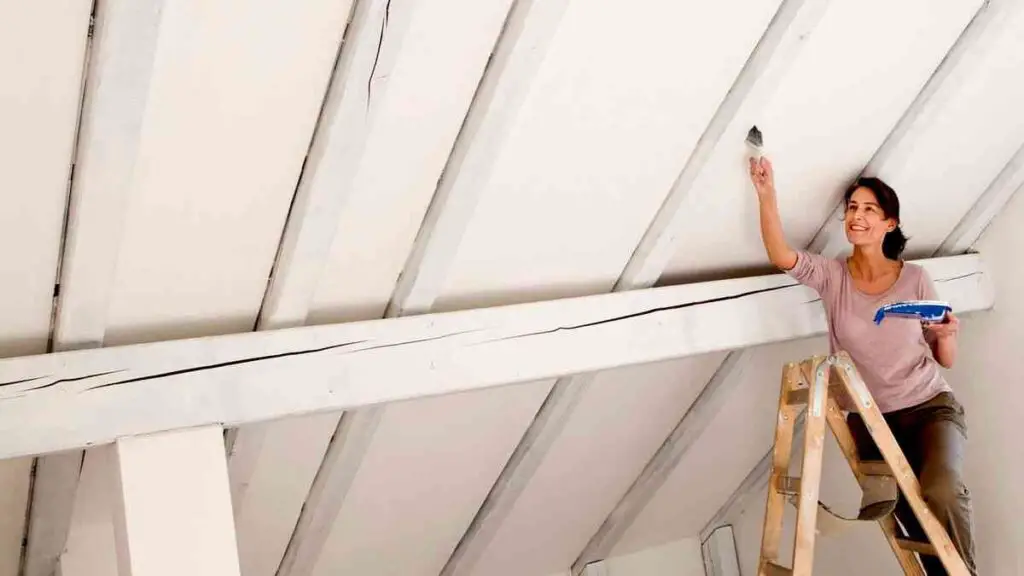
Allow the primer to dry completely before applying your chosen paint color. Apply multiple coats if necessary, ensuring each coat dries before applying the next. This step ensures that your planks are well-protected and have a beautiful finish.
Priming the boards
Priming is a critical step that enhances paint adhesion and provides a more durable finish. Choose a high-quality wood primer and apply it evenly, covering all surfaces of the plank. Follow the manufacturer’s instructions for drying time to ensure the primer sets properly. This preparation step will make the paint application smoother and more lasting.
You may need to know about the floor-to-ceiling glass shower
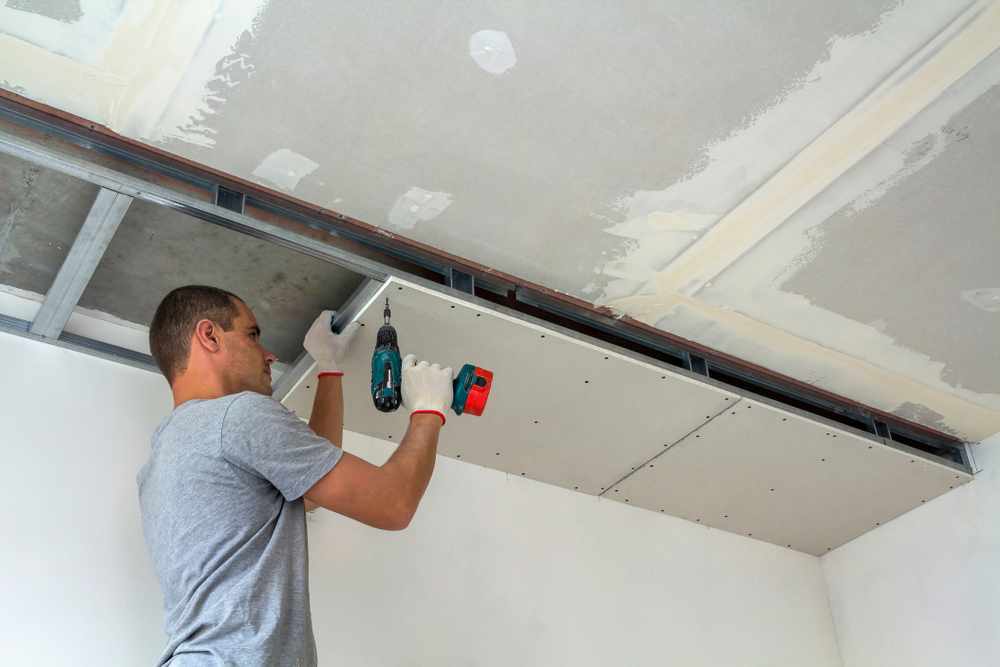
Prepping the ceiling
To prepare the ceiling for tongue and groove board installation, check and level the surface using a level tool. If needed, install furring strips perpendicular to joists for an even surface. Mark joist locations for board placement.
Attach the tongue and groove boards
Attaching the boards requires precision and care to ensure a professional look.
Steps to Attach the Boards:
- Begin at the center of the ceiling and work your way outwards.
- Apply a construction adhesive to the back of each plank for added stability.
- Fit the tongue of one board into the groove of the previous board.
- Use a finish nailer to secure the boards to the ceiling joists. Nail at an angle through the tongue to hide the nails.

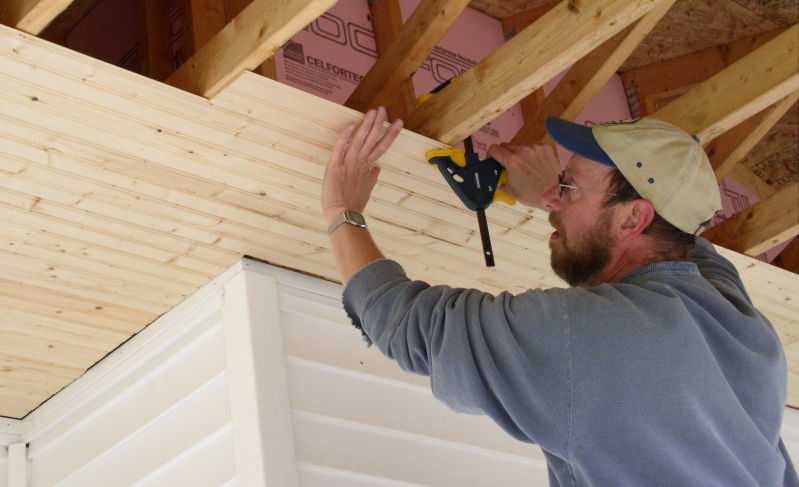
Installing the cut boards
After making the necessary cuts, it’s time to install the boards. Fit each board into place to ensure it fits properly before securing it. Apply adhesive to the back of each board and nail it through the tongue to the ceiling. This step-by-step approach ensures that each board is securely attached and fits perfectly with the others. If you want to know about the installation of Corrugated metal shower walls then click here.
Nailing in the boards
Nailing the boards correctly is crucial for a sturdy installation. Use finished nails for a clean look and angle them through the tongue of each board to hide the nails. Make sure the nails are evenly spaced and securely fasten the board to the joists or furring strips. This technique provides a seamless and professional finish.
Bathroom renovation next steps
If installing a tongue and groove ceiling is part of a bathroom remodeling, then It will be an additional step. Install tongue and groove panels to the walls for a cohesive look. Updating old fixtures with new, modern ones can significantly enhance the bathroom’s appearance.
Conclusion:
Installing a tongue and groove ceiling is a rewarding DIY project that adds charm and character to the room. By following these detailed steps, from removing the old ceiling to adding the finishing touches, we can achieve a professional-looking result. Take your time, measure carefully, and enjoy the process of transforming your space.
You may also need to know about A beautiful kitchen island with columns to the ceiling