
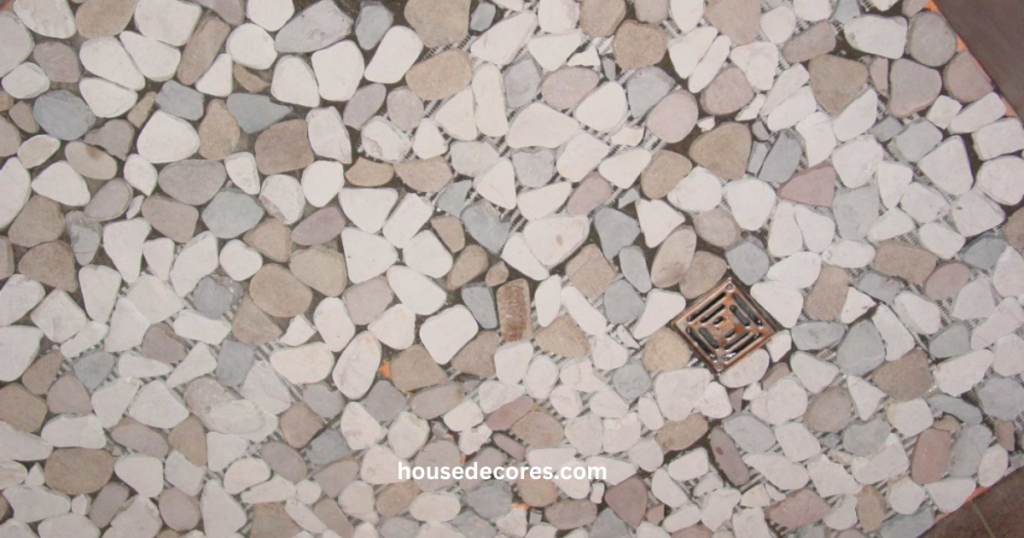
Pebble tile shower floors are made of small, smooth stones that look beautiful. But they have some issues. The spaces between the pebbles need a lot of grout, which gets dirty and is hard to clean. Sometimes, the uneven surface feels rough on your feet. Water might not drain well, causing puddles to form. If not installed properly, the pebbles might come loose over time. To keep our pebble shower floor in good shape, it’s important to clean it often and seal it to protect against water.
Problems:
Contents
- It is uncomfortable to walk on a pebble tile shower without shoes.
- Dirt and grime get trapped between the pebbles which makes it challenging to clean thoroughly.
- The small gaps between the pebbles collect water, creating a slippery surface that increases the risk of falls.
- Grout lines between the pebbles deteriorate over time, leading to water penetration and potential mold growth.
- Regular maintenance is required to keep the pebble tile shower floor in good condition, including sealing and cleaning the grout lines.
- Pebble tile shower floor is more expensive because its cost varies from $5.55/sq. ft. $9.29/sq. ft.
Water pooling on the pebble shower floor
Water pooling on a pebble shower floor poses safety risks and affects the aesthetic appeal. Proper installation with a sloped floor towards the drain is crucial, ensuring efficient water drainage. Regular inspection and cleaning of drainage channels prevent blockages. Using a quality shower mat and employing a post-shower routine with a squeegee minimizes water pooling, enhancing safety and the longevity of the pebble floor.
Is pebble tile good for the shower floor?
Yes, pebble tiles, such as the high-quality Vim Shower Pan, are good because made from natural stones, bringing a unique, earthy look to the bathroom and invoking a spa. The irregular shapes and textures of the pebbles offer a slip-resistant surface, enhancing safety in wet conditions. Optimal drainage is facilitated by the spaces between the pebbles, preventing water pooling and promoting efficient water flow toward the drain. However, the success of a pebble tile shower floor largely depends on the quality of materials and the precision of installation. Investing in high-grade, durable pebble tiles and employing professional installers ensures longevity and minimizes potential issues.
Our recommendations:
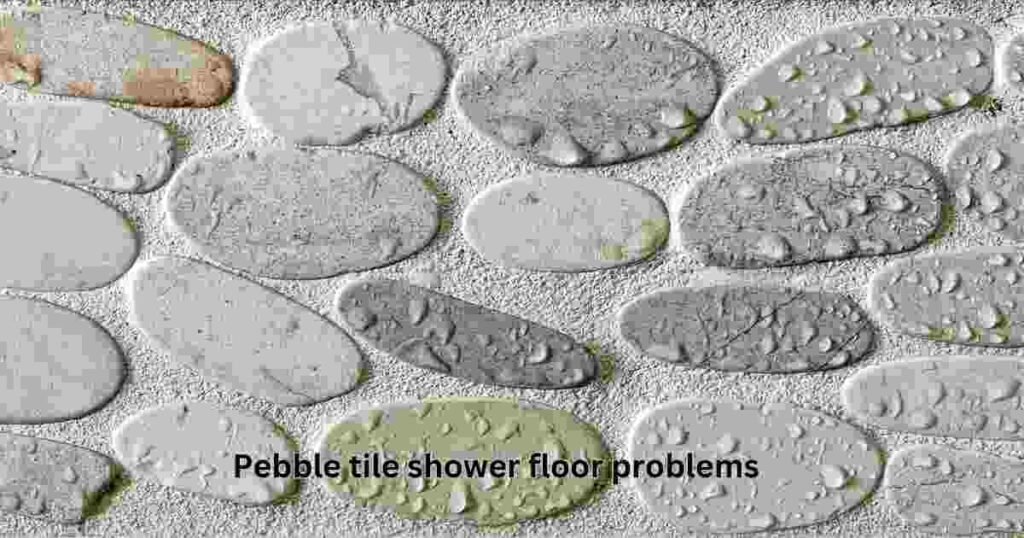
Pebble tile shower floor problems pictures

Does pebble tile hurt your feet?
The little stones on the tile feel uncomfortable, especially when you walk on them barefoot. It is not a big problem if you just step on them quickly, but if you walk on them for a while, it could start to bother you. It also depends on your sensitivity and how much time you spend on the pebble tile.
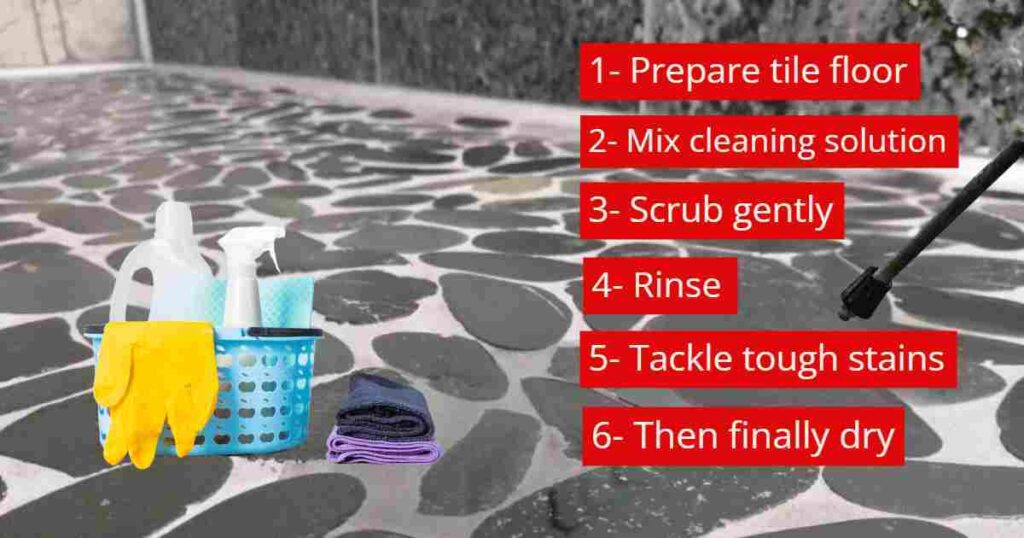
How to clean?
- 1. Vacuum the pebble tile shower floor to remove loose dirt and debris.
- 2. Combine warm water with a pH-neutral cleaner in a bucket.
- 3. Dip a soft-bristled brush into the cleaning solution and gently scrub the pebble tiles, focusing on stains.
- 4. Thoroughly rinse the floor with clean water to remove any soap residue.
- 5. For stubborn stains, use a mixture of water and a specialized stone cleaner.
- 6. Dry the floor with a clean towel and allow it to air dry completely.
Pros and cons
| Pros | Cons |
|---|---|
| Pebble shower floors have a natural peaceful riverbed, making our bathroom look and feel better. | Dirt and soap scum stick more on bumpy surfaces than flat ones, making it harder to keep clean. |
| Without good airflow and care, water gets trapped between the pebbles, making it easy for mold and mildew to grow. | Without good airflow and upkeep, water gets trapped under the pebbles in the shower, leading to mold. If not dealt with promptly, this makes the shower unhealthy and dirty. |
| A pebble shower floor’s bumpy surface gives you more grip and helps prevent slipping, which is great for safety, especially in wet conditions, making our bathroom safer. | Uneven pebble shower floors might feel uncomfortable to stand on for some people, especially those with sensitive feet, making showering less comfortable for them. |
| Gaps between the stones in the shower floor help water drain away quickly. This stops water from sitting and causing mold, keeping the shower clean and dry. | Walking on a bumpy surface might feel uncomfortable, especially if we have sensitive feet. This could make showering less comfortable for some people. |
| Standing on an uneven surface for a long time might feel uncomfortable for some people. This is especially true if you have sensitive feet. | Putting in a pebble shower floor is harder and takes more work than installing regular tiled flooring. |
Conclusion:
Pebble tile shower floor problems become evident and a proactive and thoughtful approach is essential for maintaining the beauty and functionality of this unique bathroom feature. By adhering to meticulous installation practices, choosing quality materials, and implementing routine maintenance, homeowners can mitigate common issues such as water pooling, grout cracks, and discoloration.
The careful selection of appropriate grout, regular cleaning, and prompt repairs contribute to the long-term durability of the pebble shower floor. Ultimately, with attention to detail and a commitment to these preventive measures, your bathroom showcases a stunning and enduring pebble tile shower floor, providing aesthetic appeal and a comfortable, relaxing space for years to come.