Backlit slav is a tremendous way to add luxury to our home. Whether we plan to install backlit quartz countertops, a backlit onyx shower wall, or even an illuminated granite countertop, this guide will walk us through the process. Using simple and easy-to-follow instructions, we can transform space into something truly special. Here is my personal experience about the backlit slav, on how to install them in the easiest way using the best quality materials.
Products that we need and their purpose?
Contents
Here’s a list of items that we need to start the project:
- LED panels: These are essential for backlighting. They are used under quartz countertops or on walls.
- Power supply: To power the LED lighting.
- Adhesive: For attaching the LED panels and slabs.
- Slabs: Choose from materials like quartz, onyx, or granite for your countertop or wall.
- Tools: Basic tools like a tape measure, level, and drill.
You may know How to install tongue and groove ceilings.
Installation guide
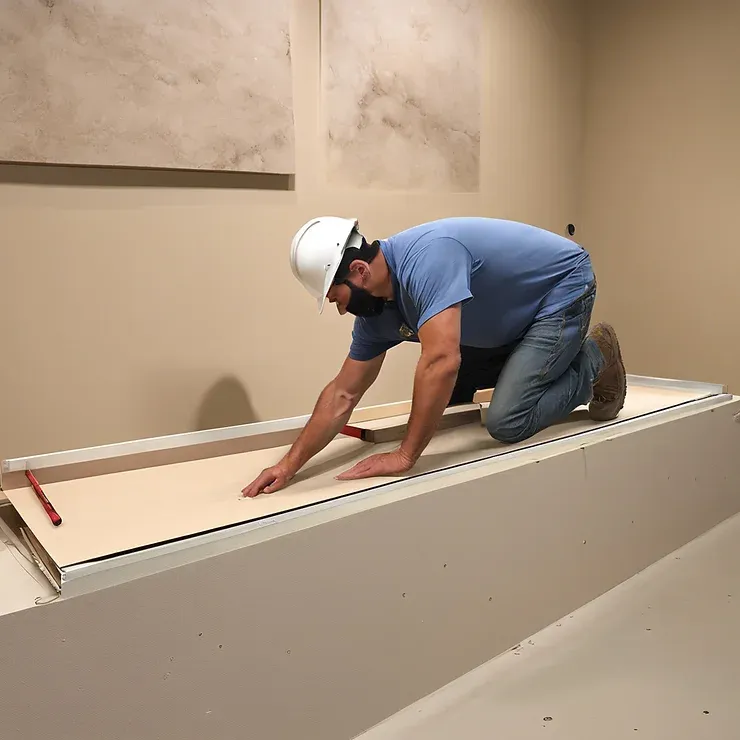
Step 1: Prepare the surface
Before the installation, we make the surface very clean, smooth, and dry for the slab. This step is very important whether we’re installing a backlit slab on a wall, countertop, or shower wall.
- For countertops: We make the countertops very sturdy and well-leveled. A quartz or granite slab has a solid foundation.
- For walls: The wall is free of bumps and imperfections, as these could affect the installation of LED panels for backlighting stone.

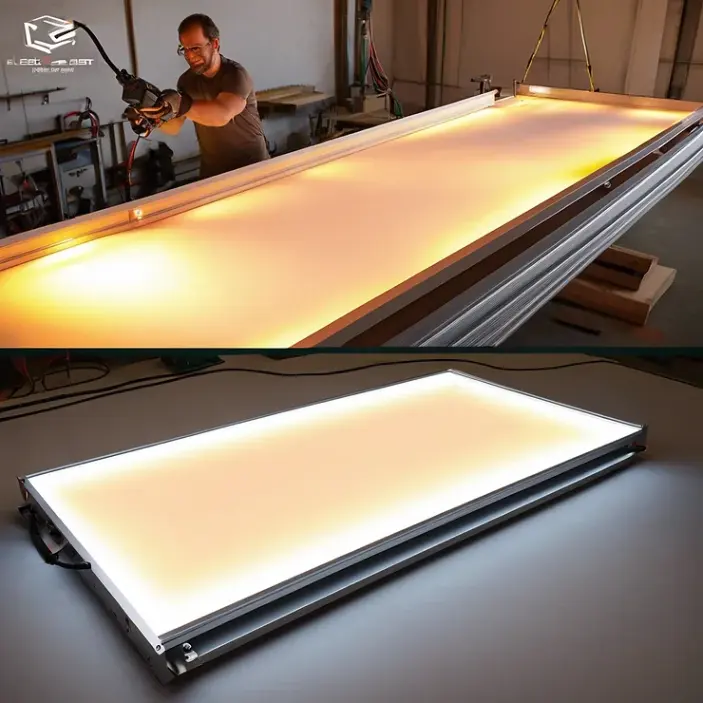
Step 2: Install the LED panels
LED panels are what make the slabs glow. Here’s how to install them:
- Measure the area: First, we measure the area where we install the backlit slab.
- Attach the LED panels: Use adhesive to attach the LED panels to the surface.
- Connect the power supply: And then, we safely connect the LED panels to the power supply, and then hide and secure all wiring.

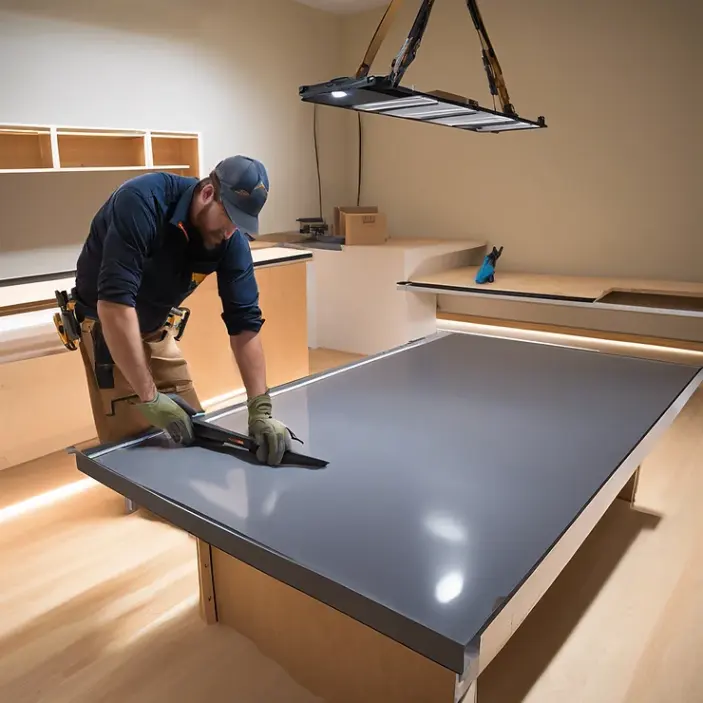
Step 3: Place the Slab
Once the LED panels are in place, it’s time to install the slab.
- Lift carefully: Depending on the quartz, granite, the slabs can be heavy, so lift them carefully into place.
- Secure the Slab: We apply adhesive to the back of the slab and carefully place it over the LED panels.
- Check the alignment: Must check that the slab is aligned perfectly.

Step 4: Finishing touches
After the slab is installed, complete the final steps to ensure everything looks perfect.
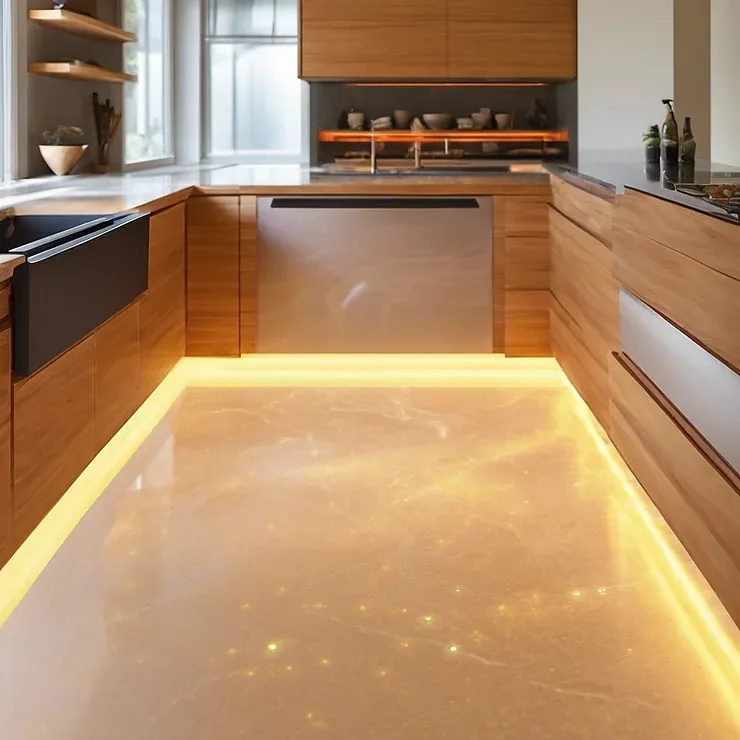
- Test the lighting: Turn on the power to check the LED lighting. The slab should have a beautiful, even glow.
- Seal the edges: Seal the edges of the slab with a suitable sealant to prevent moisture from seeping in, especially for countertops and shower walls.
- Clean up: Wipe down the surface to remove adhesive.

What to do and what to avoid for its maintenance?
1. Clean it regularly: Use a Soft Cloth to remove dust and dirt. If it gets dirty, then we mix a little bit of mild soap with water and use a cloth to clean it.
2. Avoid harsh chemicals: Don’t use strong cleaning bleach or other harsh chemicals. Because they damage the slab and make it look dull. We use gentle cleaner that is safe for stone surfaces.
3. Be careful with sharp objects: Don’t drag sharp objects across the slab. Because the sharp objects scratch the surface and ruin its smooth finish.
4. Keep it dry: If we spill water or other liquids on the slab, then we need to wipe them up quickly to keep the surface dry. This is especially important for backlit countertops and shower walls.
Tips for a Successful Installation
- Choose the right material: For backlit countertops, quartz and onyx are popular choices due to their translucent properties. Onyx is also a great option for shower walls and other vertical installations.
- Use high-quality LED panels: Invest in good-quality LED panels for a more uniform and brighter glow.
- Plan the lighting layout: Before starting, we plan out where the LED lighting will go, especially if we’re working with irregular shapes.
Conclusion:
Installing a backlit slav is a powerful way to elevate the look of our home. Whether it’s a stunning backlit granite countertop, a glowing onyx shower wall, or a backlit quartz countertop, the process is straightforward if we follow the steps carefully. With the right materials and a bit of patience, we achieve a professional-looking installation that will impress everyone who sees it.

